详情: 我正在尝试构建基于云的Android应用程序测试中心作为我的大学本科计算机科学学位的部分履行前年项目。我想知道我们如何获得更多的Genymotion配置。 或者如果您可以为我提供更多设备配置,并且是否可能快速为不同设备构建genymotion配置。 其次,如何向构建添加MAC地址和IMEI号码?
我们正试图模拟移动设备(非Google nexus),以建立一个基于云的测试中心。 为此,我们正在尝试使用AndroVM(Genymotion),但我们遇到了一些问题。
到目前为止我们已经做了什么: 1.按照官方Android网站上的步骤从头开始构建androVm源代码,“VBOX86tp-userdebug”模式。 2.在虚拟EC2服务器上构建完源代码后,键入模拟器命令运行,但是返回的是空白。 3.如有可能,能否以“Fastboot”模式运行AndroVm,以便我们可以安装它到设备上。
我们一直在“构建androVm”源代码并尝试完成一些任务,例如: 1.使用构建过程完成后可用的img运行它。 2.使其可移植,即从out目录中创建iso / ova。
到目前为止我们尝试过的有: 下载AndroVm源代码 使用repo init初始化repo 通过repo sync下载源代码 选择lunch菜单 选择vbox86tp-userdebug
其他full-eng菜单不起作用,因此已停用
遇到的一些错误: 制作错误:它们非常简单,因此得以解决。 未生成system.img:再次制作解决 bin / bash jar命令错误:路径错误,通过导出jar命令路径解决
几个问题: 1.OVA文件由什么组成,如何创建?从我看到的内容来看,它包含了几个VMDK和几个附加的配置文件, 2.如何将平台特定的映像文件(system.img ramdisk.img userdata.img)转换为OVA或ISO文件。如果我们确实缺少要提供给模拟器的文件,请只命名它们。 3.如何添加IMEI号码 4.我们已经有eth0/1端口的MAC地址,但我们希望它出现在wlan端口上。
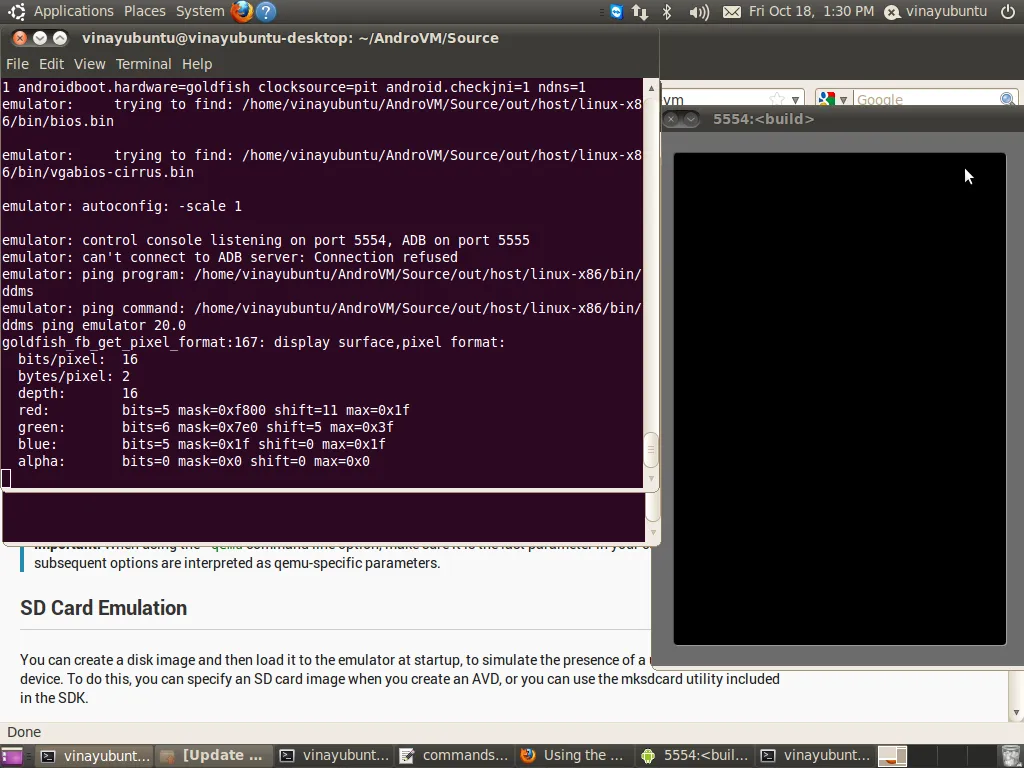
参考图片:
现在让事情变得有趣
这是我从Genymotion团队收到的回复:
I want my project to cover various configurations but for starters if i can get something like Samsung Galaxy phones and tab or as astart if I can get Samsung galaxy tab 2.
You can change the screen size and DPI for each virtual device. You can toggle navigation bar and virtual keyboard. However, we cannot provide virtual devices that contains proprietary applications like Samsung.
Now here what we get is the MAC address of eth0/1 port. What if I need wlan MAC.Unless one of the two network interface have been disabled, there should be 2 interfaces, 2 IP, and 2 MAC addresses: adb shell ip a. 2: eth0: mtu 1500 qdisc pfifo_fast state UP qlen 1000 link/ether 08:00:27:d4:fe:e0 brd ff:ff:ff:ff:ff:ff inet 192.168.56.101/24 brd 192.168.56.255 scope global eth0 inet6 fe80::a00:27ff:fed4:fee0/64 scope link valid_lft forever preferred_lft forever 3: eth1: mtu 1500 qdisc pfifo_fast state UP qlen 1000 link/ether 08:00:27:c8:37:e7 brd ff:ff:ff:ff:ff:ff inet 10.0.3.15/24 brd 10.0.3.255 scope global eth1 inet6 fe80::a00:27ff:fec8:37e7/64 scope link .
Sorry, but we do not provide support for specific ROM. However, I strongly recommend you to visit the community at: https://groups.google.com/forum/#!forum/genymotion-users
1. What an OVA file consits of and how can it be created ?From what i have seen it contains few VMDK's and few configurations filesattached to it,
"The entire directory can be distributed as an OVA package, which is a tar archive file with the OVF directory inside." (http://en.wikipedia.org/wiki/Open_Virtualization_Format)
2. How to convert the platform specific image files(system.img ramdisk.img userdata.img) into an OVA or ISO file.

If at all we are missing few files to give to the emulator, can you just name them.
Please read the community tutorials
3. Also how to add IMEI numberThere is currently no way to add IMEI number. This feature will come in the near future
4. We already have MAC for eth0 port but we want it on wlan portThere is 2 interfaces: eth0 and eth1. Eth0 is used for Genymotion application widgets. If this network connection is broken, Genymotion would not be able to start anymore. Eth1 is used for network current access (fake WiFi connection). You can change this network configuration as you want.