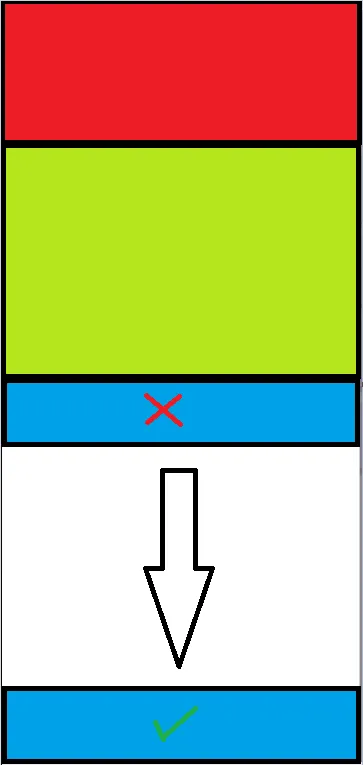
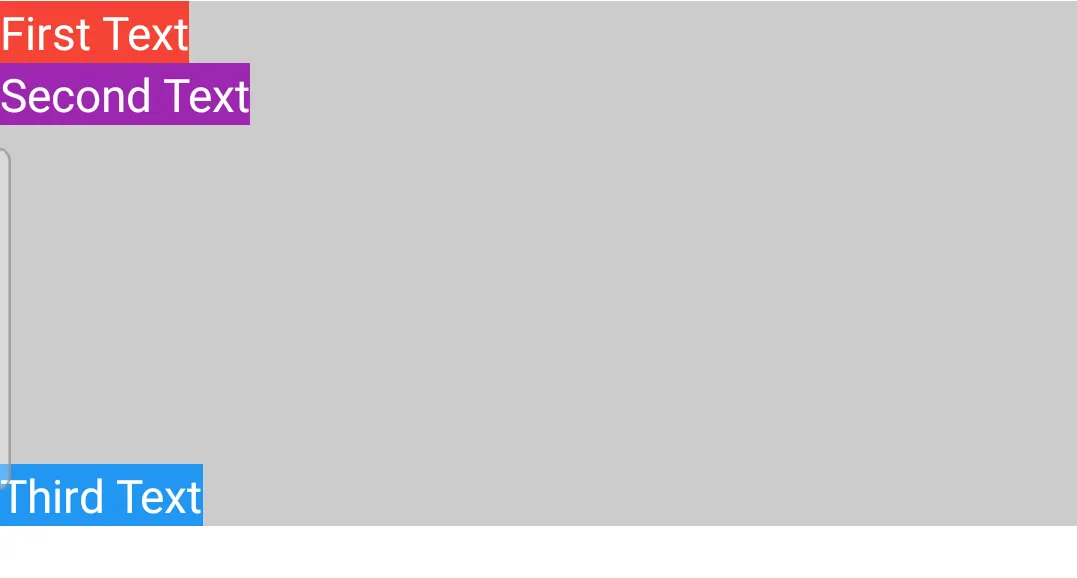
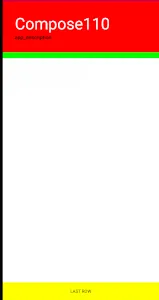
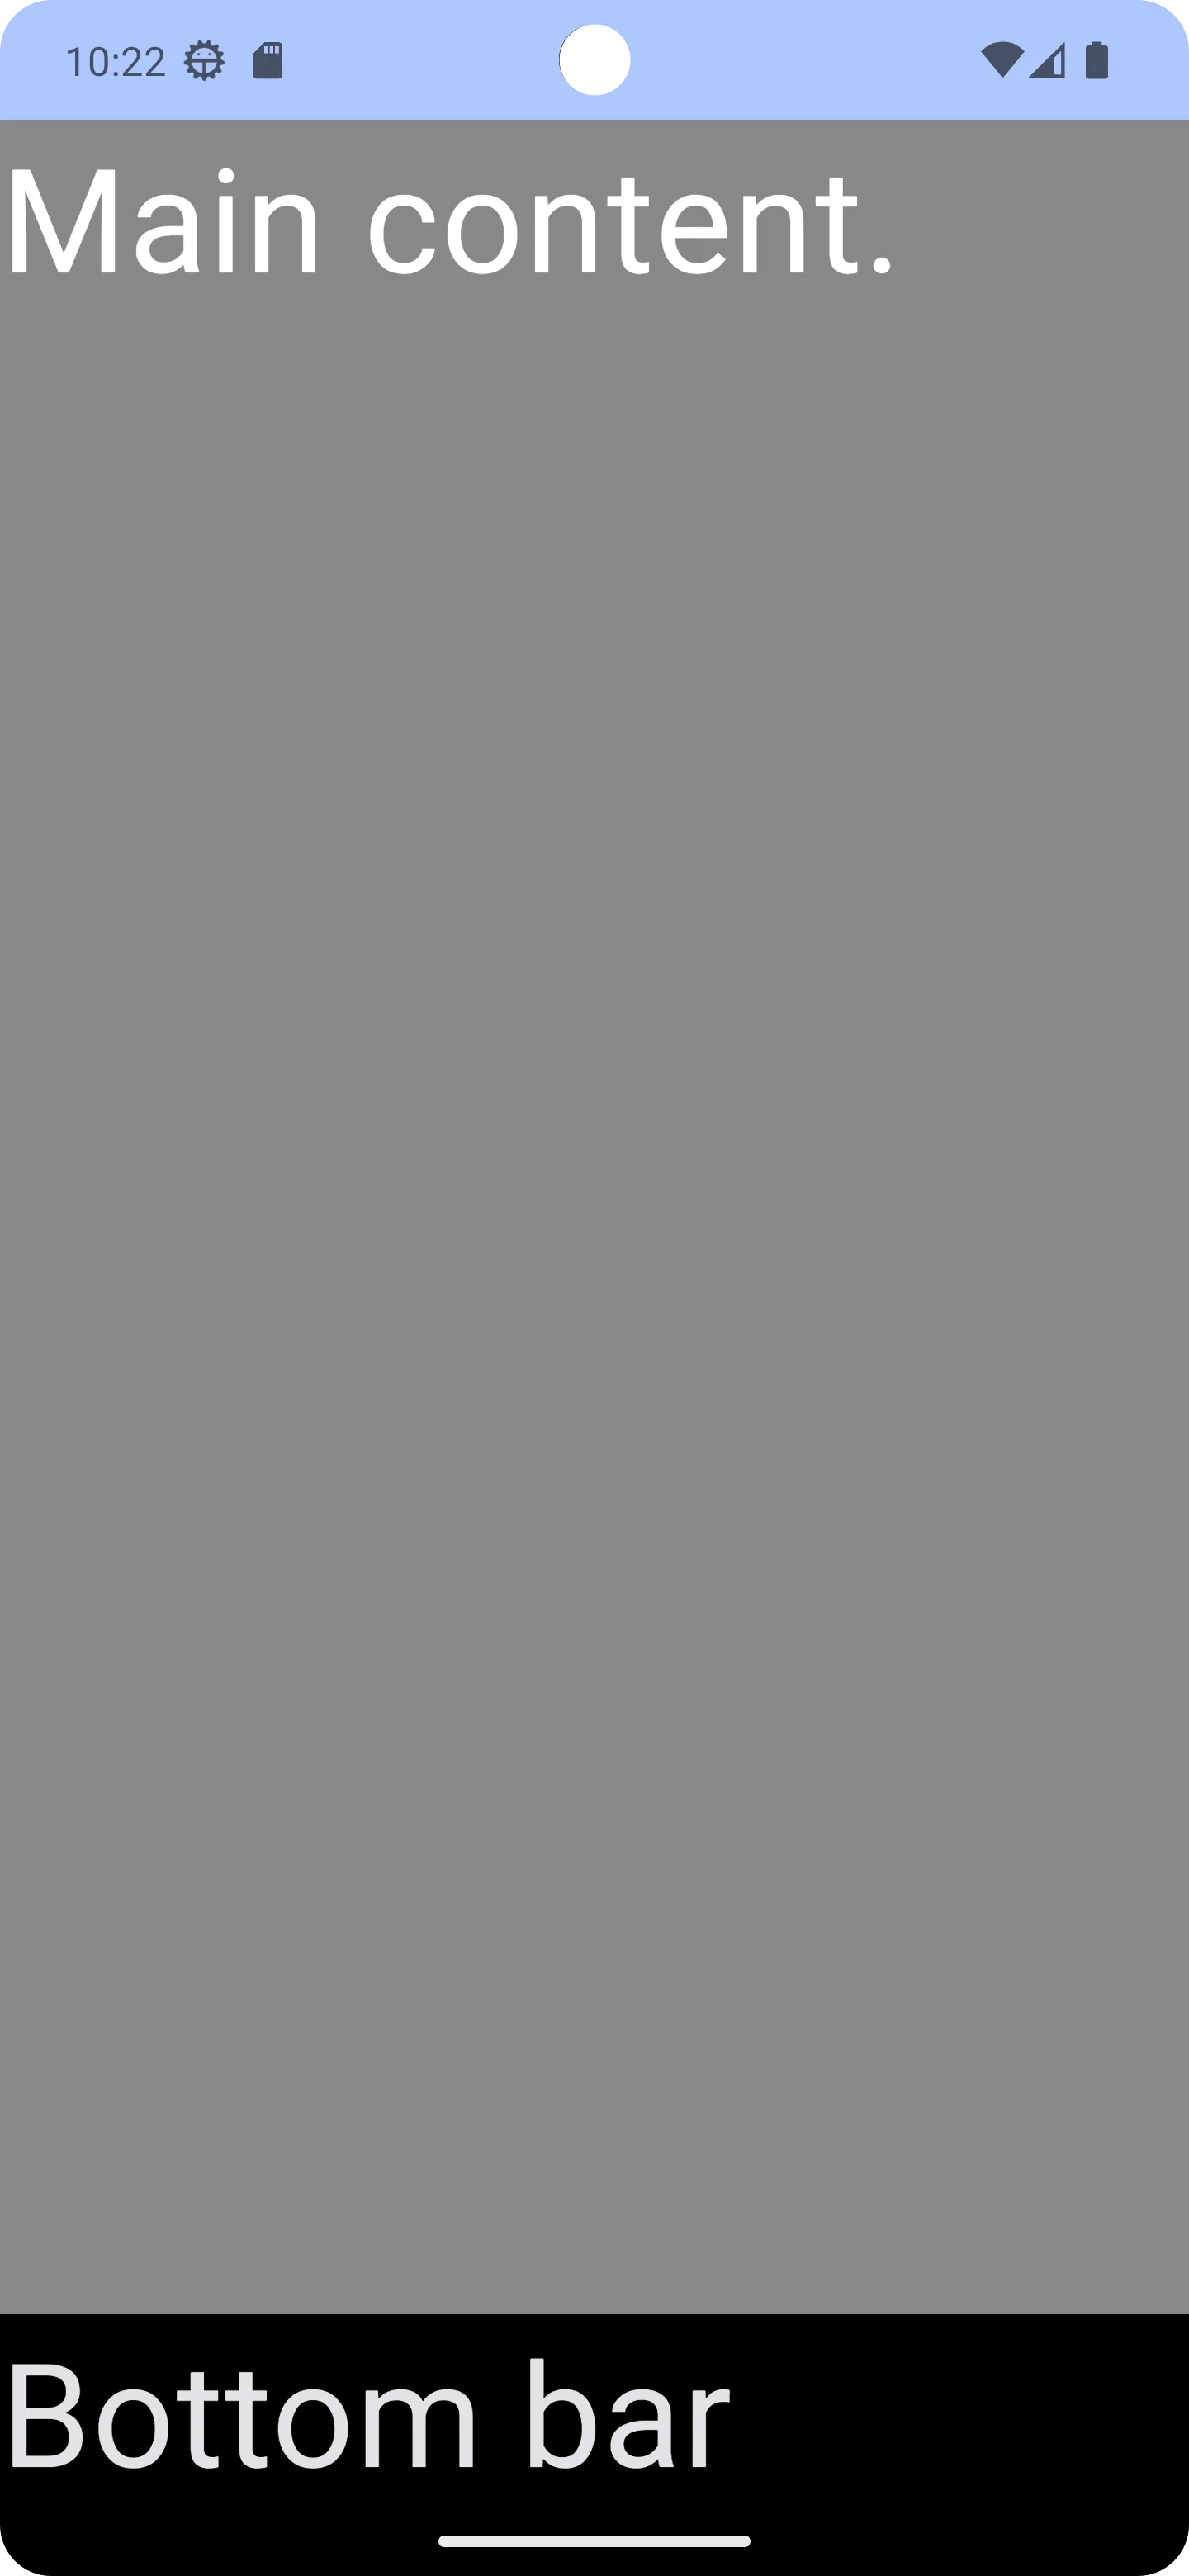
我有一个带有一些行的列,我想将最后一行对齐到底部,但是这一行永远不会位于屏幕底部,它会紧接在前一行之后:
    Column {
        // RED BOX
        Row(
            modifier = Modifier
                .fillMaxWidth()
                .height(130.dp)
                .padding(vertical = 15.dp, horizontal = 30.dp),
            verticalAlignment = Alignment.CenterVertically
        ) {
            Column {
                Text(
                    text = stringResource(id = R.string.app_name),
                    style = TextStyle(fontSize = 40.sp),
                    color = Color.White
                )
                Text(
                    text = stringResource(id = R.string.app_description),
                    style = TextStyle(fontSize = 13.sp),
                    fontWeight = FontWeight.Bold,
                    color = Color.Black
                )
            }
        }

        Spacer(
            modifier = Modifier
                .fillMaxWidth()
                .height(15.dp)
        )

        // GREEN BOX
        val currentRoute = currentRoute(navController)
        items.forEach { item ->
            DrawerItem(item = item, selected = currentRoute == item.route) {
                navController.navigate(item.route) {
                    launchSingleTop = true
                }

                scope.launch {
                    scaffoldState.drawerState.close()
                }
            }
        }

        Row(
            modifier = Modifier
                .fillMaxWidth()
                .padding(vertical = 15.dp, horizontal = 30.dp),
            verticalAlignment = Alignment.Bottom,
            horizontalArrangement = Arrangement.Center
        ) {
            Text(
                text = BuildConfig.VERSION_NAME,
                style = TextStyle(fontSize = 11.sp),
                color = Color.Black,
            )
        }
    }
我想要得到与图片中显示的相同效果。我想要有第一行(红色),然后是第二行(绿色),最后在屏幕底部适合的第三行(蓝色)。

 }}
}}
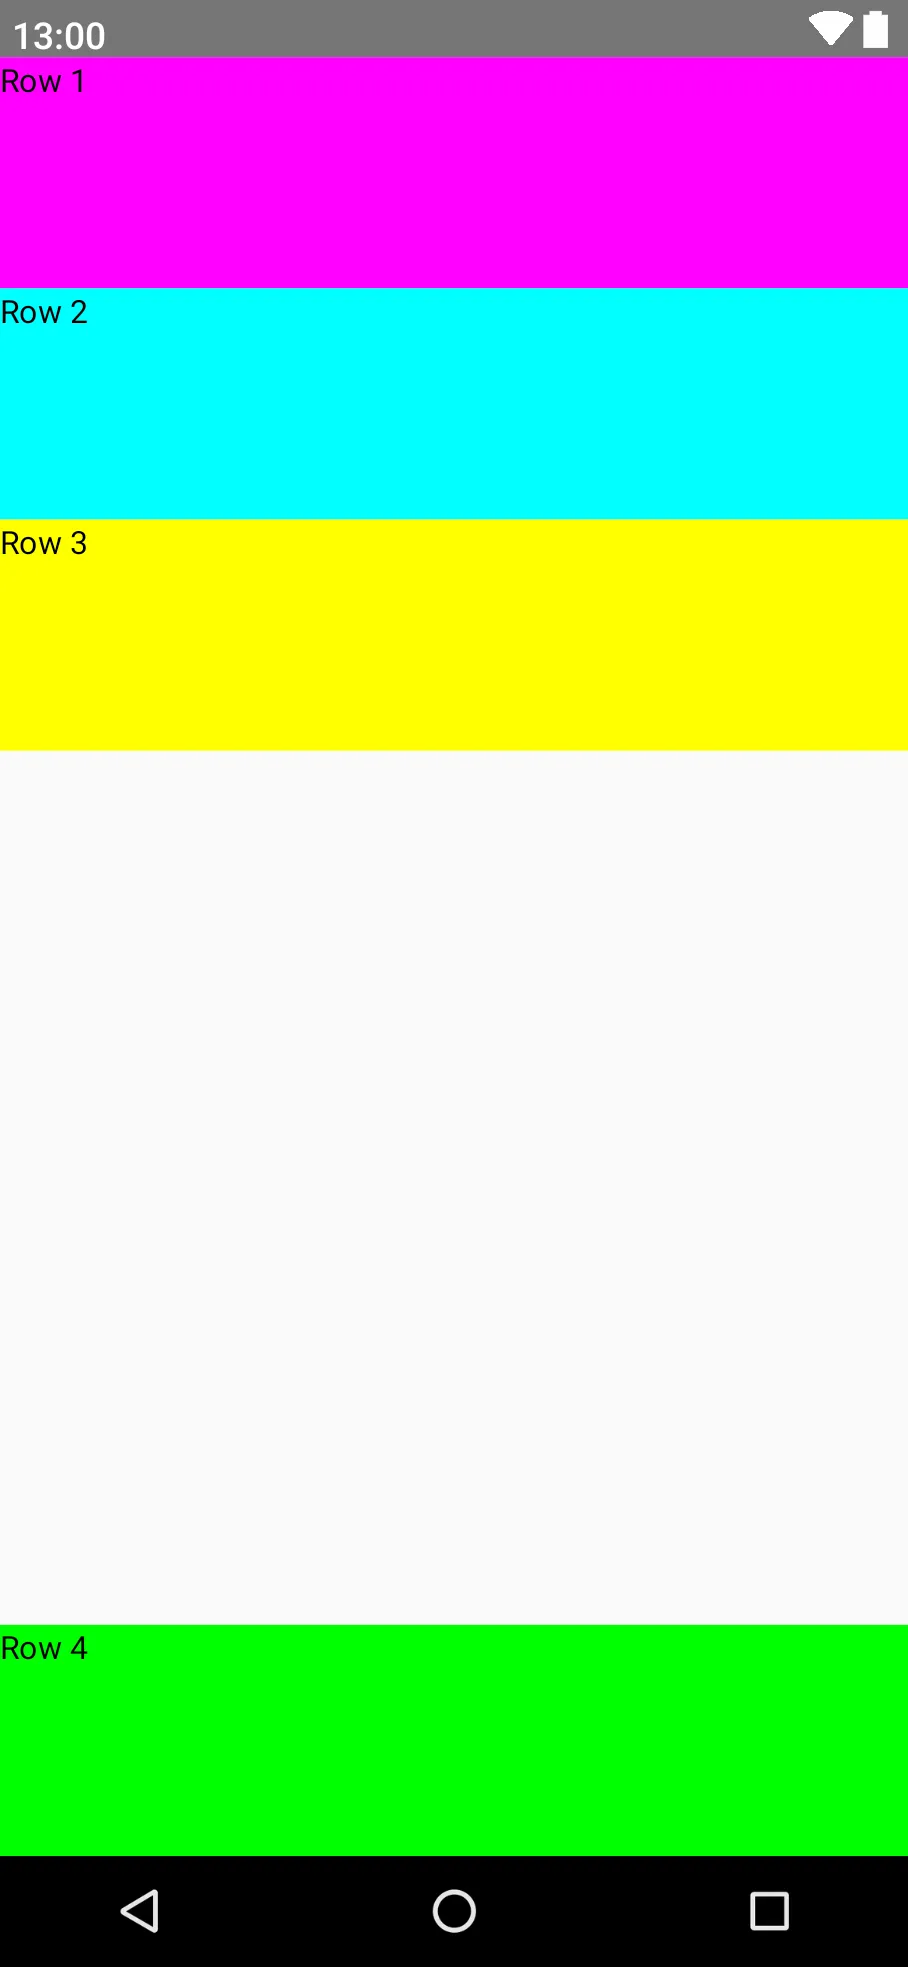
Modifier.weight的Spacer将最后一个可组合放置在父可组合底部,或者创建一个自定义可组合并使用Layout放置placeables的内容。 - Thracian