我在处理中使用一个颜色跟踪代码。
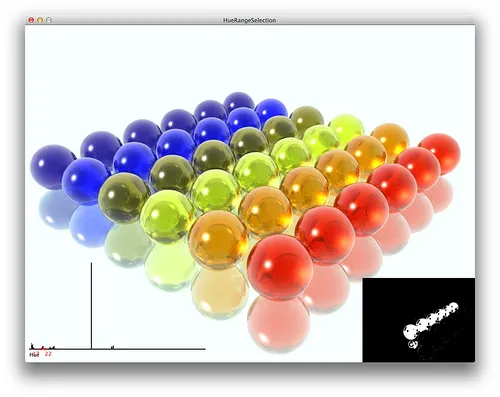
我希望的效果(示例):
整个代码:
重要片段如下:
我希望的效果(示例):
- 如果检测到红色,则显示图像1
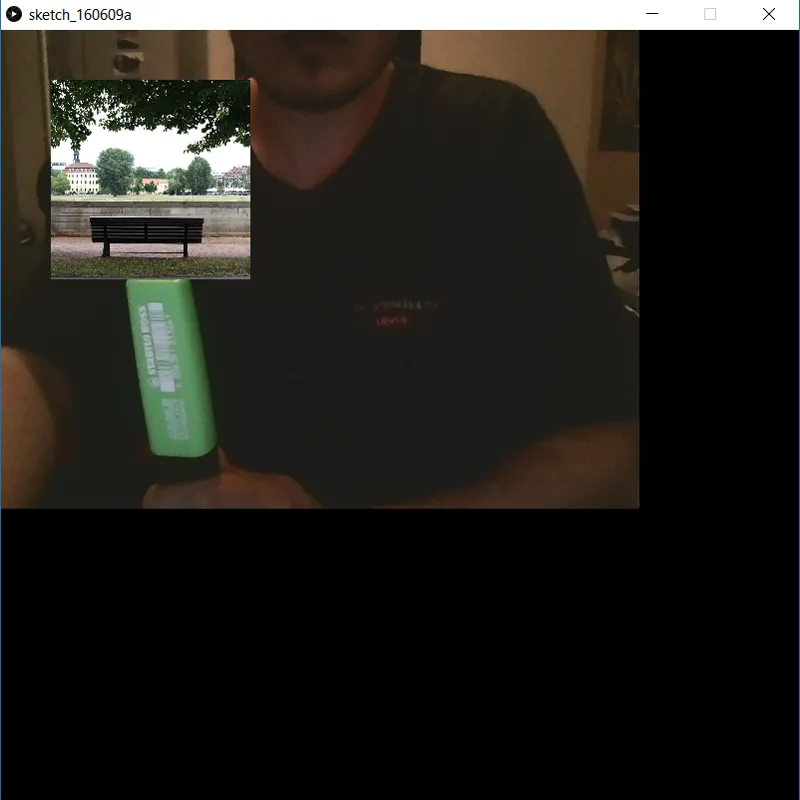
- 如果检测到绿色,则显示图像2
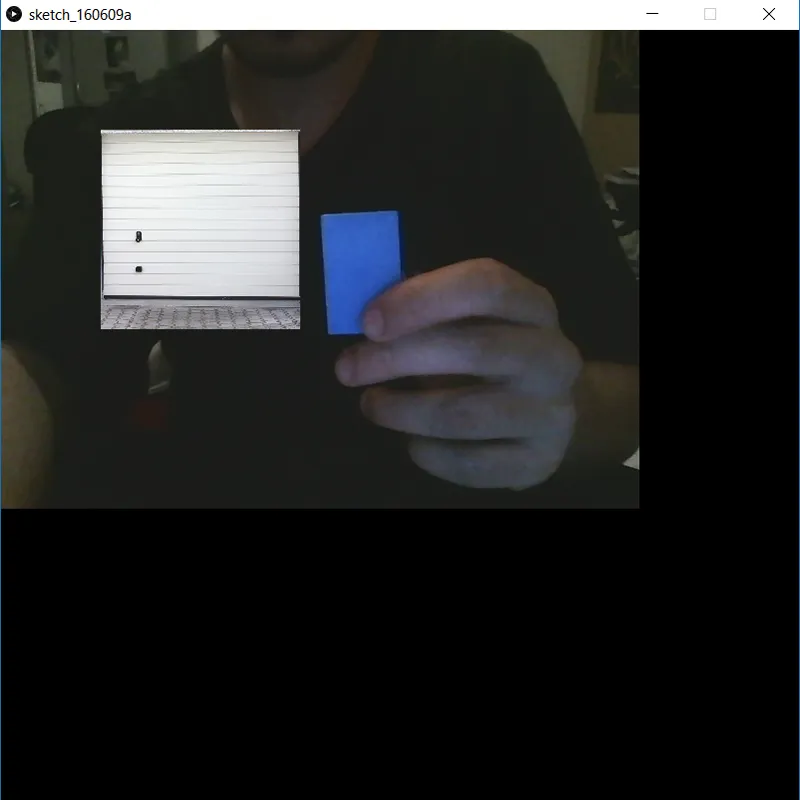
- 如果检测到蓝色,则显示图像3
整个代码:
 import processing.video.*;
//import hypermedia.net.*;


PImage img;
PImage img2;
PImage img3;

Capture video;
final int TOLERANCE = 20;

float XRc = 0;// XY coordinate of the center of the first target
float YRc = 0;
float XRh = 0;// XY coordinate of the center of the second target
float YRh = 0;
float XRc2 = 0; // XY coordinate of the center of the third target
float YRc2 = 0;
float XRh2 = 0;// XY coordinate of the center of the fourth target
float YRh2 = 0;

int ii=0; //Mouse click counter

color trackColor; //The first color is the center of the robot
color trackColor2; //The second color is the head of the robot
color trackColor3; //The first color is the center of the robot 2
color trackColor4; //The first color is the center of the robot 2

void setup() {
img = loadImage("IMG_4700.JPG");
img2 = loadImage("2.JPG");
img3 = loadImage("3.JPG");
size(800,800);
video = new Capture(this,640,480);
video.start();

trackColor = color(94,164,126);
trackColor2 = color(60,110,194);
trackColor3 = color(197, 76,64);
trackColor4 = color(255,0,0);
smooth();
}

void draw() {
background(0);
if (video.available()) {
    video.read();
}

video.loadPixels();
image(video,0,0);

  float r2 = red(trackColor);
  float g2 = green(trackColor);
  float b2 = blue(trackColor);

  float r3 = red(trackColor2);
  float g3 = green(trackColor2);
  float b3 = blue(trackColor2);

  float r4 = red(trackColor3);
  float g4 = green(trackColor3);
  float b4 = blue(trackColor3);

  float r5 = red(trackColor4);
  float g5 = green(trackColor4);
  float b5 = blue(trackColor4);


  int somme_x = 0, somme_y = 0; // pour le calcul des baricentres
  int compteur = 0;

  int somme_x2 = 0, somme_y2 = 0; // pour le calcul des baricentres
  int compteur2 = 0;

  int somme_x3 = 0, somme_y3 = 0; // pour le calcul des baricentres
  int compteur3 = 0;

  int somme_x4 = 0, somme_y4 = 0; // pour le calcul des baricentres
  int compteur4 = 0;


  for(int x = 0; x < video.width; x++) {
    for(int y = 0; y < video.height; y++) {

      int currentLoc = x + y*video.width;
      color currentColor = video.pixels[currentLoc];

      float r1 = red(currentColor);
      float g1 = green(currentColor);
      float b1 = blue(currentColor);


      if(dist(r1,g1,b1,r2,g2,b2) < TOLERANCE) {
         somme_x += x;
         somme_y += y;
        compteur++;
      }

      else if(compteur > 0) {
        XRc = somme_x / compteur;
        YRc = somme_y / compteur;
      }


      if(dist(r1,g1,b1,r3,g3,b3) < TOLERANCE) {
         somme_x2 += x;
         somme_y2 += y;
        compteur2++;
      }

      else if(compteur2 > 0) {
        XRh = somme_x2 / compteur2;
        YRh = somme_y2 / compteur2;
      }

      if(dist(r1,g1,b1,r4,g4,b4) < TOLERANCE) {
         somme_x3 += x;
         somme_y3 += y;
        compteur3++;
      }

      else if(compteur3 > 0) {
        XRc2 = somme_x3 / compteur3;
        YRc2 = somme_y3 / compteur3;
      }

      if(dist(r1,g1,b1,r5,g5,b5) < TOLERANCE) {
         somme_x4 += x;
         somme_y4 += y;
        compteur4++;
      }

      else if(compteur4 > 0) {
        XRh2 = somme_x4 / compteur4;
        YRh2 = somme_y4 / compteur4;
      }

  }
  }


// track the color and show images
boolean c1 = false;
boolean c2 = false;
boolean c3 = false;


  if(XRc != 0 || YRc != 0) { // color Green detected
    c1 = true;
    c2 = false;
    c3 = false;
   }


   if(XRh != 0 || YRh != 0) { // color blue detected
    c2 = true;
    c1 = false;
    c3 = false;
   }

    if(XRc2 != 0 || YRc2 != 0) { // color red detected
      c3 = true;
      c1 = false;
      c2 = false;
    }


     if(c1 == true) {
       image(img,0,0); // show image 1
      } else if (c2 == true) {
       image(img2,0,0); // show image 2
     } else if (c3 == true) {
       image(img3,0,0); // show image 3
     }

}
重要片段如下:
// detect color and show images
boolean c1 = false;
boolean c2 = false;
boolean c3 = false;


  if(XRc != 0 || YRc != 0) { // color Green detected
    c1 = true;
    c2 = false;
    c3 = false;
   }


   if(XRh != 0 || YRh != 0) { // color blue detected
    c2 = true;
    c1 = false;
    c3 = false;
   }

    if(XRc2 != 0 || YRc2 != 0) { // color red detected
      c3 = true;
      c1 = false;
      c2 = false;
    }


     if(c1 == true) {
       image(img,0,0); // show image 1
      } else if (c2 == true) {
       image(img2,0,0); // show image 2
     } else if (c3 == true) {
       image(img3,0,0); // show image 3
     }
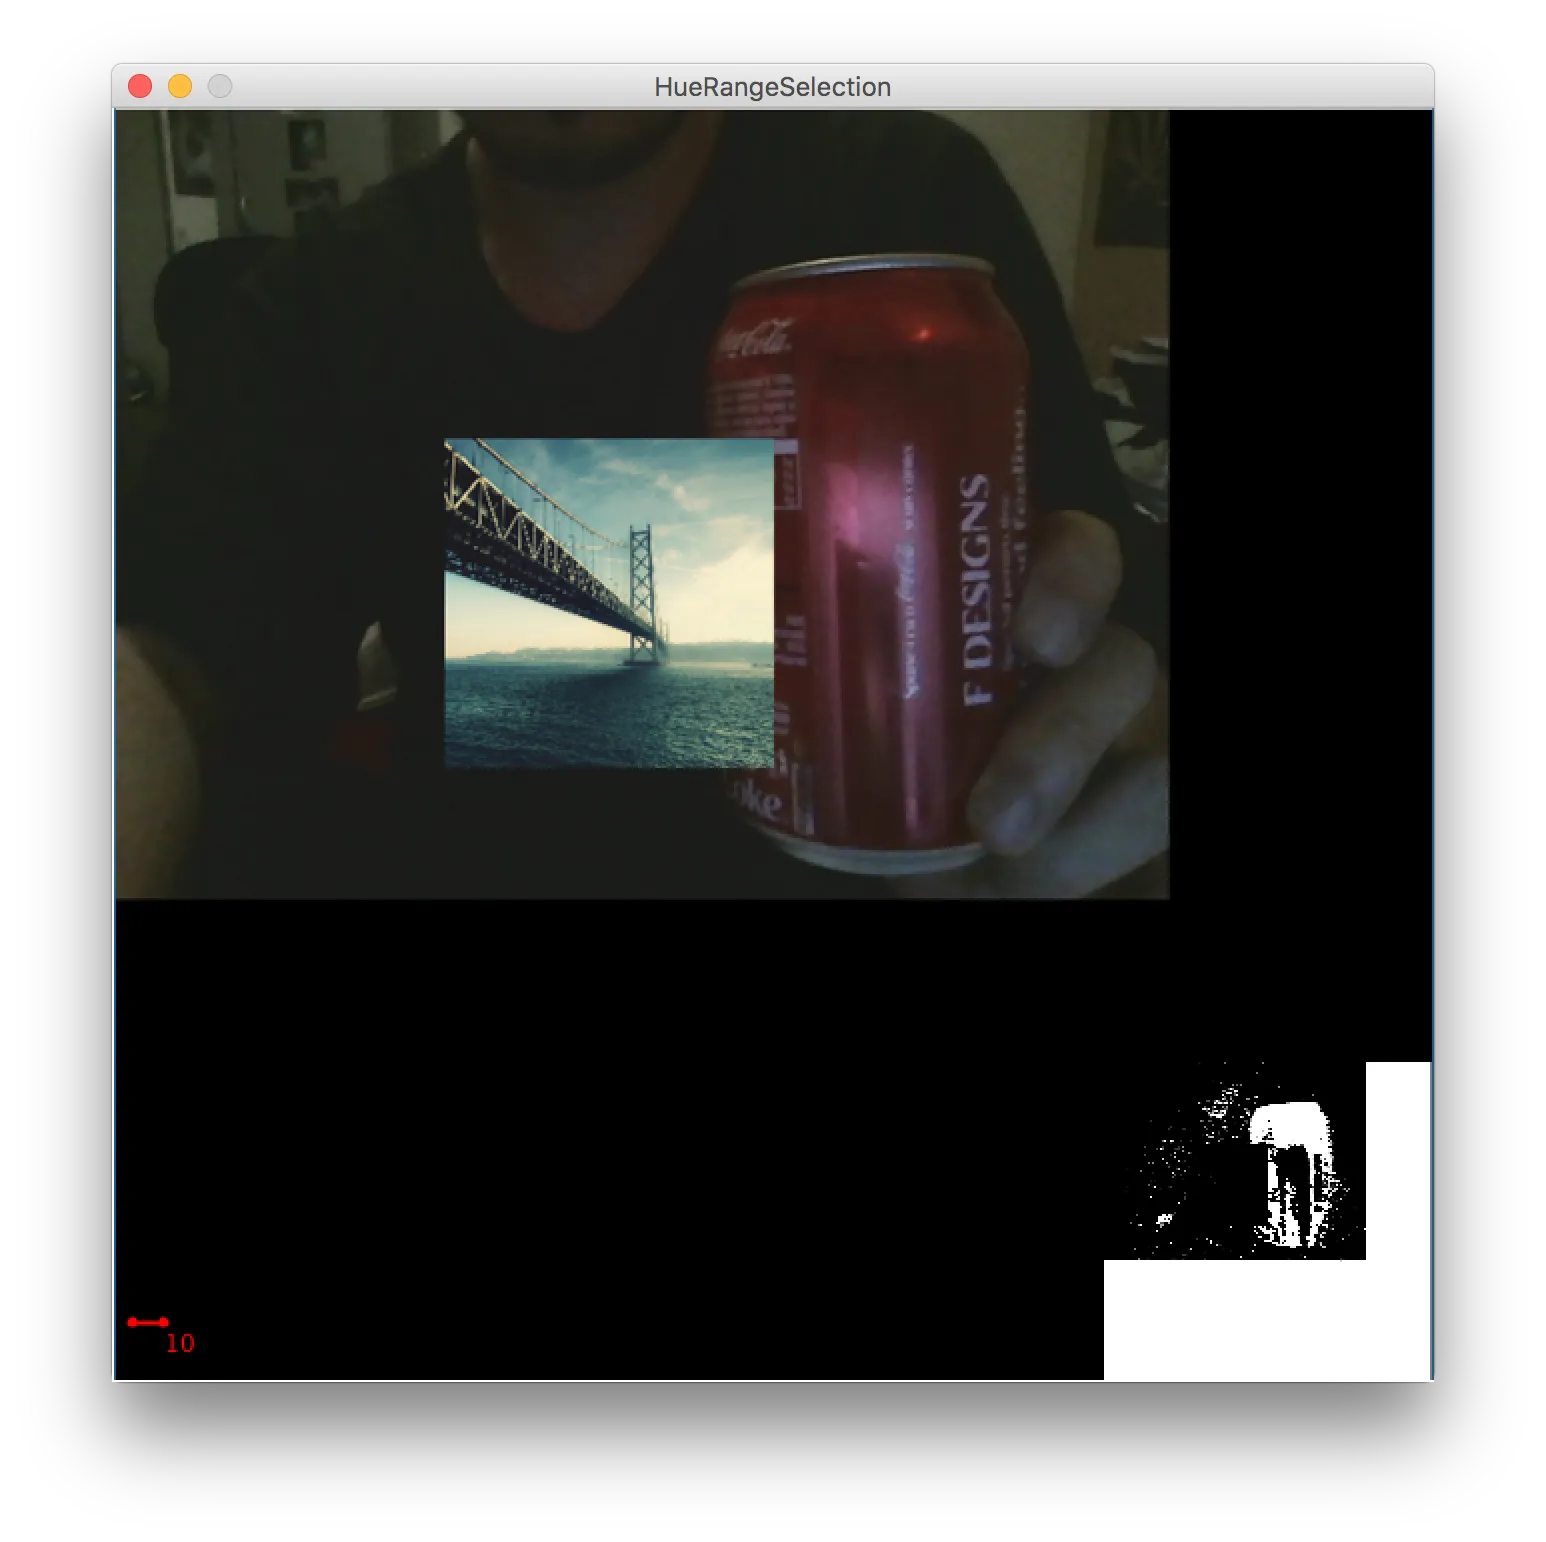
截图:
第一个物体被追踪并显示图像
第二个物体被追踪并显示图像
第三个物体被追踪并显示图像
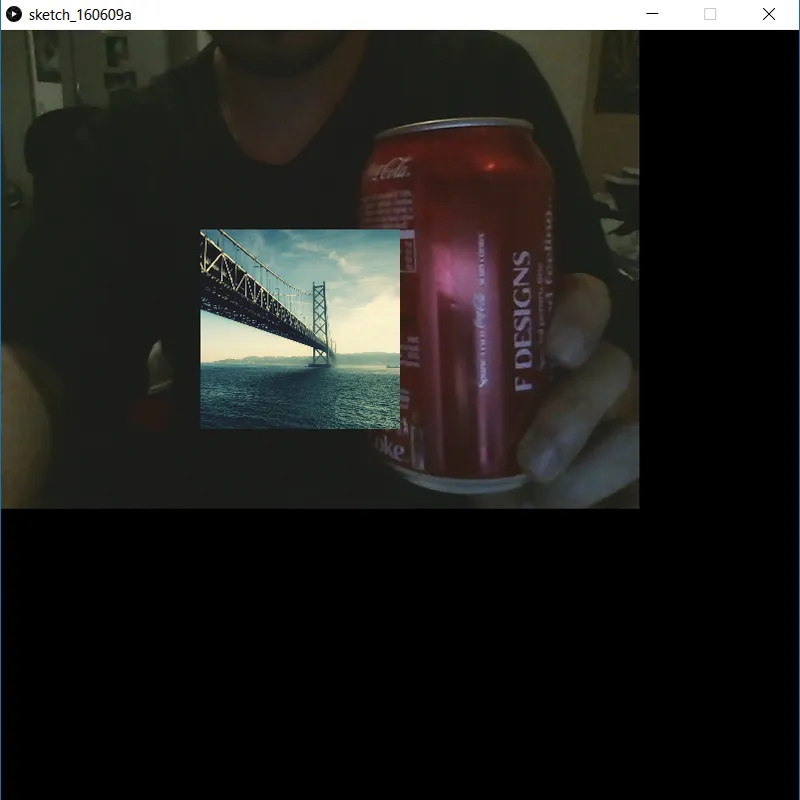
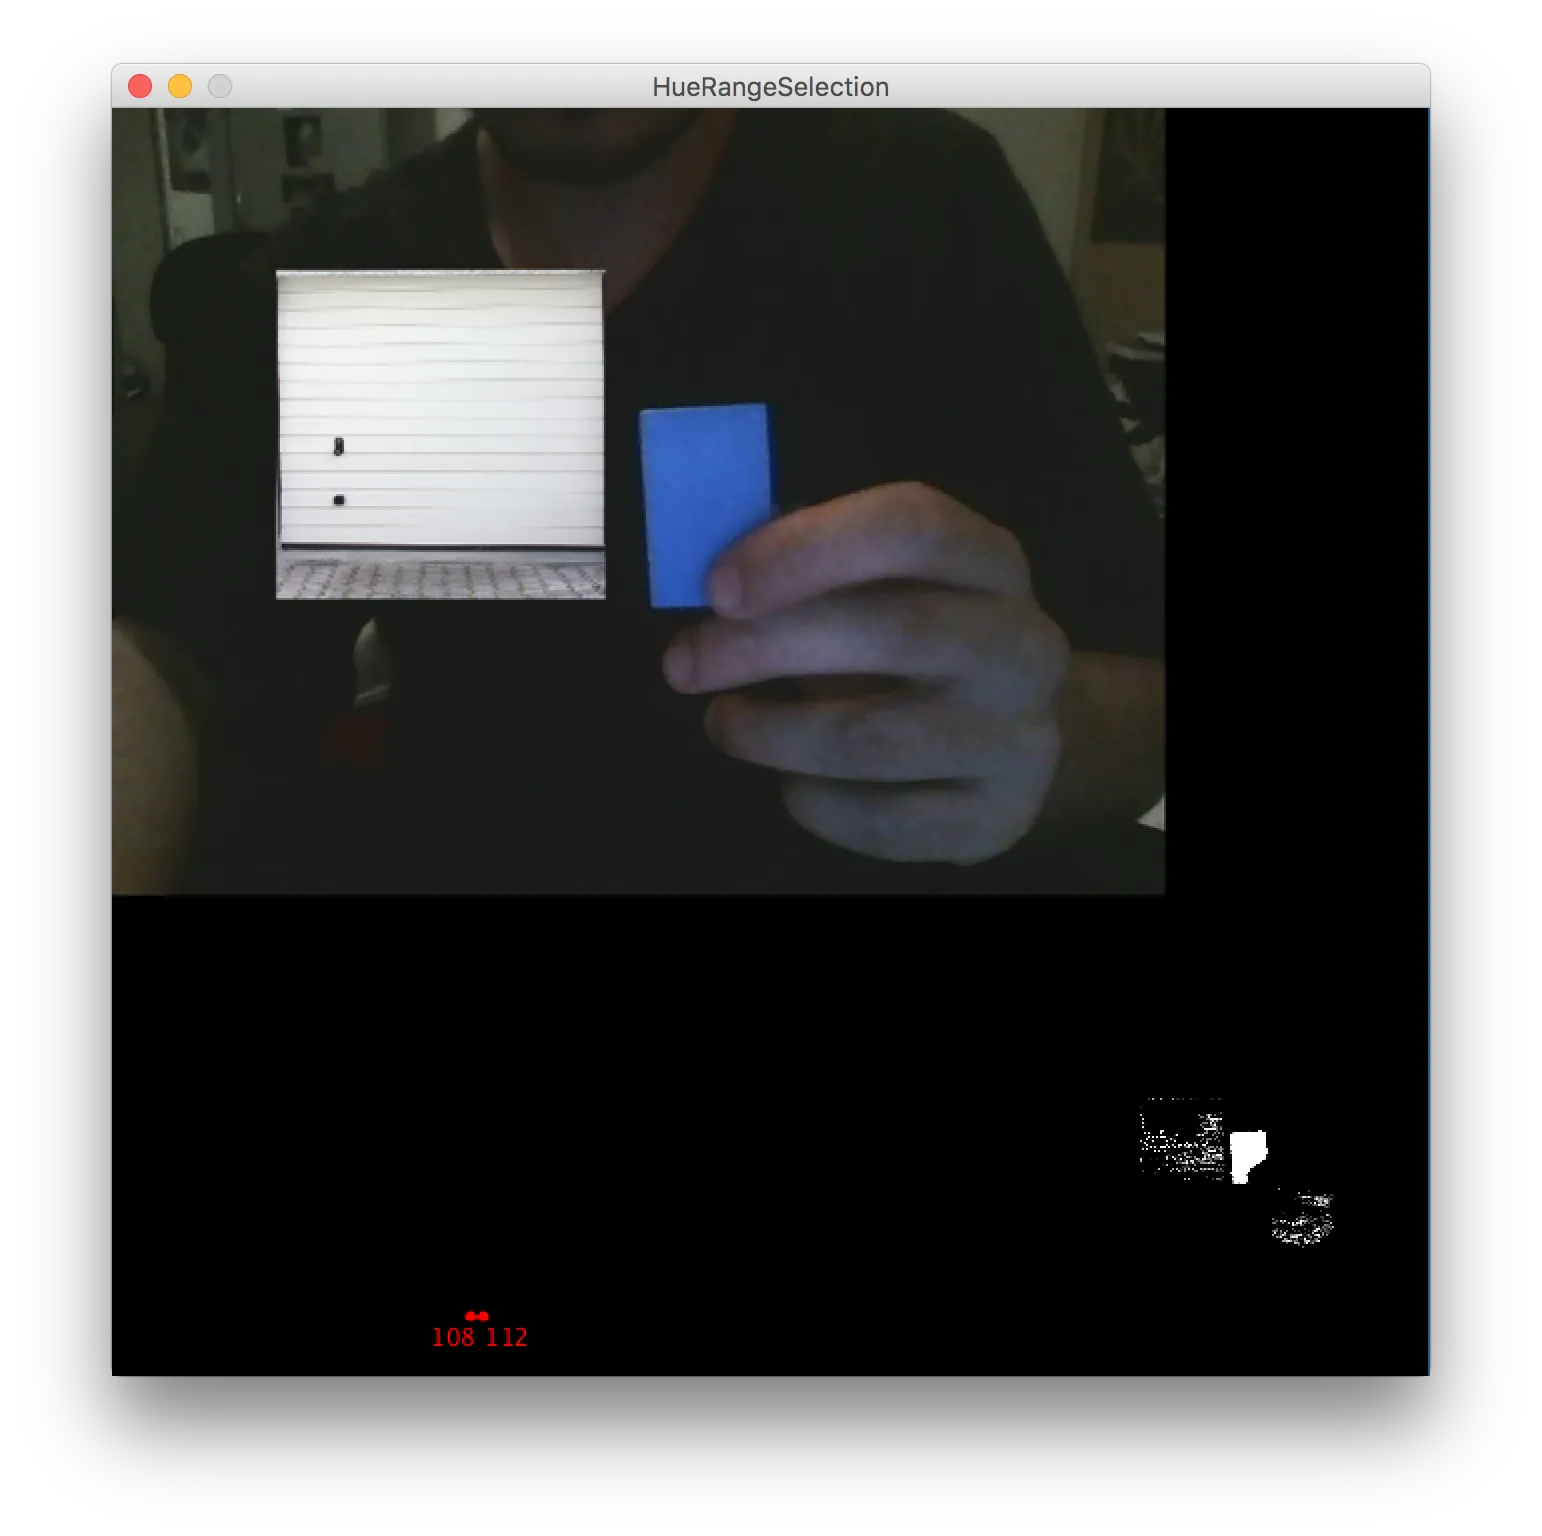
我的问题:
(应该追踪第一个物体并显示第一张图片)
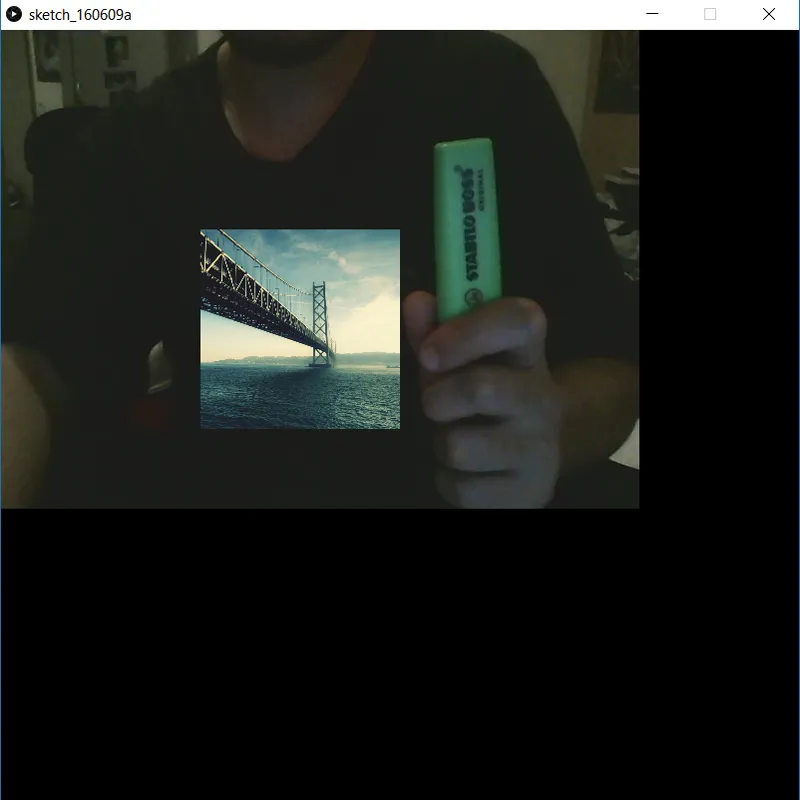

println()语句来确定到底哪些if语句被执行了,以及所有变量的值。这样可以告诉你代码在做什么,然后我们可以逆向思考为什么会这样。 - Kevin Workman