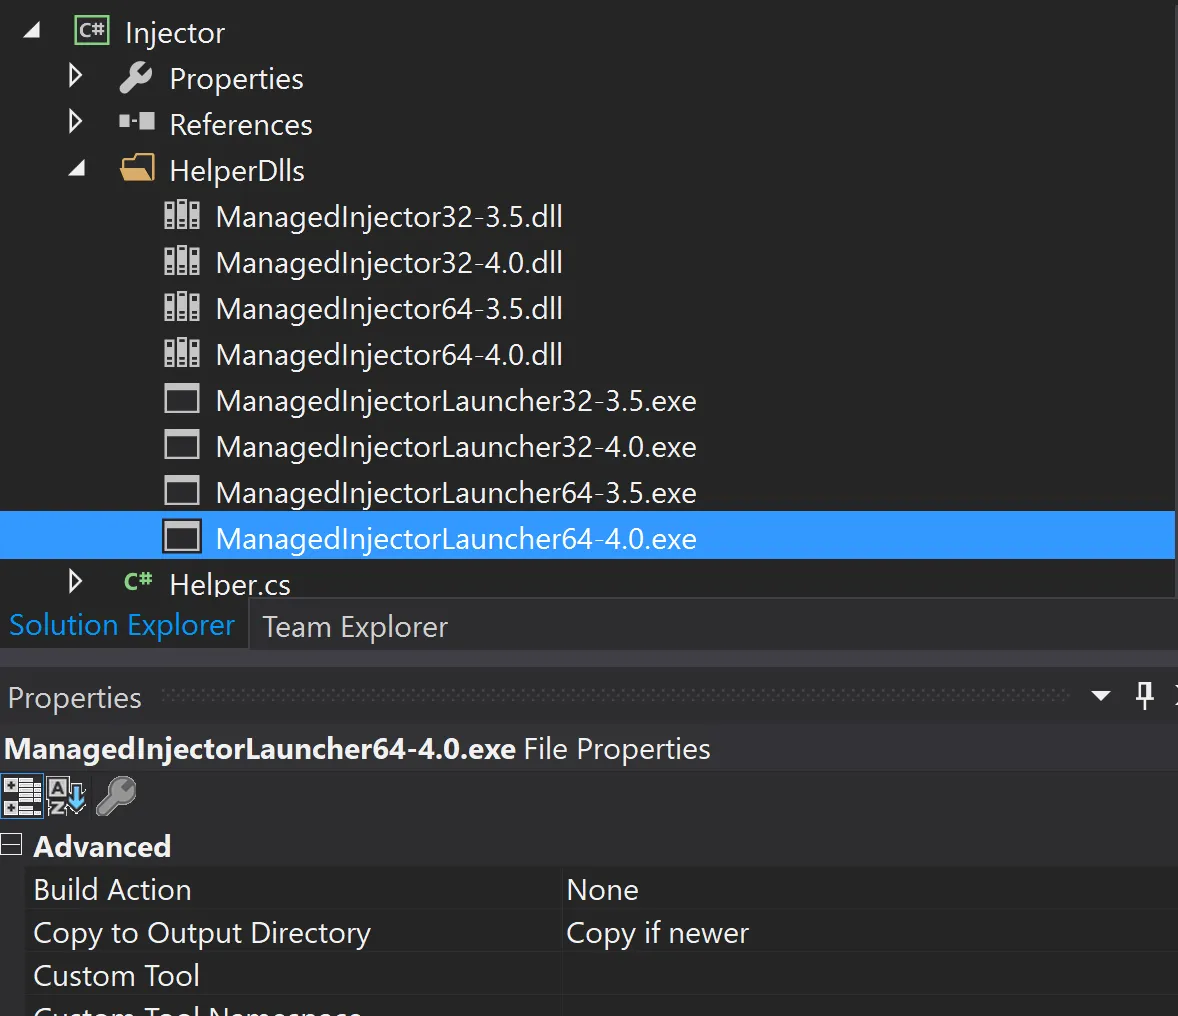
Download the binaries for SnoopUI, and add them to your project. Make sure to keep the compile option as 'None' and are copied to output directory.
Next step would be add a helper method, that uses these binaries to inject your dll with automation logic into target application (which is NordVPN) in this case. Once the dll is injected into target process, the ManagedInjector also invokes the method that is sent as parameter.
public class Helper
{
    public static void Inject(IntPtr windowHandle, Assembly assembly, string className, string methodName)
    {
        var location = Assembly.GetEntryAssembly().Location;
        var directory = Path.GetDirectoryName(location);
        var file = Path.Combine(directory, "HelperDlls", "ManagedInjectorLauncher" + "64-4.0" + ".exe");

        Debug.WriteLine(file + " " + windowHandle + " \"" + assembly.Location + "\" \"" + className + "\" \"" + methodName + "\"");
        Process.Start(file, windowHandle + " \"" + assembly.Location + "\" \"" + className + "\" \"" + methodName + "\"");
    }
}
After the automation dll is injected in the application, the access to Visual Tree is pretty simple using Dispatcher and PresentationSources.
public class Setup
{
public static bool Start()
{
Dispatcher dispatcher;
if (Application.Current == null)
dispatcher = Dispatcher.CurrentDispatcher;
else
dispatcher = Application.Current.Dispatcher;
dispatcher.Invoke(AutomateApp);
return true;
}
public static void AutomateApp()
{
Window root = null;
foreach (PresentationSource presentationSource in PresentationSource.CurrentSources)
{
root = presentationSource.RootVisual as Window;
if (root == null)
continue;
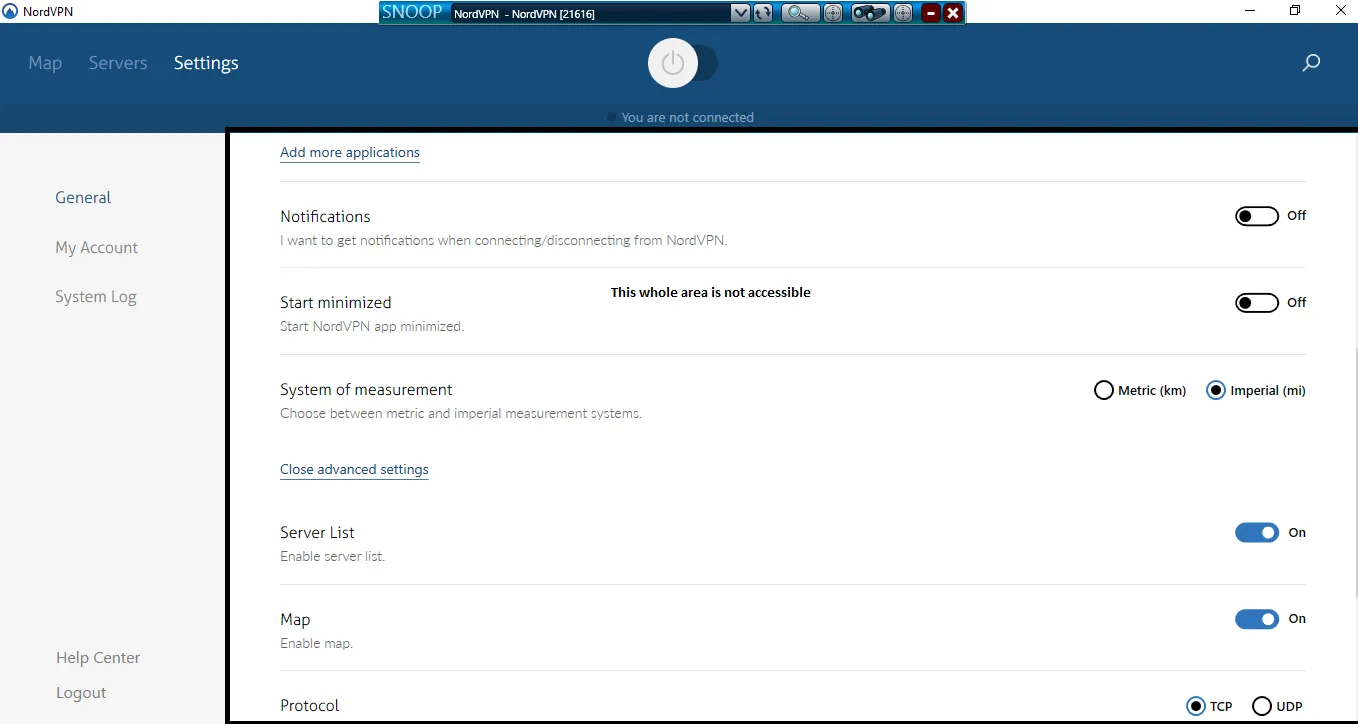
if ("NordVPN ".Equals(root.Title))
break;
}
Getting access to VisualTree is easy, but identifying the controls is not that simple, as there are no automation-id(s), or name(s) that can uniquely identify these controls. But fortunately, as they are using MVVM, it is possible to identify them using the binding(s) attached with them.
public static T GetChildWithPath<T>(this DependencyObject depObj, DependencyProperty property = null, string pathName = null) where T : DependencyObject
{
    T toReturn = null;

    for (int i = 0; i < VisualTreeHelper.GetChildrenCount(depObj); i++)
    {
        var child = VisualTreeHelper.GetChild(depObj, i);
        bool pathNameMatch = (child is T) && child.IsPathNameMatch<T>(property, pathName);
        if (pathNameMatch)
        {
            toReturn = child as T;
            break;
        }
        else
            toReturn = GetChildWithPath<T>(child, property, pathName);

        if (toReturn != null)
            break;
    }
    return toReturn;
}
Once you have access to the controls, it is now possible to either manipulate their properties directly, or access their corresponding automation peers, and providers to automate these controls.
var checkBoxNames = new[]
{
    "CyberSec", "AutomaticUpdates", "AutoConnect",
    "StartOnStartup", "KillSwitch", "ShowNotifications",
    "StartMinimized", "ShowServerList", "ShowMap",
    "UseCustomDns", "ObfuscatedServersOnly"
};

foreach(var path in checkBoxNames)
{
    var chkBox = settingsView.GetChildWithPath<CheckBox>(CheckBox.IsCheckedProperty, path);
    if(chkBox != null && chkBox.IsEnabled)
        chkBox.SimulateClick();
}