我一直在尝试在SwiftUI中创建一个多行文本字段,但我无法弄清楚如何实现。
这是我目前的代码:
我一直在尝试在SwiftUI中创建一个多行TextField,但是我无法找到方法。
这是我当前的代码:
struct EditorTextView : View {
    @Binding var text: String

    var body: some View {
        TextField($text)
            .lineLimit(4)
            .multilineTextAlignment(.leading)
            .frame(minWidth: 100, maxWidth: 200, minHeight: 100, maxHeight: .infinity, alignment: .topLeading)
    }
}

#if DEBUG
let sampleText = """
Very long line 1
Very long line 2
Very long line 3
Very long line 4
"""

struct EditorTextView_Previews : PreviewProvider {
    static var previews: some View {
        EditorTextView(text: .constant(sampleText))
            .previewLayout(.fixed(width: 200, height: 200))
    }
}
#endif
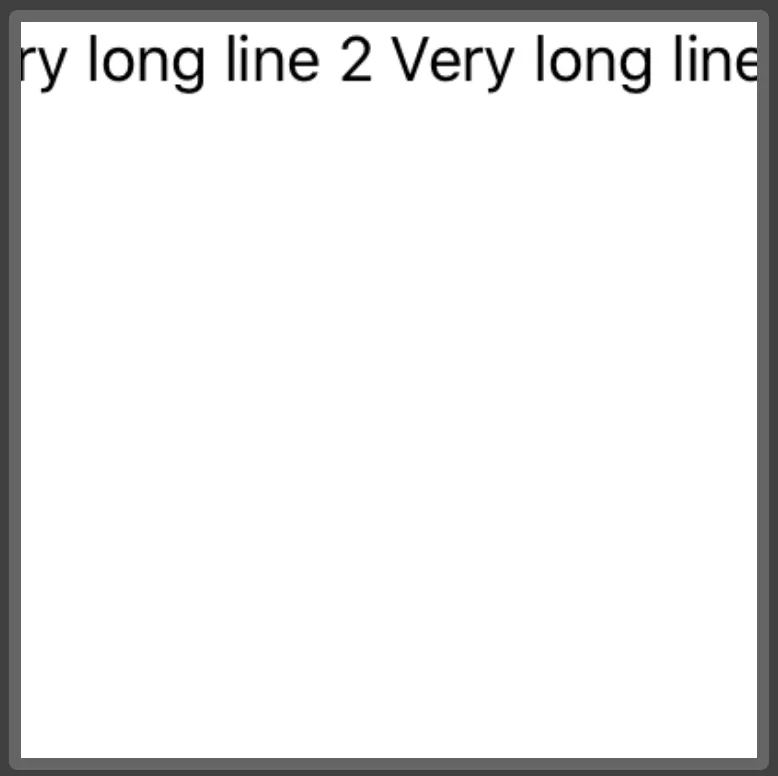
但这是输出结果: