我一直在使用PIL Image。
我试图在图像上绘制文本。我希望这个文本像大多数网络迷因一样有一个黑色的轮廓。我尝试通过在前面的字母后面绘制一个更大字体的阴影字母来实现这一点。我已经相应地调整了阴影的x和y位置。但是阴影有点偏差。前面的字母应该正好位于阴影字母的中间,但事实并非如此。问号在水平方向上肯定没有居中,所有的字母在垂直方向上都太低了。轮廓看起来也不好看。
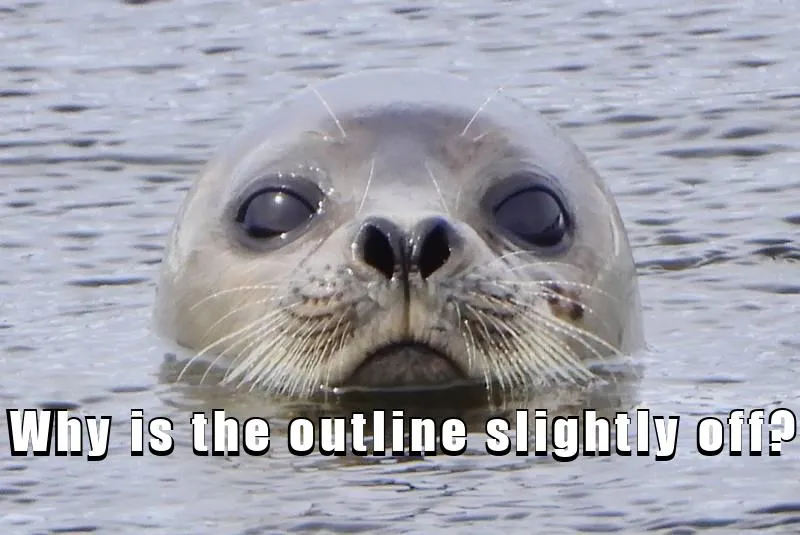
下面是生成上面图片的最小可重现示例。
from PIL import Image, ImageDraw, ImageFont

    caption = "Why is the text slightly off?"
    img = Image.open('./example-img.jpg')
    d = ImageDraw.Draw(img)
    x, y = 10, 400
    font = ImageFont.truetype(font='./impact.ttf', size=50)
    shadowFont = ImageFont.truetype(font='./impact.ttf', size=60)
    for idx in range(0, len(caption)):
        char = caption[idx]
        w, h = font.getsize(char)
        sw, sh = shadowFont.getsize(char)  # shadow width, shadow height
        sx = x - ((sw - w) / 2)  # Shadow x
        sy = y - ((sh - h) / 2)  # Shadow y
        # print(x,y,sx,sy,w,h,sw,sh)
        d.text((sx, sy), char, fill="black", font=shadowFont)  # Drawing the text
        d.text((x, y), char, fill=(255,255,255), font=font)  # Drawing the text
        x += w + 5

    img.save('example-output.jpg')
另一种方法 包括在主要文本后面用黑色文本在略高,略低,略左和略右的位置重复绘制文本,但是如下所示,这些也不是最优的方案:
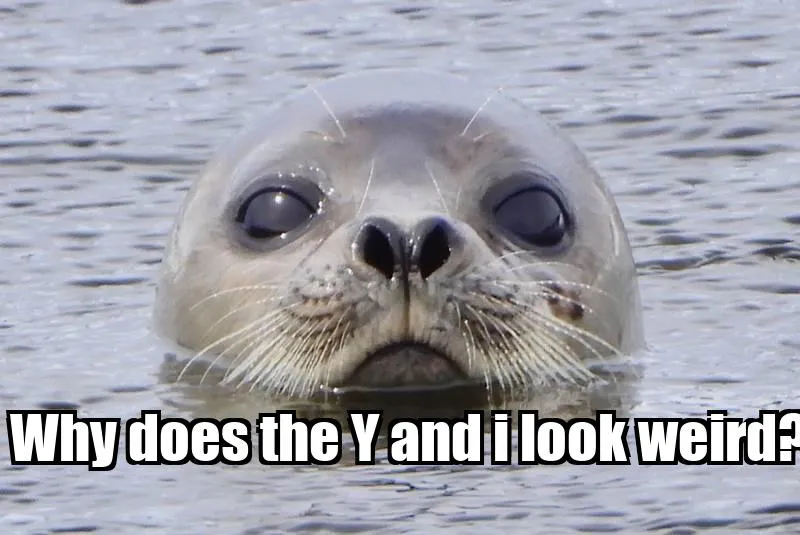
生成上面图片的代码:
    from PIL import Image, ImageDraw, ImageFont

    caption = "Why does the Y and i look weird?"
    x, y = 10, 400
    font = ImageFont.truetype(font='./impact.ttf', size=60)
    img = Image.open('./example-img.jpg')
    d = ImageDraw.Draw(img)
    shadowColor = (0, 0, 0)
    thickness = 4
    d.text((x - thickness, y - thickness), caption, font=font, fill=shadowColor, thick=thickness)
    d.text((x + thickness, y - thickness), caption, font=font, fill=shadowColor, thick=thickness)
    d.text((x - thickness, y + thickness), caption, font=font, fill=shadowColor, thick=thickness)
    d.text((x + thickness, y + thickness), caption, font=font, fill=shadowColor, thick=thickness)
    d.text((x, y), caption, spacing=4, fill=(255, 255, 255), font=font)  # Drawing the text
    img.save('example-output.jpg')