我有一个ImageView和一个包含alpha通道和透明像素的位图。当我尝试使用Mode.OVERLAY的ColorFilter时(从蜂窝版本开始),提供的颜色覆盖了整个ImageView(整个矩形),但我只想覆盖非透明像素。如何剪切ImageView的画布以在需要的地方执行滤镜?
更新:
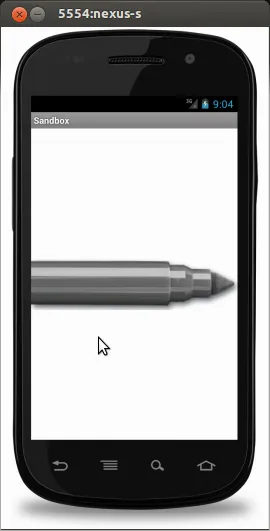
我有一个灰度png图片:
当我尝试使用MODE_ATOP时,我得到:
当我使用OVERLAY时,我得到:
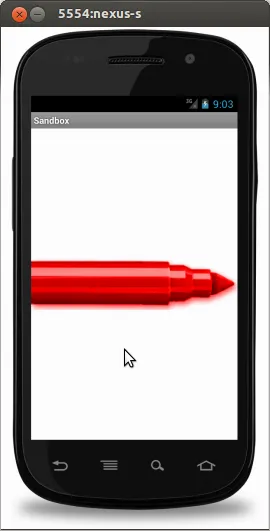
而我想要得到的是:
更新:
我有一个灰度png图片:
当我尝试使用MODE_ATOP时,我得到:
当我使用OVERLAY时,我得到:
而我想要得到的是: