我需要实现一个创建包含多页文本的PDF功能。
class PDFCreator {

func prepareData() -> Data {
    //1
    let pdfMetaData = [
      kCGPDFContextCreator: "PDF Creator",
      kCGPDFContextAuthor: "Pratik Sodha",
      kCGPDFContextTitle: "My PDF"
    ]

    //2
    let format = UIGraphicsPDFRendererFormat()
    format.documentInfo = pdfMetaData as [String: Any]

    //3
    let pageWidth = 8.5 * 72.0
    let pageHeight = 11 * 72.0
    let pageRect = CGRect(x: 0, y: 0, width: pageWidth, height: pageHeight)

    //4
    let renderer = UIGraphicsPDFRenderer(bounds: pageRect, format: format)

    //5
    let data = renderer.pdfData { (context) in
        //6
        context.beginPage()
        self.addText("Lorem Ipsum is simply dummy text of the printing and typesetting industry. Lorem Ipsum has been the industry's standard dummy text ever since the 1500s, when an unknown printer took a galley of type and scrambled it to make a type specimen book. It has survived not only five centuries, but also the leap into electronic typesetting, remaining essentially unchanged. It was popularised in the 1960s with the release of Letraset sheets containing Lorem Ipsum passages, and more recently with desktop publishing software like Aldus PageMaker including versions of Lorem Ipsum.", pageRect: pageRect)

    }

    return data
}

@discardableResult
func addText(_ text : String, pageRect: CGRect) -> CGFloat {

    // 1
    let textFont = UIFont.systemFont(ofSize: 60.0, weight: .regular)

    // 2
    let paragraphStyle = NSMutableParagraphStyle()
    paragraphStyle.alignment = .natural
    paragraphStyle.lineBreakMode = .byWordWrapping

    // 3
    let textAttributes = [
        NSAttributedString.Key.paragraphStyle: paragraphStyle,
        NSAttributedString.Key.font: textFont
    ]
    let attributedText = NSAttributedString(string: text, attributes: textAttributes)
    let textSize = attributedText.boundingRect(with: pageRect.size, options: [.usesFontLeading, .usesLineFragmentOrigin], context: nil)

    // 4
    let textRect = CGRect(x: 10,
                          y: 10,
                          width: pageRect.width - 20,
                          height: textSize.height)

    attributedText.draw(in: textRect)

    return textRect.origin.y + textRect.size.height
  }
}
使用PDFCreator类准备PDF数据,并通过PDFView显示。
import UIKit
import PDFKit

class PDFPreviewViewController: UIViewController {

    //1
    @IBOutlet weak private var pdfView : PDFView!

    override func viewDidLoad() {

        super.viewDidLoad()

        //2
        let pdfData = PDFCreator().prepareData()

        //3
        pdfView.document = PDFDocument(data: pdfData)
        pdfView.autoScales = true
    }
}
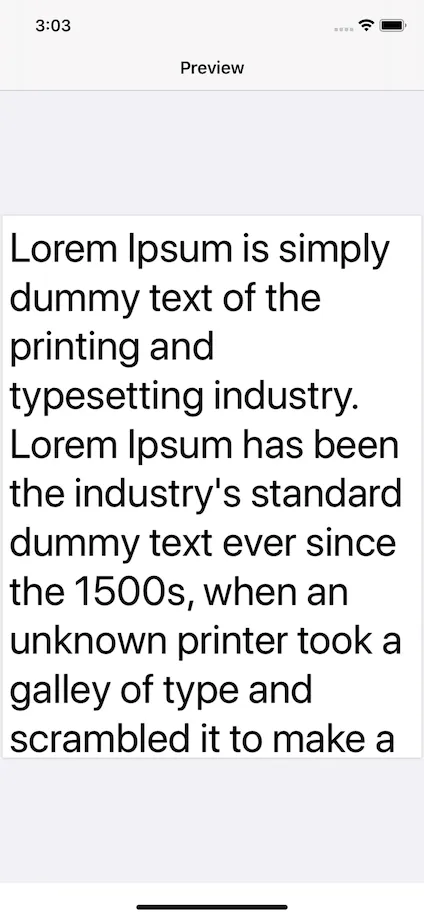
实际输出
期望的输出
整个文本将出现在 PDF 中,具有新的 PDF 页面而不会减小字体大小。
非常感谢您的任何帮助。 谢谢。