这对我有用
- 创建带有用户控件的
<Grid >
        <Grid.ColumnDefinitions>
            <ColumnDefinition Width="*"/>
            <ColumnDefinition Width="*"/>
            <ColumnDefinition Width="*"/>
        </Grid.ColumnDefinitions>
        <Button Grid.Column="2" Content="X"  Height="19" Click="button_close_Click" HorizontalAlignment="Right" Margin="0,3,4,0"
          VerticalAlignment="Top" Width="20" FontFamily="Courier"
          FontWeight="Bold"
          FontStretch="Normal"
          FontSize="14" Background="IndianRed"/>
        <Label Grid.ColumnSpan="2" Height="23" HorizontalAlignment="Left"
          Margin="4,1,0,0" VerticalAlignment="Top"
          FontFamily="Courier" FontSize="12" x:Name="NameLabel"/>
    </Grid>
2. 用户控件类
public partial class CloseHeader : UserControl
    {
        MainWindow _shell;
        int _index;
        public CloseHeader(MainWindow shell, int index, string headerName)
        {
            InitializeComponent();
            _shell = shell;
            _index = index;
            NameLabel.Content = headerName;
        }

        private void button_close_Click(object sender, System.Windows.RoutedEventArgs e)
        {
            _shell.CloseTab(_index);
        }
    }
- 在主窗口中
List<int> _tabs = new List<int>();
int countIndex = 1;
public void AddNewTab(HomeFunctions function)
{
int newIndex = countIndex++;
_tabs.Add(newIndex);
switch (function)
{
case HomeFunctions.Settings:
tabControl.Items.Add(new TabItem { Content = new SettingsControl(this), Width = 100, Header = new CloseHeader(this, newIndex, HomeFunctions.Settings.ToString()) });
break;
}
tabControl.SelectedIndex = newIndex;
}
public void CloseTab(int tabId)
{
tabControl.Items.RemoveAt(_tabs.IndexOf(tabId));
_tabs.Remove(tabId);
}
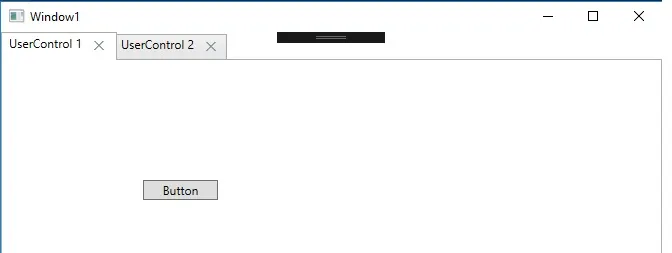
tabConnections.Items的类型是什么?它有Remove方法吗? - Kfir GuycloseTab方法,它能够关闭选定的标签吗?TabItem类有一个OnSelected方法,但我很难让X按钮显示在选项卡标题旁边。 - Truecolor