我有最新的Android Studio(2.3 beta 3),创建项目时似乎默认使用了ConstraintLayout。如何让Android Studio将RelativeLayout作为新项目的默认布局元素?
我有最新的Android Studio(2.3 beta 3),创建项目时似乎默认使用了ConstraintLayout。如何让Android Studio将RelativeLayout作为新项目的默认布局元素?
好的,我看到了上面的答案,它也对我有效。但是,我尝试了一下,成功地将我的当前项目转换为相对布局。请按照以下步骤操作:
在activity_main.xml选项卡中,将其更改为文本。在顶部,您会发现以下内容:
<android.support.constraint.ConstraintLayout xmlns:android="http://schemas.android.com/apk/res/android"
只需将xmlns之前的所有内容更改为RelativeLayout即可。这样做还会更改最底部的一行,您会发现:
</android.support.constraint.ConstraintLayout>
到
</RelativeLayout>
问题解决了!开心点:P
我是为了Android Studio 2.3.1回答这个问题的。将RelativeLayout设置为默认布局的最简单方法之一是进入文本模式,按照以下方式编辑XML文件:
更改此行:
<android.support.constraint.ConstraintLayout xmlns:android="http://schemas.android.com/apk/res/android"
请将以下代码粘贴到您的布局文件中:
<android.widget.RelativeLayout xmlns:android="http://schemas.android.com/apk/res/android"
还要确保您的结束标记更改为:
</android.widget.RelativeLayout>
此外(可选),如果该行以灰色显示,请继续删除此行:
xmlns:app="http://schemas.android.com/apk/res-auto"
编辑:
这是一个可选的项目更改,我在参加Udacity的Android开发者课程时发现了这个提示
如果项目中不需要约束布局,则通过删除以下行从build.gradle中删除此依赖项,然后执行gradle sync:
compile 'com.android.support.constraint:constraint-layout:1.0.0-beta4'
Android Studio 3.0
步骤0:
关闭 Android Studio。
步骤1:
前往 C:\Program Files\Android\Android Studio\plugins\android\lib\templates\activities\common\root\res\layout\。
步骤2:
备份 simple.xml.ftl 文件。
步骤3:
将 simple.xml.ftl 文件改为下面的代码并保存:
<RelativeLayout xmlns:android="http://schemas.android.com/apk/res/android"
xmlns:app="http://schemas.android.com/apk/res-auto"
xmlns:tools="http://schemas.android.com/tools"
android:layout_width="match_parent"
android:layout_height="match_parent"
tools:context="${packageName}.${activityClass}">


<TextView
    android:id="@+id/textView2"
    android:layout_width="wrap_content"
    android:layout_height="wrap_content"
    android:layout_alignParentStart="true"
    android:layout_alignParentTop="true"
    android:layout_marginStart="12dp"
    android:layout_marginTop="21dp"
    android:text="don't forget to click useful if this helps. this is my first post at stackoverflow!"
    android:textSize="20sp"
    />

</RelativeLayout>
适用于Android Studio 3.1
如果您想更改默认的Android Studio设置,请按照以下步骤操作:
第一步:
前往安装了Android Studio的文件目录,例如C:\Program Files\Android\Android Studio\plugins\android\lib\templates\activities\common\root\res\layout。
然后:
从其他地方复制simple.xml文件以备份。
接着:
打开simple.xml文件并将其代码替换为以下内容。
<?xml version="1.0" encoding="utf-8"
<RelativeLayout xmlns:android="http://schemas.android.com/apk/res/android"
xmlns:app="http://schemas.android.com/apk/res-auto"
xmlns:tools="http://schemas.android.com/tools"
android:layout_width="match_parent"
android:layout_height="match_parent"
tools:context="${packageName}.${activityClass}">


</RelativeLayout>
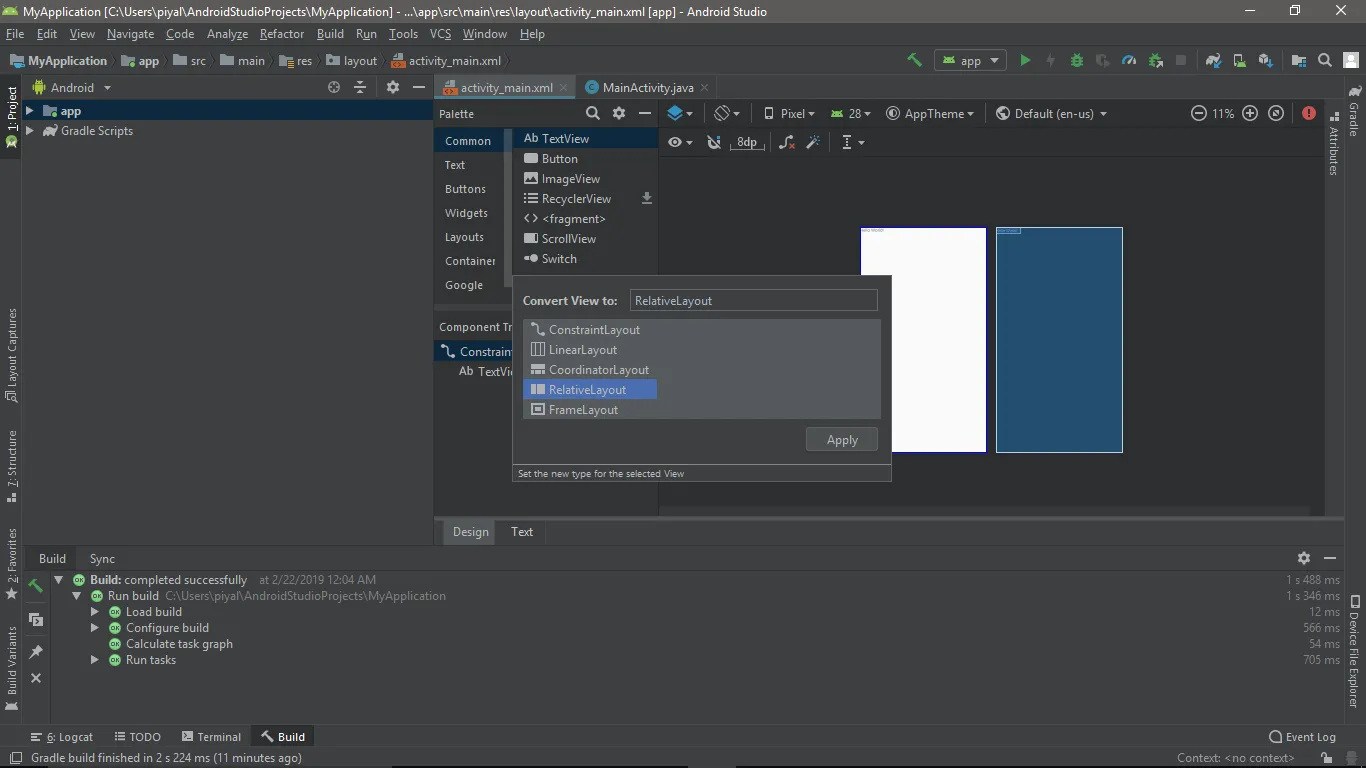
但是如果你只想改变这个项目的布局,只需要进入activity_main.xml文件,找到文本并将上面的代码粘贴到那里就可以了。
为了更清晰,请参考下面的图片

低效解决方案:
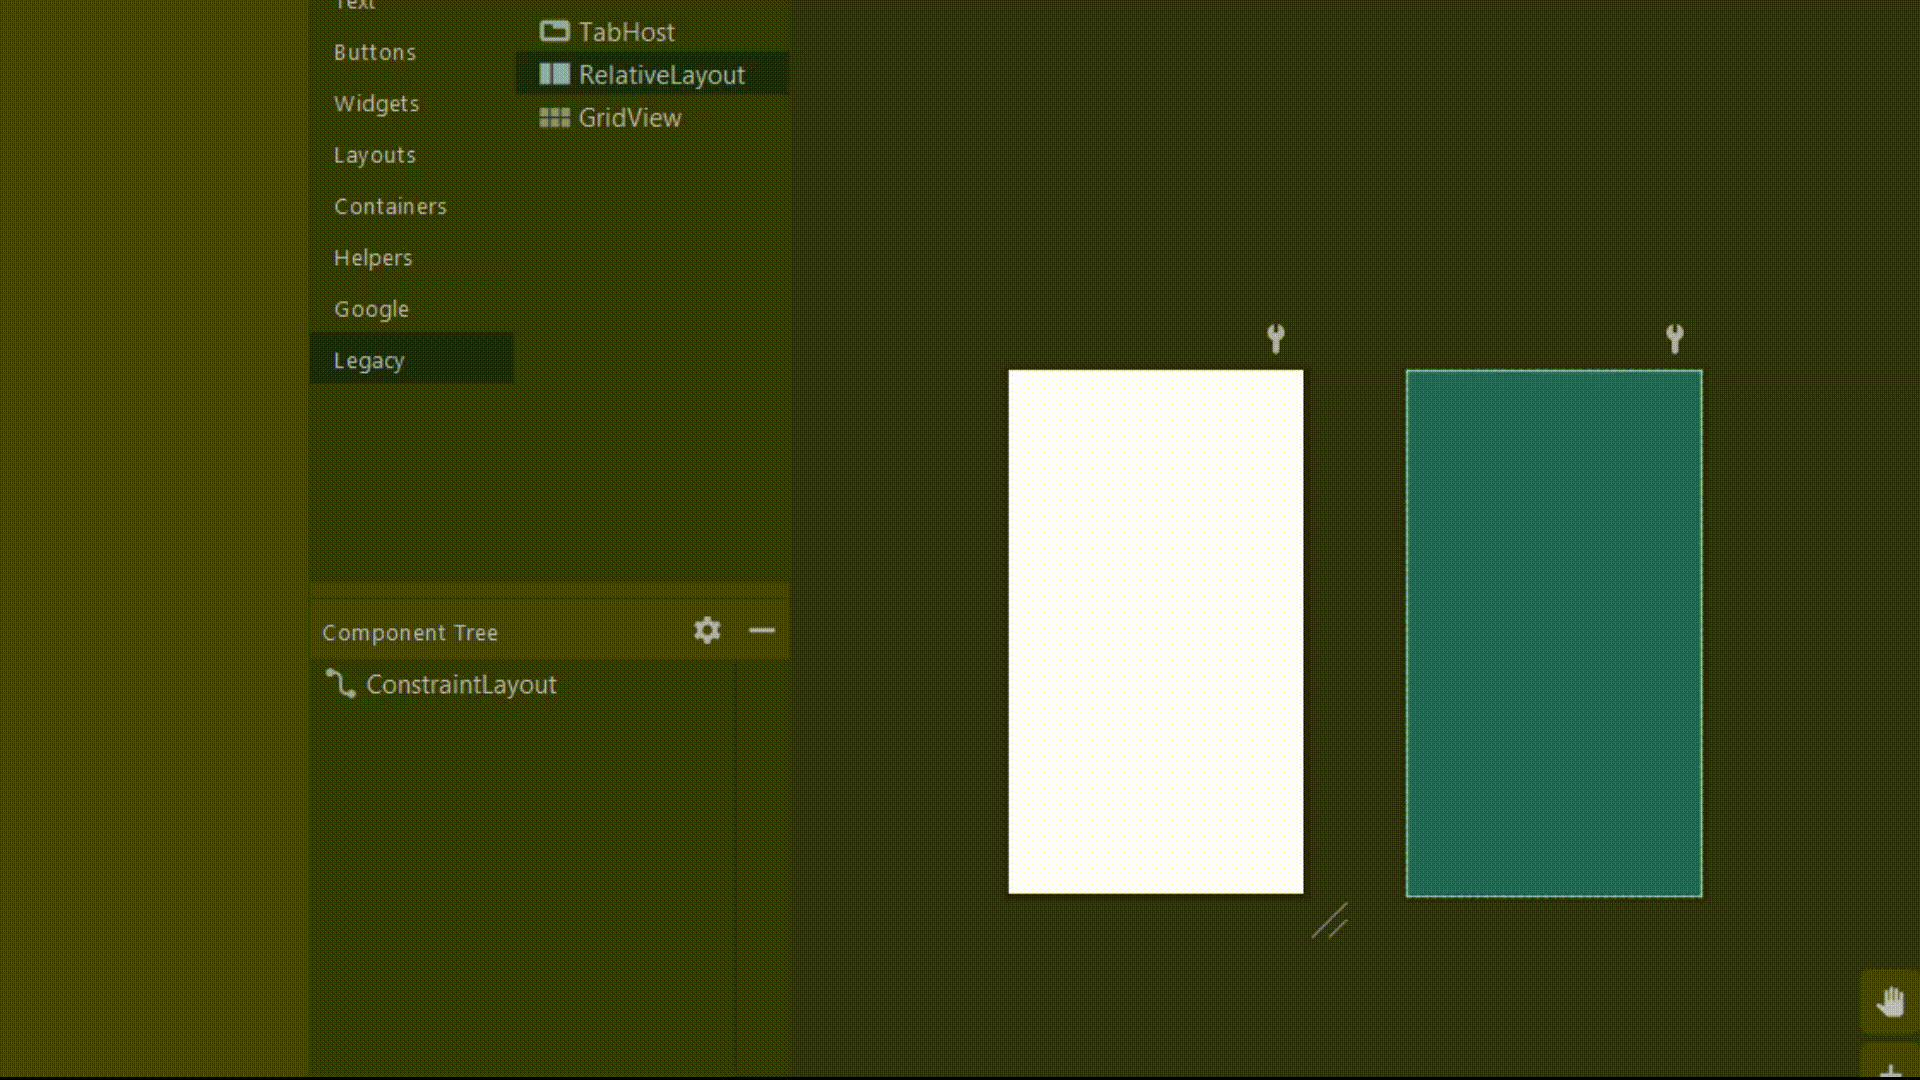
只需右击ConstrainLayout,选择“转换视图”,然后选择“RelativeLayout”:
<android.support.constraint.ConstraintLayout xmlns:android="http://schemas.android.com/apk/res/android"
<android.widget.RelativeLayout xmlns:android="http://schemas.android.com/apk/res/android"
如果您回到设计模式,您就可以看到现在有了一个相对布局。这也会自动更改结束标签,因此不会有任何问题。
试一下这个。它帮助我从 ConstraintLayout 转换到 RelativeLayout。