作为一个 Android 新手,我已经费尽心思(并不难理解)一段时间,试图找出如何实现以下目标:
使用RelativeLayout或其他不同于AbsoluteLayout的布局来替换之前所创建的布局。我来自Windows编程背景,那里设备会自动调整“绝对”定位,所以GUI布局不是问题。
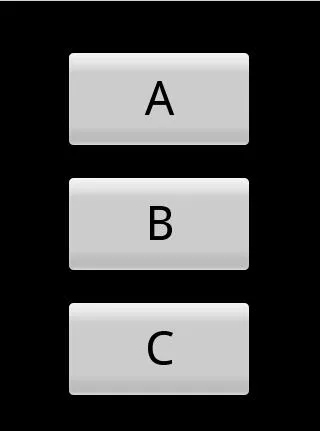
第一个布局在模拟器中运行得很好,但在我的Nexus One或任何屏幕大小与模拟器不同的设备上无法格式化。我预料到这一点,因为它是绝对定位的,但我还没有找到适用于不同屏幕尺寸的正确格式化解决方案。我的目标是使布局适用于不同的屏幕尺寸和纵横屏。
这是我目前正在使用的代码:[main.xml]
<?xml version="1.0" encoding="utf-8"?>
<AbsoluteLayout
android:layout_width="fill_parent"
android:layout_height="fill_parent"
xmlns:android="http://schemas.android.com/apk/res/android"
>
  <Button
    android:id="@+id/Button01"
    android:layout_width="188px"
    android:layout_height="100px"
    android:text="A"
    android:layout_y="50px" android:layout_x="65px" android:textSize="48sp"/>

<Button
    android:id="@+id/Button02"
    android:layout_width="188px"
    android:layout_height="100px"
    android:text="B"
    android:layout_y="175px" android:layout_x="65px" android:textSize="48sp"/>

<Button
    android:id="@+id/Button03"
    android:layout_width="188px"
    android:layout_height="100px"
    android:text="C"
    android:layout_y="300px" android:layout_x="65px" android:textSize="48sp"/>
</AbsoluteLayout>
参考其他问题,我整理了这个代码。它更接近答案,但还不够完美。
<?xml version="1.0" encoding="utf-8"?>
<TableLayout
android:gravity="center"
android:id="@+id/widget49"
android:layout_width="fill_parent"
android:layout_height="fill_parent"
android:orientation="vertical"
xmlns:android="http://schemas.android.com/apk/res/android"
>
<Button
    android:id="@+id/Button01"
    android:layout_width="0dip"
    android:layout_weight="1"
    android:text="A"
    android:textSize="48sp"/>

<Button
    android:id="@+id/Button02"
    android:layout_width="0dip"
    android:layout_weight="1"
    android:text="B"
    android:textSize="48sp"/>

<Button
    android:id="@+id/Button03"
    android:layout_width="0dip"
    android:layout_weight="1"
    android:text="C"
    android:textSize="48sp"/>
</TableLayout>
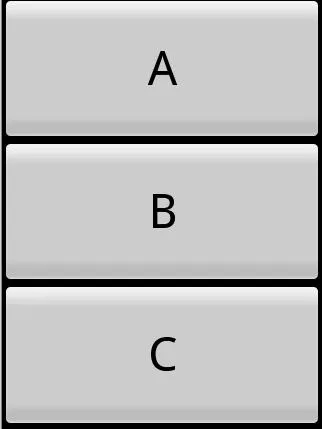
这是TableLayout的图片:
非常感谢任何帮助/指导。