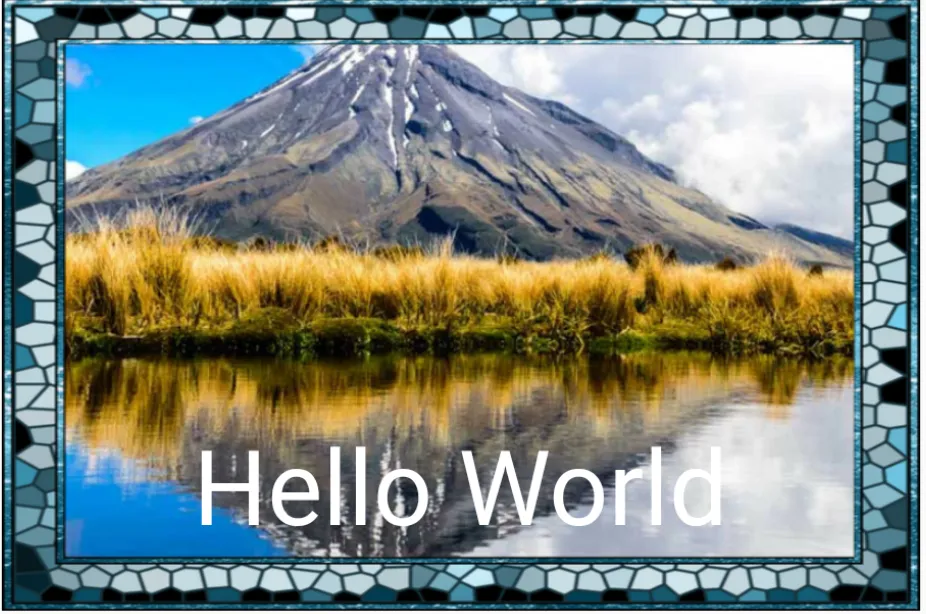
我有一张图片,它的长宽比与设备屏幕不匹配。我想要拉伸这张图片,使其完全填满屏幕,并且不裁剪任何部分。
CSS 有百分比的概念,所以我可以将高度和宽度设置为100%。但是 Flutter 似乎没有这个概念,而且硬编码高度和宽度是不好的,所以我陷入了困境。
这是我的代码(我正在使用 Stack,因为我在图片前景中有其他内容):
CSS 有百分比的概念,所以我可以将高度和宽度设置为100%。但是 Flutter 似乎没有这个概念,而且硬编码高度和宽度是不好的,所以我陷入了困境。
这是我的代码(我正在使用 Stack,因为我在图片前景中有其他内容):
Widget background = new Container(
height: // Not sure what to put here!
width: // Not sure what to put here!
child: new Image.asset(
asset.background,
fit: BoxFit.fill, // I thought this would fill up my Container but it doesn't
),
);
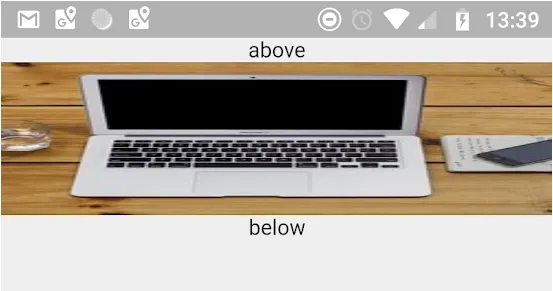
return new Stack(
children: <Widget>[
background,
foreground,
],
);