第一步:
我将为您介绍IBDesignable和IBInspectable,并向您展示如何利用这个新功能。没有比创建演示更好的方式来阐述一个功能。因此,我们将一起构建一个名为“Rainbow”的自定义界面。
IBDesignable和IBInspectable
使用IBDesignable和IBInspectable,开发人员可以创建在接口构建器中实时呈现的界面(或视图)。一般来说,要应用这个新功能,您只需要通过对UIView或UIControl进行子类化来创建一个可视化类,然后在Swift中使用@IBDesignable关键字作为类名的前缀。如果您使用Objective-C,则使用IB_DESIGNABLE宏。以下是Swift中的示例代码:
@IBDesignable
class Rainbow: UIView {
}
在旧版本的Xcode中,您可以编辑用户定义的运行时属性来更改对象的属性(例如layer.cornerRadius)在界面构建器中。问题是你必须键入属性的确切名称。IBInspectable向前迈出了一步。当您使用IBInspectable前缀一个可视化类的属性时,该属性将被公开到界面构建器中,以便您可以更直观地更改其值:

再次强调,如果您正在使用Swift开发应用程序,您需要做的就是在您选择的属性前加上关键字@IBInspectable。以下是一个示例代码片段:
@IBInspectable var firstColor: UIColor = UIColor.blackColor()
{
}
@IBInspectable var firstColor: UIColor = UIColor.blackColor()
{
}
构建你的Xcode项目
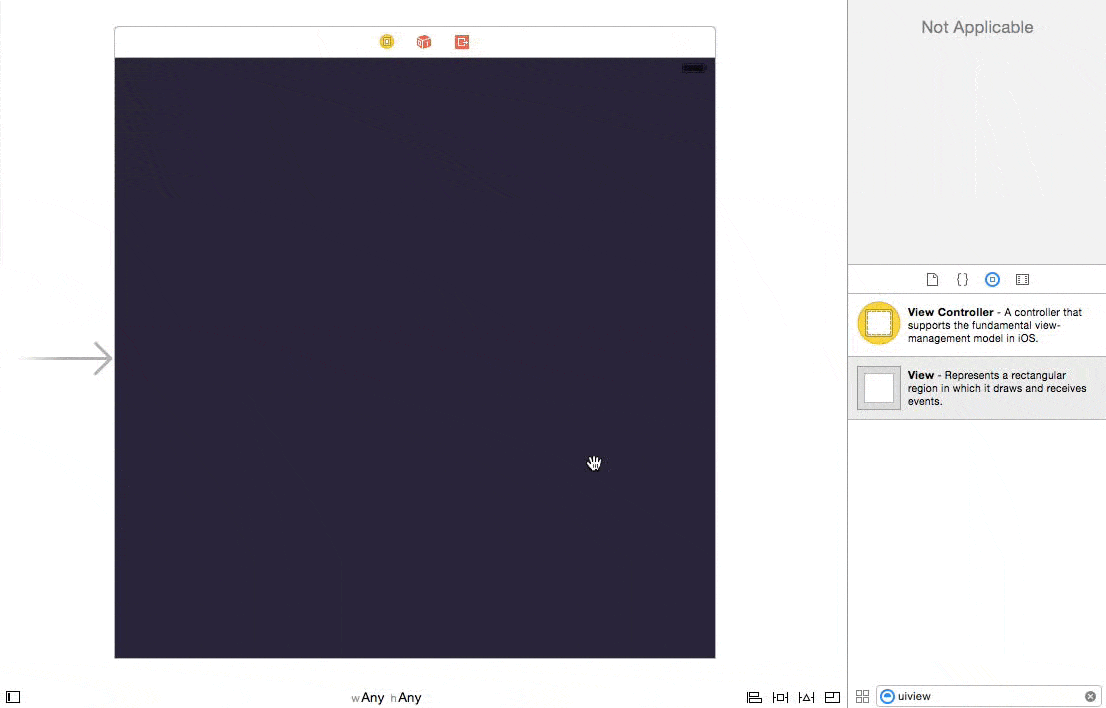
让我们开始在Xcode中创建一个新项目,选择Single View Application作为模板,并将其命名为RainbowDemo。我们将在此项目中使用Swift编程语言,因此在创建项目时不要忘记选择它。
完成后,在项目导航器中选择Main.storyboard,并从对象库中拖动一个View对象到视图控制器中。将其颜色更改为#38334C(或任何您想要的颜色),并将其大小设置为600 x 434。然后将其放置在主视图的中心。别忘了将主视图的颜色也更改为视图对象的相同颜色。
提示:如果您想要更改RGB颜色值以供代码使用,只需打开您的Color Palette并切换到滑块选项卡以更改RGB值。
感到困惑?没关系。通过项目演示后,您会明白我的意思。
使用Xcode 6,您必须为视图配置自动布局约束,以支持所有类型的iOS设备。在最新版本的Xcode中,自动布局非常强大。对于简单的约束,您只需单击Auto Layout菜单的Issues选项,然后选择“Add Missing Contraints”,Xcode将自动为视图配置布局约束。
创建自定义视图类
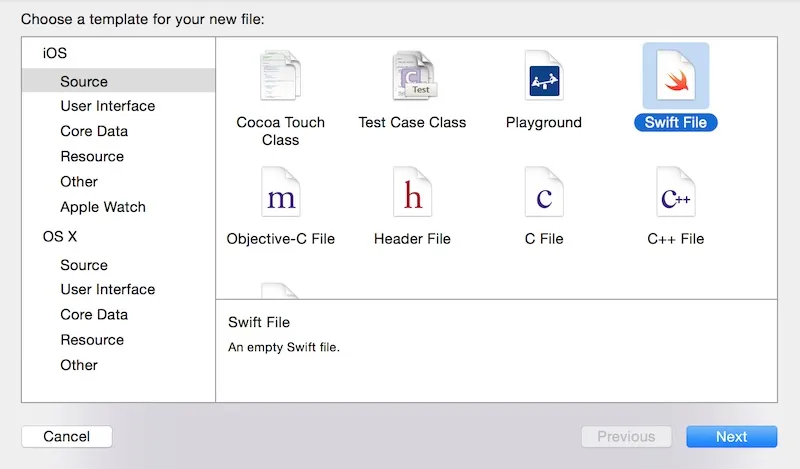
现在,您已经在Storyboard中创建了视图,是时候创建我们的自定义视图类了。我们将使用Swift类模板来创建该类。将其命名为“Rainbow”。
Then insert the following code in the class:

import UIKit

class Rainbow: UIView {
    required init(coder aDecoder: NSCoder) {
        super.init(coder: aDecoder)
    }

    override init(frame: CGRect) {
        super.init(frame: frame)
    }
}
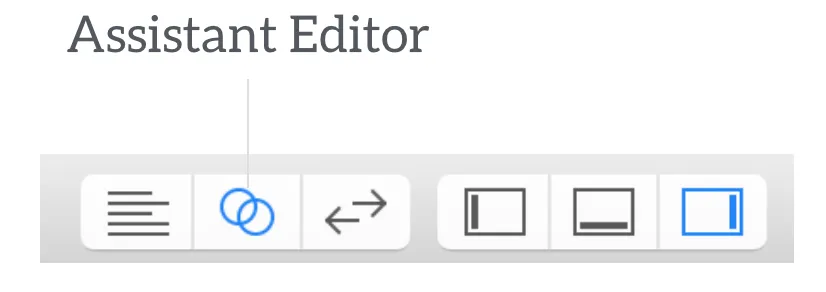
如前所述,视觉类是UIView的子类。为了在实时渲染中使用我们的自定义类,我们需要像上面所示一样覆盖两个初始化程序。接下来,通过选择助理编辑器来拆分视图:
一旦完成,选择助理编辑器中的主要故事板,这样您就可以实时查看正在构建的内容。请记得在“Identity Inspector”下更改视图的类名为“Rainbow”:
实现IBDesignable控件
使控件能够进行实时渲染的第一步是通过在类名前面加上@IBDesignable来将自定义视图设置为可设计:
@IBDesignable
class Rainbow: UIView {
    ...
}
如你所见,这很简单。但是这个简单的关键字会让你的开发变得更加容易。接下来,我们将添加一些属性来设置圆圈的颜色。在“ Rainbow”类中插入以下代码行:
@IBInspectable var firstColor: UIColor = UIColor(red: (37.0/255.0), green: (252.0/255), blue: (244.0/255.0), alpha: 1.0)
@IBInspectable var secondColor: UIColor = UIColor(red: (171.0/255.0), green: (250.0/255), blue: (81.0/255.0), alpha: 1.0)
@IBInspectable var thirdColor: UIColor = UIColor(red: (238.0/255.0), green: (32.0/255)
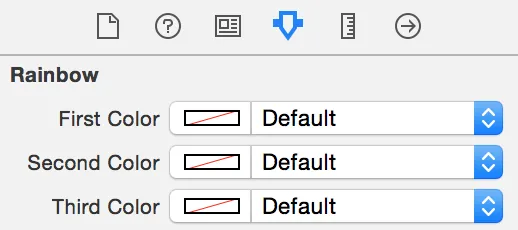
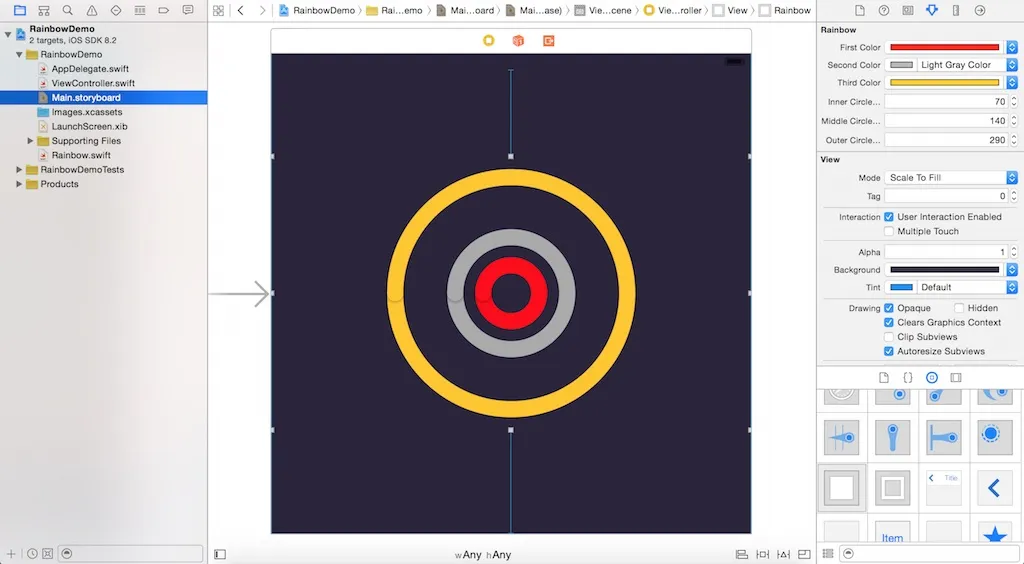
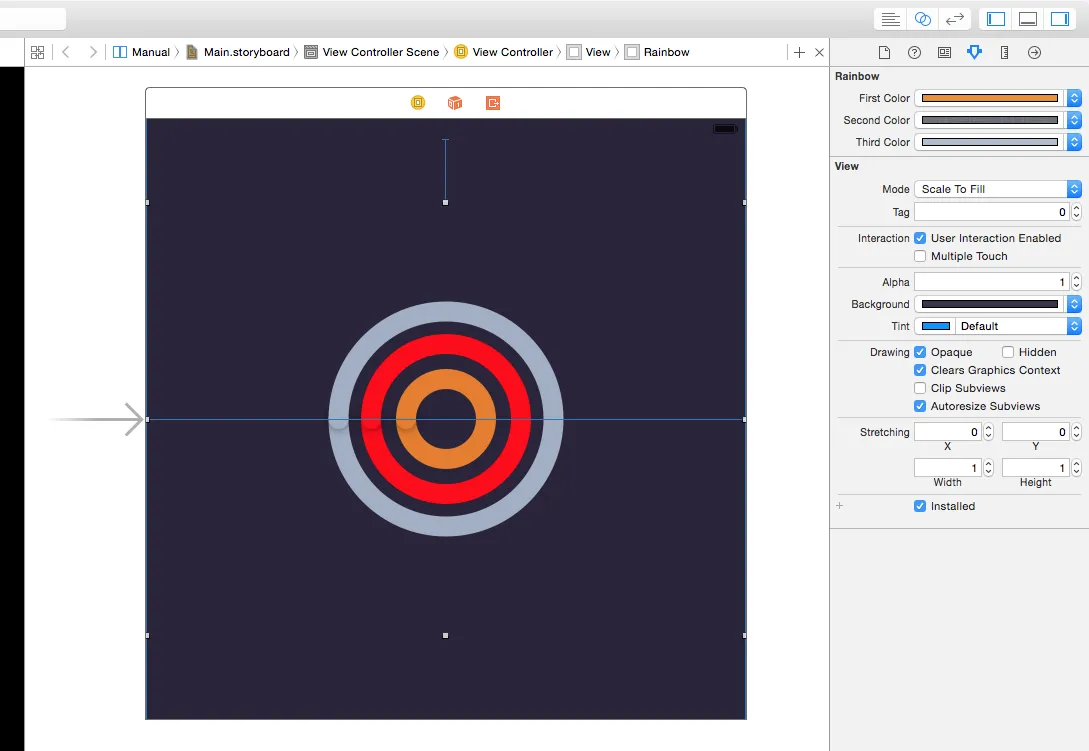
在这里,我们使用默认颜色预定义每个属性,并告诉它在用户更改其值时重新绘制视图。最重要的是,我们在每个属性前加上@IBInspectable关键字。如果您转到视图的属性检查器,您应该可以在可视化中找到这些属性:
很酷,对吧?通过将属性标记为IBInspectable,您可以使用颜色选择器进行可视化编辑。
好的,让我们转到实现Rainbow类的主要方法,该方法用于在屏幕上绘制圆形。在类中插入以下方法:
func addOval(lineWidth: CGFloat, path: CGPathRef, strokeStart: CGFloat, strokeEnd: CGFloat, strokeColor: UIColor, fillColor: UIColor, shadowRadius: CGFloat, shadowOpacity: Float, shadowOffsset: CGSize) {

    let arc = CAShapeLayer()
    arc.lineWidth = lineWidth
    arc.path = path
    arc.strokeStart = strokeStart
    arc.strokeEnd = strokeEnd
    arc.strokeColor = strokeColor.CGColor
    arc.fillColor = fillColor.CGColor
    arc.shadowColor = UIColor.blackColor().CGColor
    arc.shadowRadius = shadowRadius
    arc.shadowOpacity = shadowOpacity
    arc.shadowOffset = shadowOffsset
    layer.addSublayer(arc)
}
为了使代码清晰易读,我们创建了一个通用的方法来根据调用者提供的参数绘制完整或半圆。使用CAShapeLayer类绘制圆形或弧线非常简单。您可以使用strokeStart和strokeEnd属性控制描边的起点和终点。通过在0.0和1.0之间变化stokeEnd的值,您可以绘制完整或部分圆。其他属性仅用于设置描边、阴影颜色等。您可以查看官方文档,了解CAShapeLayer中所有可用属性的详细信息。
接下来,在Rainbow类中插入以下方法:
override func drawRect(rect: CGRect) {
self.addCirle(80, capRadius: 20, color: self.firstColor)
self.addCirle(150, capRadius: 20, color: self.secondColor)
self.addCirle(215, capRadius: 20, color: self.thirdColor)
}
func addCirle(arcRadius: CGFloat, capRadius: CGFloat, color: UIColor) {
let X = CGRectGetMidX(self.bounds)
let Y = CGRectGetMidY(self.bounds)
let pathBottom = UIBezierPath(ovalInRect: CGRectMake((X - (arcRadius/2)), (Y - (arcRadius/2)), arcRadius, arcRadius)).CGPath
self.addOval(20.0, path: pathBottom, strokeStart: 0, strokeEnd: 0.5, strokeColor: color, fillColor: UIColor.clearColor(), shadowRadius: 0, shadowOpacity: 0, shadowOffsset: CGSizeZero)
let pathMiddle = UIBezierPath(ovalInRect: CGRectMake((X - (capRadius/2)) - (arcRadius/2), (Y - (capRadius/2)), capRadius, capRadius)).CGPath
self.addOval(0.0, path: pathMiddle, strokeStart: 0, strokeEnd: 1.0, strokeColor: color, fillColor: color, shadowRadius: 5.0, shadowOpacity: 0.5, shadowOffsset: CGSizeZero)
let pathTop = UIBezierPath(ovalInRect: CGRectMake((X - (arcRadius/2)), (Y - (arcRadius/2)), arcRadius, arcRadius)).CGPath
self.addOval(20.0, path: pathTop, strokeStart: 0.5, strokeEnd: 1.0, strokeColor: color, fillColor: UIColor.clearColor(), shadowRadius: 0, shadowOpacity: 0, shadowOffsset: CGSizeZero)
}
drawRect 方法的默认实现不执行任何操作。为了在视图中绘制圆形,我们重写该方法以实现自己的绘制代码。
addCircle 方法接受三个参数:arcRadius、capRadius 和 color。其中,
arcRadius 是圆的半径,而
capRadius 是圆角的半径。
addCircle 方法利用 UIBezierPath 绘制弧线,其工作原理如下:
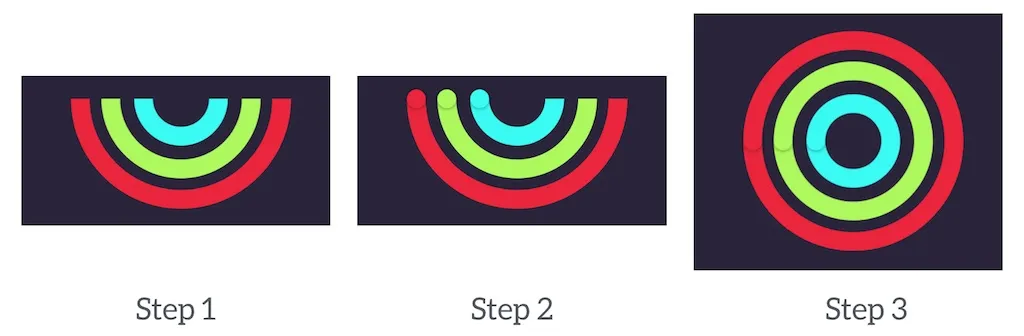
First it draws a half circle at the bottom
Next it draws a full small circle at the edge of the arc.
Finally, it draws the other half of the circle
在drawRect方法中,我们使用不同的半径和颜色三次调用addCircle方法。下图说明了这些圆是如何绘制的:
提示:如果您需要更多关于UIBezierPath的信息,可以查看苹果官方文档。
通过IBInspectable属性,您现在可以在接口构建器中自由更改每个圆的颜色,而无需深入代码:
显然,您还可以将arcRadius作为IBInspectable属性进一步公开。我将把它留给您作为练习。
例如,点击此处查看示例代码:
https://github.com/appcoda/Rainbow-IBDesignable-Demo。
UIView的子类。 - Nicolet view = nib.instantiateWithOwner(self, options: nil)[0] as! MyCustomView- AMayes