我曾经经营过一个丝网印刷工作室(规模相当小),虽然我实际上从未进行过色彩分离印刷,但对原理有一定的了解。这是我的处理方法:
- 将图像分成C、M、Y、K四个通道。
- 将每个分隔出来的图像分别旋转0度、15度、30度和45度。
- 对每个图像进行半色调处理(点大小将与强度成比例)。
- 将每个半色调图像旋转回去。
现在你就得到了你的分色图像。正如你所提到的,旋转步骤可以减少点对齐问题(否则会搞乱一切),而诸如Moiré pattern effects之类的问题也会被合理地减少。
使用PIL编写代码非常容易。
更新2:
我写了一些快速的代码,可以为您完成这项任务,它还包括一个 GCR 函数(下面详细说明):
import Image, ImageDraw, ImageStat
def gcr(im, percentage):
'''basic "Gray Component Replacement" function. Returns a CMYK image with
percentage gray component removed from the CMY channels and put in the
K channel, ie. for percentage=100, (41, 100, 255, 0) >> (0, 59, 214, 41)'''
cmyk_im = im.convert('CMYK')
if not percentage:
return cmyk_im
cmyk_im = cmyk_im.split()
cmyk = []
for i in xrange(4):
cmyk.append(cmyk_im[i].load())
for x in xrange(im.size[0]):
for y in xrange(im.size[1]):
gray = min(cmyk[0][x,y], cmyk[1][x,y], cmyk[2][x,y]) * percentage / 100
for i in xrange(3):
cmyk[i][x,y] = cmyk[i][x,y] - gray
cmyk[3][x,y] = gray
return Image.merge('CMYK', cmyk_im)
def halftone(im, cmyk, sample, scale):
'''Returns list of half-tone images for cmyk image. sample (pixels),
determines the sample box size from the original image. The maximum
output dot diameter is given by sample * scale (which is also the number
of possible dot sizes). So sample=1 will presevere the original image
resolution, but scale must be >1 to allow variation in dot size.'''
cmyk = cmyk.split()
dots = []
angle = 0
for channel in cmyk:
channel = channel.rotate(angle, expand=1)
size = channel.size[0]*scale, channel.size[1]*scale
half_tone = Image.new('L', size)
draw = ImageDraw.Draw(half_tone)
for x in xrange(0, channel.size[0], sample):
for y in xrange(0, channel.size[1], sample):
box = channel.crop((x, y, x + sample, y + sample))
stat = ImageStat.Stat(box)
diameter = (stat.mean[0] / 255)**0.5
edge = 0.5*(1-diameter)
x_pos, y_pos = (x+edge)*scale, (y+edge)*scale
box_edge = sample*diameter*scale
draw.ellipse((x_pos, y_pos, x_pos + box_edge, y_pos + box_edge), fill=255)
half_tone = half_tone.rotate(-angle, expand=1)
width_half, height_half = half_tone.size
xx=(width_half-im.size[0]*scale) / 2
yy=(height_half-im.size[1]*scale) / 2
half_tone = half_tone.crop((xx, yy, xx + im.size[0]*scale, yy + im.size[1]*scale))
dots.append(half_tone)
angle += 15
return dots
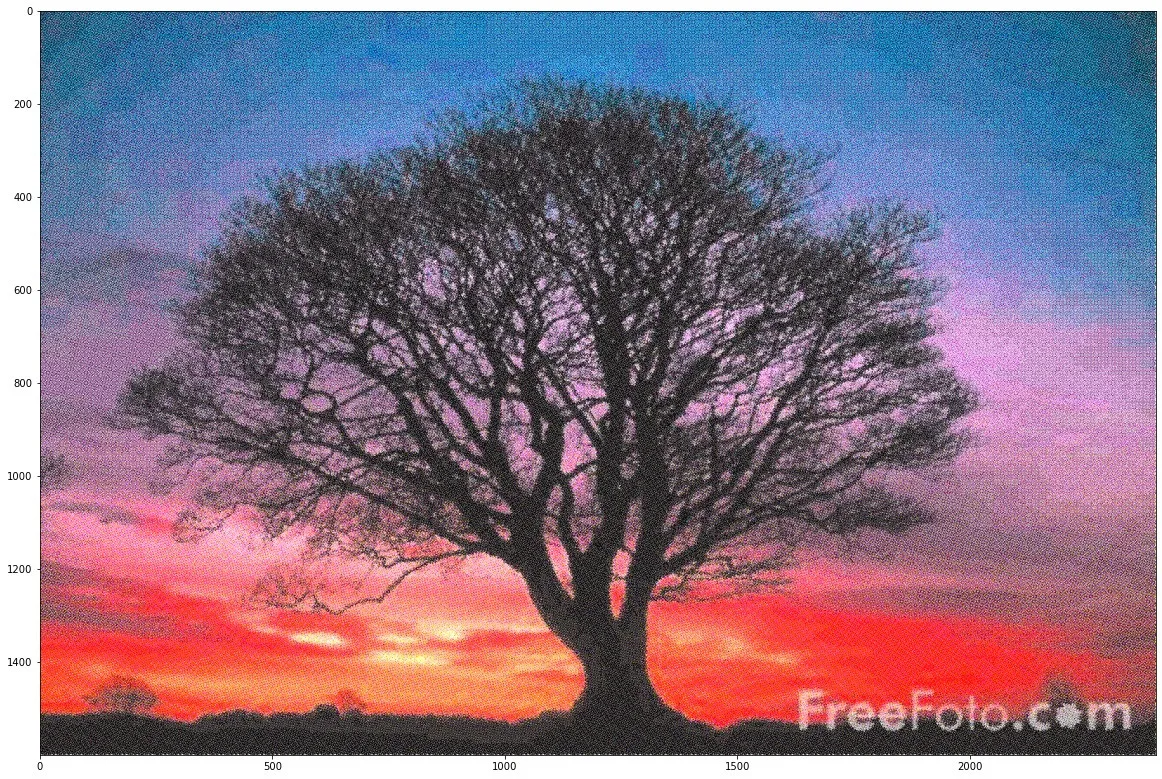
im = Image.open("1_tree.jpg")
cmyk = gcr(im, 0)
dots = halftone(im, cmyk, 10, 1)
im.show()
new = Image.merge('CMYK', dots)
new.show()
这将会将这个:
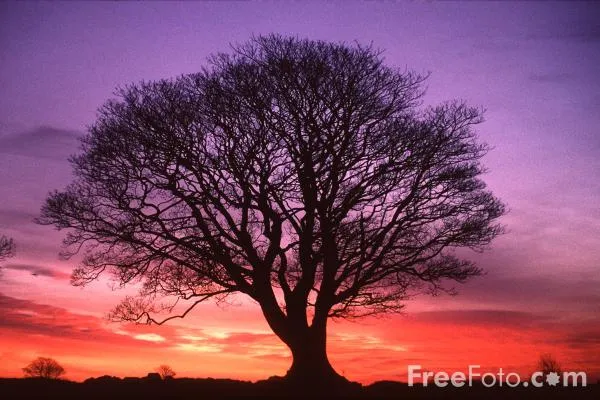
转变成这个(眯起眼睛并离开监视器):

请注意,图像采样可以是逐像素的(因此在最终图像中保留原始图像的分辨率)。通过设置sample = 1来实现这一点,在这种情况下,您需要将scale设置为一个更大的数字,以便有多个可能的点大小。这也会导致更大的输出图像大小(原始图像大小* scale ** 2,所以要小心!)。
默认情况下,从RGB转换为CMYK时,K通道(黑色通道)为空。是否需要K通道取决于您的印刷过程。您可能希望这样做的原因有很多:获得比 CMY 重叠更好的黑色,节省墨水,改善干燥时间,减少墨水渗出等。无论如何,我还编写了一个小的GCR(灰色组件替换)函数GCR,因此您可以设置要替换的CMY重叠的K通道的百分比(我在代码注释中进一步解释了这一点)。
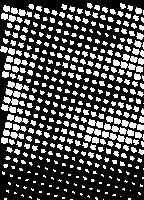
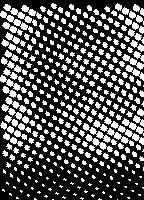
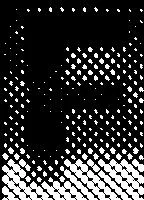
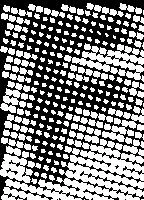
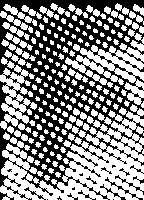
下面是几个示例来说明。使用sample = 1和scale = 8 对图像中的letter F进行处理,因此分辨率相当高。
4个CMYK通道,其中percentage = 0,因此为空的K通道:
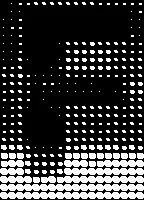

合并成:

CMYK通道,其中percentage = 100,因此使用了K通道。您可以看到青色通道完全被压制,洋红色和黄色通道在图像底部的黑色带中使用了更少的墨水: