在RecyclerView中水平和垂直填充布局,使用FlexboxLayout和RecyclerView可以自动添加水平和垂直视图。

4

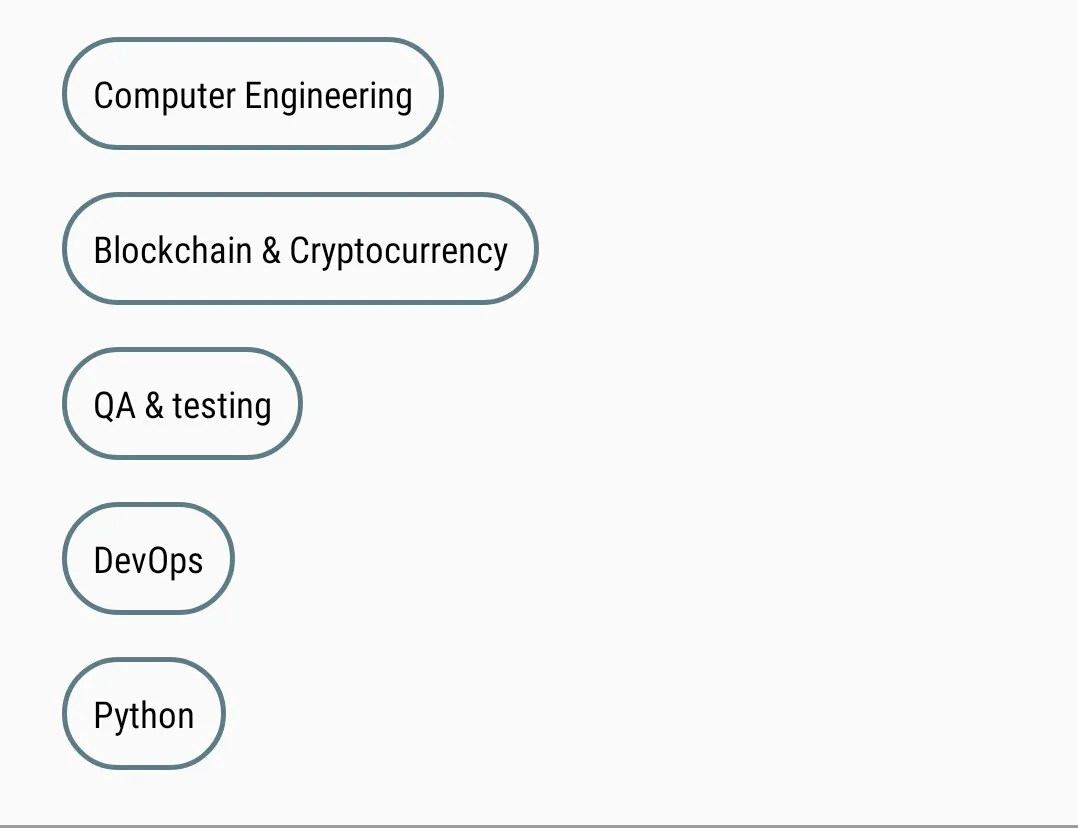
我有一个在活动中被填充的布局。现在所有的信息都像下面显示的那样垂直显示。这是它现在的样子

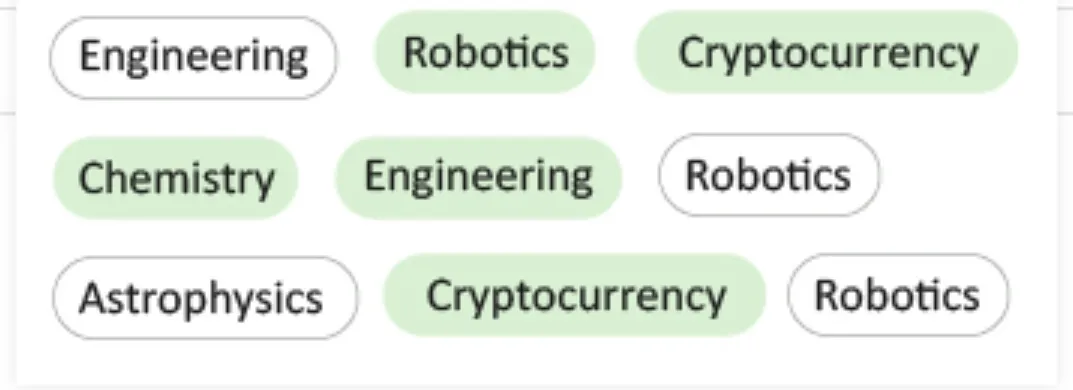
但是我想要的是三个textView应该水平排列,然后下面的三个应该作为下一行出现,以此类推。我已经在底部发布了它应该看起来的方式。这就是我想要它看起来的样子

这是具有recyclerview的布局

<android.support.v7.widget.RecyclerView
        android:id="@+id/rv_my_groups"
        android:layout_width="match_parent"
        android:layout_height="300dp"
        android:layout_marginBottom="16dp"
        android:layout_marginEnd="16dp"
        app:reverseLayout="true"
        android:layout_marginStart="16dp"
        android:layout_marginTop="16dp"
        android:visibility="gone"
        android:onClick="onOutsideClick"
        android:orientation="vertical"
        app:layoutManager="android.support.v7.widget.StaggeredGridLayoutManager"
        app:layout_constraintTop_toBottomOf="@id/rv_selected_groups" />

底部是一个单独的布局,只有一个textView,我正在使用它来填充。

<TextView xmlns:android="http://schemas.android.com/apk/res/android"
         android:id="@+id/tv_group_name"
         android:layout_width="wrap_content"
         android:layout_height="wrap_content"
         android:layout_gravity="center"
         android:layout_margin="8dp"
         android:background="@drawable/chip_drawable"
         android:fontFamily="sans-serif-condensed"
         android:gravity="center"
         android:textAllCaps="false"
         android:textColor="@android:color/black"
         android:textSize="14sp" />

我已经填充了布局的Kotlin活动

 override fun onCreateViewHolder(parent: ViewGroup, viewType: Int): GroupsViewHolder {
    val view = LayoutInflater.from(parent.context).inflate(R.layout.groups_item_row, parent, false)

    return GroupsViewHolder(view)
}

如果我的代码不够好,请见谅。

所需输出 有没有办法实现这个 在此输入图片描述

2个回答

3

这里是一个完整的例子

步骤1: 在build.gradle中添加implementation 'com.google.android:flexbox:1.1.0'。

请注意,从1.1.0开始,该库预计将与AndroidX一起使用。如果您使用1.1.0或更高版本,请迁移到AndroidX。

如果您尚未迁移到AndroidX,请使用1.0.0。

步骤2: Activity.xml

<com.google.android.flexbox.FlexboxLayout
    android:layout_width="match_parent"
    android:layout_height="wrap_content"
    app:flexDirection="row_reverse"
    app:justifyContent="center"
    app:alignItems="center"
    app:flexWrap="wrap">

    <TextView
        android:layout_width="wrap_content"
        android:layout_height="wrap_content"
        android:layout_margin="5dp"
        android:padding="5dp"
        android:background="@drawable/flexbox_item_background"
        android:text="Android"/>

    <TextView
        android:layout_width="wrap_content"
        android:layout_height="wrap_content"
        android:layout_margin="5dp"
        android:padding="5dp"
        android:background="@drawable/flexbox_item_background"
        android:text="iOS"/>

    <TextView
        android:layout_width="wrap_content"
        android:layout_height="wrap_content"
        android:layout_margin="5dp"
        android:padding="5dp"
        android:background="@drawable/flexbox_item_background"
        android:text="Windows"/>

    <TextView
        android:layout_width="wrap_content"
        android:layout_height="wrap_content"
        android:layout_margin="5dp"
        android:padding="5dp"
        android:background="@drawable/flexbox_item_background"
        android:text="Linux"/>

    <TextView
        android:layout_width="wrap_content"
        android:layout_height="wrap_content"
        android:layout_margin="5dp"
        android:padding="5dp"
        android:background="@drawable/flexbox_item_background"
        android:text="Unix"/>

    <TextView
        android:layout_width="wrap_content"
        android:layout_height="wrap_content"
        android:layout_margin="5dp"
        android:padding="5dp"
        android:background="@drawable/flexbox_item_background"
        android:text="MaxOS"/>

    <TextView
        android:layout_width="wrap_content"
        android:layout_height="wrap_content"
        android:layout_margin="5dp"
        android:padding="5dp"
        android:background="@drawable/flexbox_item_background"
        android:text="Java"/>

    <TextView
        android:layout_width="wrap_content"
        android:layout_height="wrap_content"
        android:layout_margin="5dp"
        android:padding="5dp"
        android:background="@drawable/flexbox_item_background"
        android:text="C++"/>

    <TextView
        android:layout_width="wrap_content"
        android:layout_height="wrap_content"
        android:layout_margin="5dp"
        android:padding="5dp"
        android:background="@drawable/flexbox_item_background"
        android:text="Python"/>

    <TextView
        android:layout_width="wrap_content"
        android:layout_height="wrap_content"
        android:layout_margin="5dp"
        android:padding="5dp"
        android:background="@drawable/flexbox_item_background"
        android:text="Kotlin"/>

    <TextView
        android:layout_width="wrap_content"
        android:layout_height="wrap_content"
        android:layout_margin="5dp"
        android:padding="5dp"
        android:background="@drawable/flexbox_item_background"
        android:text="Hadoop"/>

    <TextView
        android:layout_width="wrap_content"
        android:layout_height="wrap_content"
        android:layout_margin="5dp"
        android:padding="5dp"
        android:background="@drawable/flexbox_item_background"
        android:text="Solr"/>

    <TextView
        android:layout_width="wrap_content"
        android:layout_height="wrap_content"
        android:layout_margin="5dp"
        android:padding="5dp"
        android:background="@drawable/flexbox_item_background"
        android:text="Lucene"/>

</com.google.android.flexbox.FlexboxLayout>

Step 3 flexbox_item_background.xml

<shape xmlns:android="http://schemas.android.com/apk/res/android"
    android:shape="rectangle">

    <solid android:color="@android:color/holo_green_light" />

    <corners android:radius="5sp"/>

</shape>

输出:

图片描述

第三步:使用recyclerview和FlexboxLayout

RecyclerView recyclerView = (RecyclerView) 
context.findViewById(R.id.recyclerview);
FlexboxLayoutManager layoutManager = new FlexboxLayoutManager(context);
recyclerView.setLayoutManager(layoutManager);

你能分享一下快照吗? - aanshu
请查看此链接中的屏幕截图:https://drive.google.com/open?id=1LOoxOhXSoZgExgxrniC0FvMBl0rkAAxe - Siva perumal
那么现在我该做什么? - Siva perumal
如果您发现这篇文章有帮助,请不要忘记更新并标记为答案。 - aanshu
发现了错误,使用了错误的依赖项。现在它可以工作了。谢谢兄弟的帮助。 - Siva perumal
显示剩余6条评论

0
我建议使用Google的FlexBox。它会自动将项目间隔以适应您指定的任何方式。

网页内容由stack overflow 提供, 点击上面的
可以查看英文原文,
原文链接