在R中使用tikzdevice将ggplot图像转换为光栅图像

6
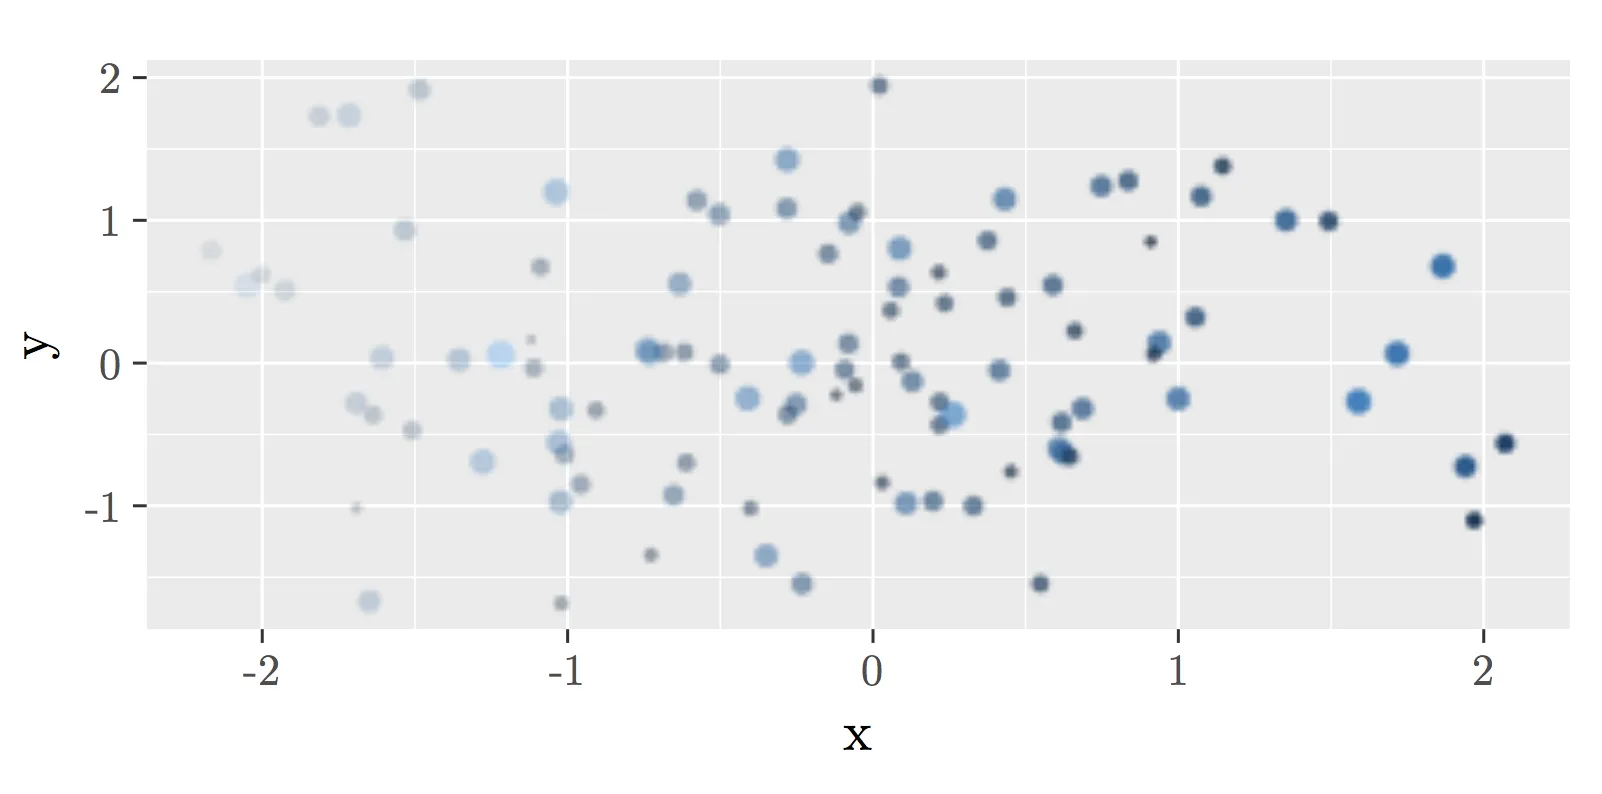
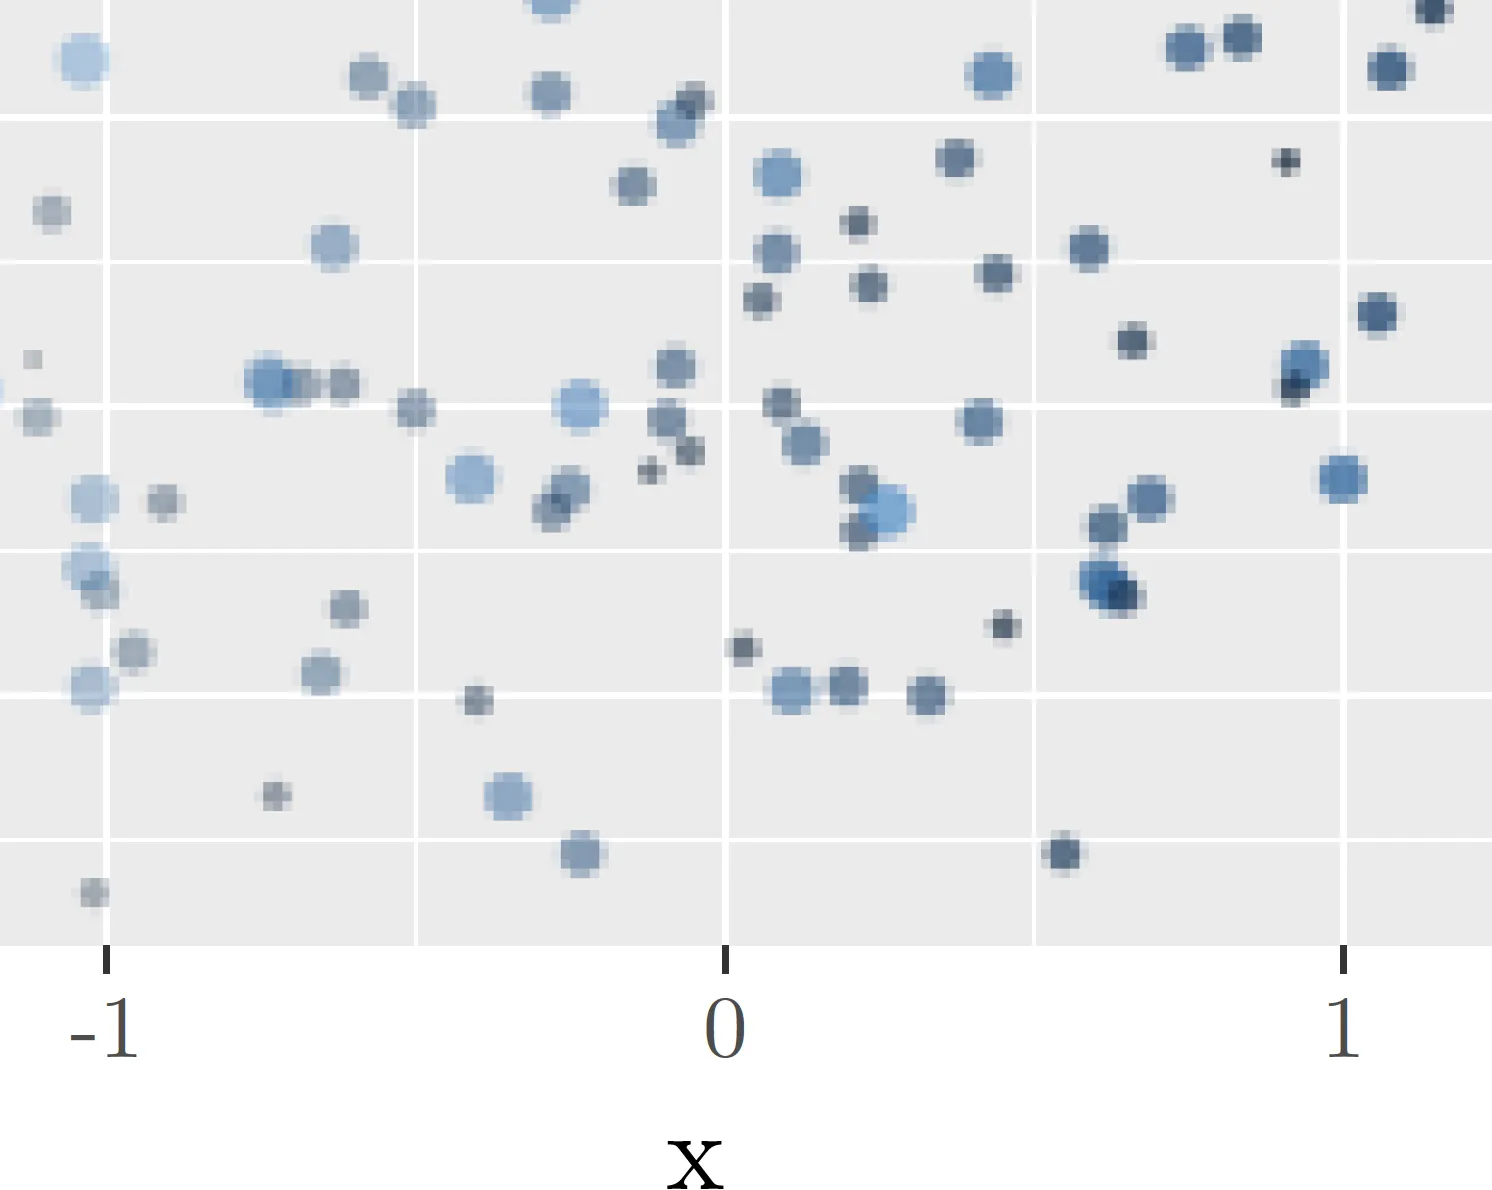
我使用R来分析数据,使用ggplot创建图表,使用tikzDevice将其打印出来,最终使用latex创建报告。问题在于,由于latex的内存限制,具有许多点的大型图表会失败。我在这里https://github.com/yihui/tikzDevice/issues/103找到了一种解决方案,即在打印tikz文件之前对图表进行光栅化处理,从而允许单独打印点和文本。
require(png)
require(ggplot2)
require(tikzDevice)

## generate data
n=1000000; x=rnorm(n); y=rnorm(n)

## first try primitive
tikz("test.tex",standAlone=TRUE)
plot(x,y)
dev.off()
## fails due to memory
system("pdflatex test.tex")


## rasterise points first
png("inner.png",width=8,height=6,units="in",res=300,bg="transparent")
par(mar=c(0,0,0,0))
plot.new(); plot.window(range(x), range(y))
usr <- par("usr")
points(x,y)
dev.off()
# create tikz file with rasterised points
im <- readPNG("inner.png",native=TRUE)
tikz("test.tex",7,6,standAlone=TRUE)
plot.new()
plot.window(usr[1:2],usr[3:4],xaxs="i",yaxs="i")
rasterImage(im, usr[1],usr[3],usr[2],usr[4])
axis(1); axis(2); box(); title(xlab="x",ylab="y")
dev.off()
## this works
system("pdflatex test.tex")


## now with ggplot
p <- ggplot(data.frame(x=x, y=y), aes(x=x, y=y)) + geom_point()
## what here?

在这个例子中,第一个pdflatex失败了。第二个成功是由于光栅化处理。如何在ggplot中应用这种方法?

1
你可以从gtable中提取绘图面板,将其绘制在无边框的png上,然后作为背景注释_raster或annotation_custom显示。不要忘记使用相同的数据训练比例尺,例如使用geom_blank层。不用说,这种方法是脆弱的、容易出错的,并且有限制(例如facets)。一种在ggplot+grid级别上栅格化特定图层的方法会很好,过去也曾提出过,但从未得到推广。 - baptiste
嗯,是的,听起来像是很费力却最终没用的努力... 我希望有像 geom_rasterise 或者 geom_point(raster=T) 这样的东西;-) - Jonas
将这样的参数传递到构建阶段并不需要太多的工作,但这需要网格图形具有这种低级别的功能。而且在这里,这可能并不是那么牵强,因为grid.cap提供了类似的功能。 - baptiste
1
对于某些几何图形,您可以像这个回答 中描述的那样使用 ggrastr - jan-glx
2个回答

3

这是一个原理证明,旨在说明涉及的步骤。正如评论中指出的那样,这并不可取或实际,但可以作为较低级别实现的基础。

require(png)
require(ggplot2)
require(tikzDevice)

n=100; 
d <- data.frame(x=rnorm(n), y=rnorm(n), z=rnorm(n))

p <- ggplot(d, aes(x=x, y=y, colour=z, size=z, alpha=x)) + geom_point()

## draw the layer by itself on a png file
library(grid)
g <- ggplotGrob(p)
# grid.newpage()
gg <- g$grobs[[6]]$children[[3]]
gg$vp <- viewport() # don't ask me
tmp <- tempfile(fileext = "png")
png(tmp, width=10, height=4, bg = "transparent", res = 30, units = "in")
grid.draw(gg)
dev.off()
## import it as a raster layer
rl <- readPNG(tmp, native = TRUE)
unlink(tmp)

## add it to a plot - note that the positions match, 
## but the size can be off unless one ensures that the panel has the same size and aspect ratio
ggplot(d, aes(x=x, y=y)) + geom_point(shape="+",  colour="red") +
  annotation_custom(rasterGrob(rl, width = unit(1,"npc"), height=unit(1,"npc"))) +
  geom_point(aes(size=z), shape=1, colour="red", show.legend = FALSE)

enter image description here

## to illustrate the practical use, we use a blank layer to train the scales
## and set the panel size to match the png file
pf <-  ggplot(d, aes(x=x, y=y)) + geom_blank() +
  annotation_custom(rasterGrob(rl, width = unit(1,"npc"), height=unit(1,"npc"), interpolate = FALSE))

tikz("test.tex", standAlone=TRUE)
grid.draw(egg::set_panel_size(pf, width=unit(10, "cm"), height=unit(4, "cm")))
dev.off()

system("lualatex test.tex")
system("open test.pdf")

enter image description here

我们可以放大并检查文本是否为基于矢量的,而图层是(这里为演示低分辨率)栅格化的。

enter image description here


FWIW,gridSVG包做了类似的事情,并使用base64嵌入光栅数据的附加技巧。 - baptiste

0

好的,我会在这里写下来,因为它太大了,无法放在评论框中。您可以通过以下方式将光栅化点替换原始 grob 以使用光栅化 grob:g$grobs[[6]]$children[[3]] <- rasterGrob(rl)。问题是它不会自动缩放,所以您必须在最终图像之前知道其大小。然后您可以使用类似于以下内容的东西:

rasterise <- function(ggp,
                      width  = 6,
                      height = 3,
                      res.raster = 300,
                      raster.id=  c(4,3),
                      file = ""){
    ## RASTERISE
    require(grid)
    require(png)
    ## draw the layer by itself on a png file
    gb <- ggplot_build(ggp)
    gt <- ggplot_gtable(gb)
    ## calculate widths
    h <- as.numeric(convertUnit(sum(gt$heights), unitTo="in"))
    w <- as.numeric(convertUnit(sum(gt$widths) , unitTo="in"))
    w.raster <- width-w
    h.raster <- height-h
    ## print points as png
    grid.newpage()
    gg <- gt$grobs[[raster.id[1]]]$children[[raster.id[2]]]
    gg$vp <- viewport() # don't ask me
    tmp <- tempfile(fileext = "png")
    png(tmp, width=w.raster, height=h.raster, bg = "transparent", res = res.raster, units = "in")
    grid.draw(gg)
    dev.off()
    ## import it as a raster layer
    points <- readPNG(tmp, native = TRUE)
    points <- rasterGrob(points, width = w.raster, height = h.raster, default.units = "in")
    unlink(tmp)
    ## ADD TO PLOT
    gt$grobs[[raster.id[1]]]$children[[raster.id[2]]] <- points
    ## PLOT TMP
    ### HERE YOU CAN ONLY PRINT IT IN THIS DIMENSIONS!
    pdf(file, width = width, height = height)
    grid.draw(gt)
    dev.off()
}

然后与之一起使用

data <- data.frame(x = rnorm(1000), y = rnorm(1000))
plot <- ggplot(data, aes(x = x, y = y)) +
    geom_point() +
    annotate("text", x = 2, y = 2, label = "annotation")

rasterise(ggp        = plot,
          width      = 6,
          height     = 3,
          res.raster = 10,
          raster.id  = c(4,2),
          file       = "~/test.pdf")

问题仍然是您想要栅格化的图形的ID。我没有找到一种好的方法来自动找到正确的ID。这取决于您添加到绘图中的图层。

网页内容由stack overflow 提供, 点击上面的
可以查看英文原文,
原文链接