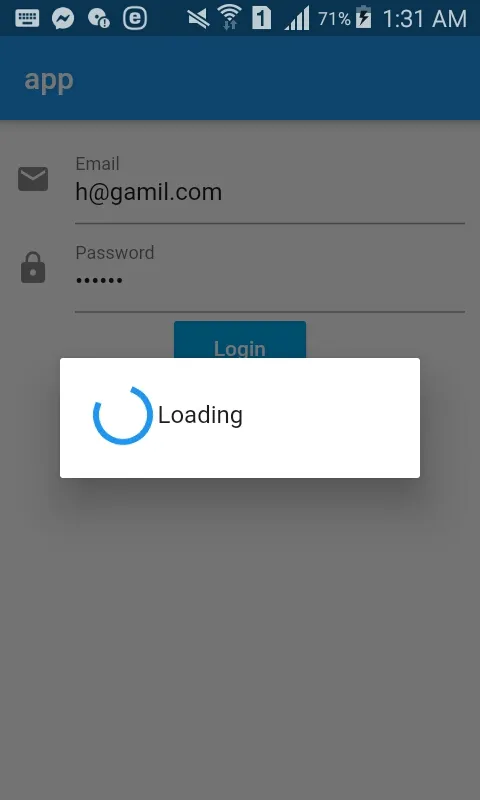
我是flutter的新手,想知道在我的布局中添加CircularProgressIndicator的更好方法。比如说,我的登录视图。这个视图有用户名、密码和登录按钮。我想创建一个叠加层(使用Opacity),当加载时显示像我在NativeScript中使用的进度指示器,但我对如何做以及是否是更好的方法有点困惑。例如,在NativeScript中,我将IndicatorActivity添加到主布局中,并将busy设置为true或false,这样它会在加载时覆盖所有视图组件。
编辑:
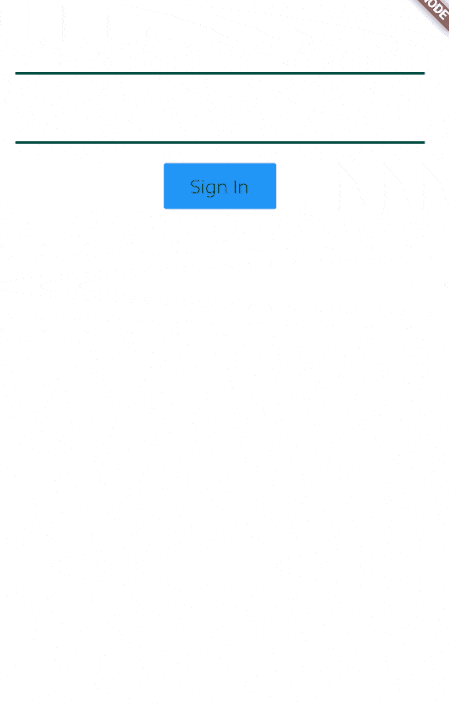
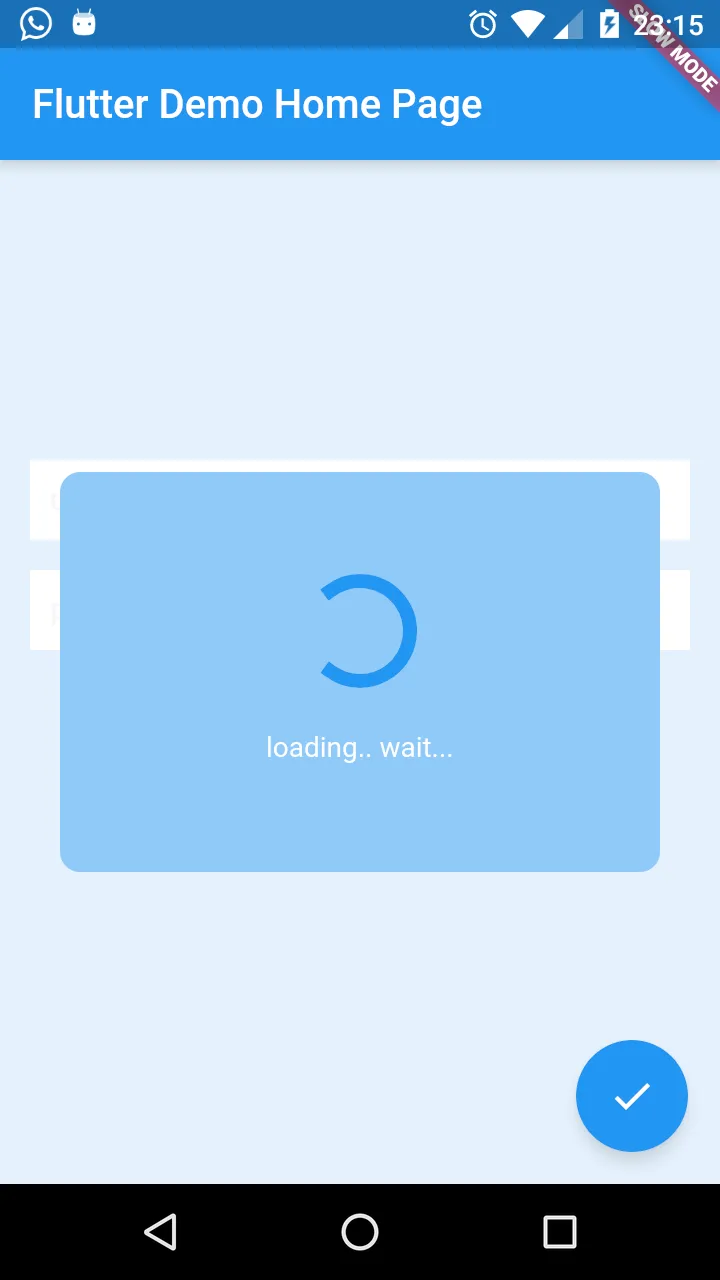
我已经成功实现了这个效果:
void main() {
  runApp(new MyApp());
}

class MyApp extends StatelessWidget {
  // This widget is the root of your application.
  @override
  Widget build(BuildContext context) {
    return new MaterialApp(
      title: 'Flutter Demo',
      theme: new ThemeData(
        primarySwatch: Colors.blue,
      ),
      home: new MyHomePage(title: 'Flutter Demo Home Page'),
    );
  }
}

class MyHomePage extends StatefulWidget {
  MyHomePage({Key key, this.title}) : super(key: key);

  final String title;

  @override
  _MyHomePageState createState() => new _MyHomePageState();
}

class _MyHomePageState extends State<MyHomePage> {
  bool _loading = false;

  void _onLoading() {
    setState(() {
      _loading = true;
      new Future.delayed(new Duration(seconds: 3), _login);
    });
  }


  Future _login() async{
    setState((){
      _loading = false;
    });
  }

  @override
  Widget build(BuildContext context) {


      var body = new Column(
          children: <Widget>[
            new Container(
              height: 40.0,
              padding: const EdgeInsets.all(10.0),
              margin: const EdgeInsets.fromLTRB(15.0, 150.0, 15.0, 0.0),
              decoration: new BoxDecoration(
                color: Colors.white,
              ),
              child: new TextField(
                decoration: new InputDecoration.collapsed(hintText: "username"),
              ),
            ),
            new Container(
              height: 40.0,
              padding: const EdgeInsets.all(10.0),
              margin: const EdgeInsets.all(15.0),
              decoration: new BoxDecoration(
                color: Colors.white,
              ),
              child: new TextField(
                decoration: new InputDecoration.collapsed(hintText: "password"),
              ),
            ),
          ],
        );


      var bodyProgress = new Container(
        child: new Stack(
          children: <Widget>[
            body,
            new Container(
              alignment: AlignmentDirectional.center,
              decoration: new BoxDecoration(
                color: Colors.white70,
              ),
              child: new Container(
                decoration: new BoxDecoration(
                  color: Colors.blue[200],
                  borderRadius: new BorderRadius.circular(10.0)
                ),
                width: 300.0,
                height: 200.0,
                alignment: AlignmentDirectional.center,
                child: new Column(
                  crossAxisAlignment: CrossAxisAlignment.center,
                  mainAxisAlignment: MainAxisAlignment.center,
                  children: <Widget>[
                    new Center(
                      child: new SizedBox(
                        height: 50.0,
                        width: 50.0,
                        child: new CircularProgressIndicator(
                          value: null,
                          strokeWidth: 7.0,
                        ),
                      ),
                    ),
                    new Container(
                      margin: const EdgeInsets.only(top: 25.0),
                      child: new Center(
                        child: new Text(
                          "loading.. wait...",
                          style: new TextStyle(
                            color: Colors.white
                          ),
                        ),
                      ),
                    ),
                  ],
                ),
              ),
            ),
          ],
        ),
      );

      return new Scaffold(
        appBar: new AppBar(
          title: new Text(widget.title),
        ),
        body: new Container(
          decoration: new BoxDecoration(
            color: Colors.blue[200]
          ),
          child: _loading ? bodyProgress : body
        ),
        floatingActionButton: new FloatingActionButton(
          onPressed: _onLoading,
          tooltip: 'Loading',
          child: new Icon(Icons.check),
        ),
      );
  }
}
我还在适应状态的概念。这段代码在使用 Flutter 时符合预期吗?