我尝试创建一个像这样的对话框:
Text("Hello my name is Johnny Miller and I am new here")
    .foregroundColor(.white)
    .padding()
    .background(.blue)
    .cornerRadius(25)
然而,我认为对话框的宽度比必要的宽了很多。因此,在气泡换行之前,我尝试限制其最大宽度。我想到的最简单的方法就是:
Text("Hello my name is Johnny Miller and I am new here")
    .foregroundColor(.white)
    .padding()
    .background(.blue)
    .cornerRadius(25)
    .frame(maxWidth: 300)  // << Limits how wide it can stretch
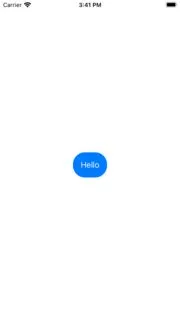
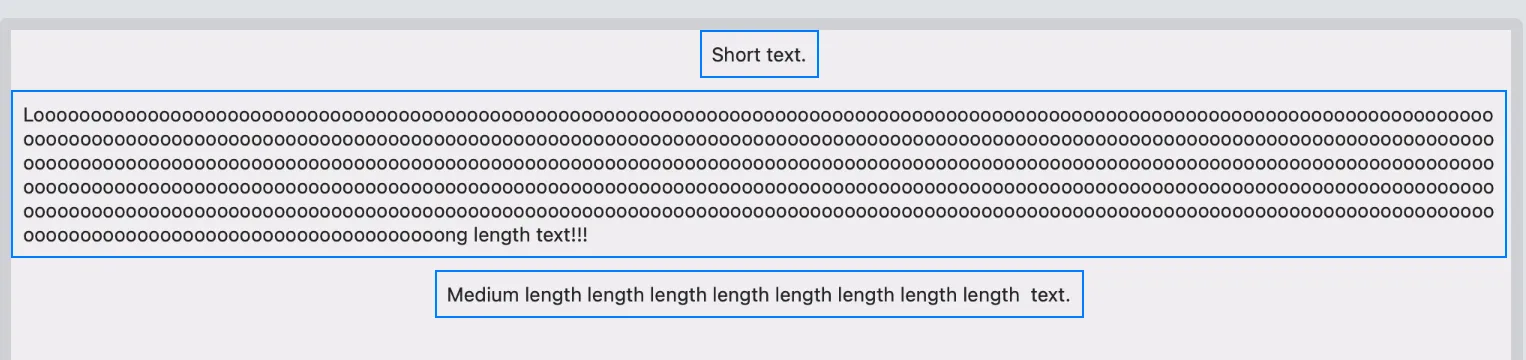
这适用于长消息,但当文本较小(如“Hello”)时,框架将保留在300个点,并拒绝调整为其理想宽度。
我尝试使用 .fixedSize(),但当文本较长时会导致截断。
我找不到一种方法来限制文本的宽度并仍然以其理想大小显示。如果有人能提出解决方案,我将非常感激。
简而言之:文本框的宽度不应超过300个点,但高度可以任意。
谢谢!
编辑
到目前为止,我尝试了以下内容:
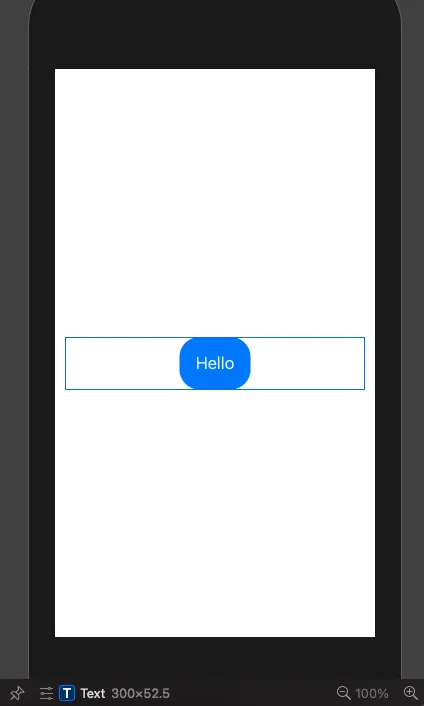
Text("Hello")
    .foregroundColor(.white)
    .padding()
    .background(.blue)
    .cornerRadius(25)
    .frame(maxWidth: 300)
    .lineLimit(nil)
这将导致“Hello”气泡具有300的边框(我已在上面提供了一张图像)
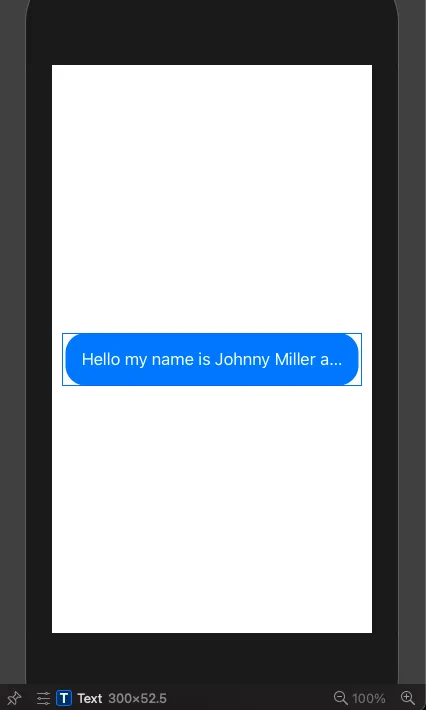
我尝试了以下方法:
Text("Hello my name is Johnny Miller and I am new here")
    .foregroundColor(.white)
    .padding()
    .background(.blue)
    .cornerRadius(25)
    .frame(maxWidth: 300)
    .lineLimit(nil)
    .fixedSize()
这使我获得了:

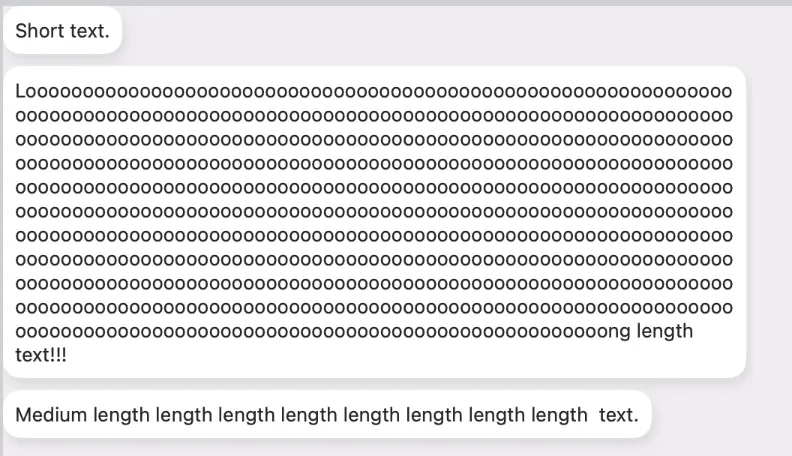
maxWidth: 300对于长文本和短文本都能正常工作。在 Xcode 12.1 / iOS 14.1 上进行了测试。也许你的问题出在不同的代码上。 - Asperi