我该如何翻转屏幕截图?我在其他地方找不到解决方法。
示例代码:
基本上这段代码可以捕获屏幕并以“png”格式存储。
但是由于
那么,在我使用
感谢您的帮助, Rose。
示例代码:
/*
*@param fileLoc //Location of fileoutput destination
*@param format  //"png"
*@param WIDTH   //Display.width();
*@param HEIGHT  //Display.height();
*/
private void getScreenImage(){
             int[] pixels = new int[WIDTH * HEIGHT];
             int bindex;
             // allocate space for RBG pixels
             ByteBuffer fb = ByteBuffer.allocateDirect(WIDTH * HEIGHT * 3);//.order(ByteOrder.nativeOrder());
             // grab a copy of the current frame contents as RGB

             glReadPixels(0, 0, WIDTH, HEIGHT, GL_RGB, GL_UNSIGNED_BYTE, fb);

             BufferedImage image = new BufferedImage(WIDTH, HEIGHT,BufferedImage.TYPE_INT_RGB);
             // convert RGB data in ByteBuffer to integer array
             for (int i=0; i < pixels.length; i++) {
                 bindex = i * 3;
                 pixels[i] =
                     ((fb.get(bindex) << 16))  +
                     ((fb.get(bindex+1) << 8))  +
                     ((fb.get(bindex+2) << 0));
             }
             try {
                //Create a BufferedImage with the RGB pixels then save as PNG
                 image.setRGB(0, 0, WIDTH, HEIGHT, pixels, 0 , WIDTH);

                 ImageIO.write(image, format , fileLoc);
             }
             catch (Exception e) {
                 System.out.println("ScreenShot() exception: " +e);
             }
         }
基本上这段代码可以捕获屏幕并以“png”格式存储。
但是由于
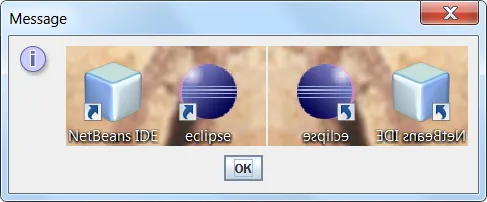
glReadPixels();从左下角向右上角读取,输出的图像会水平翻转。那么,在我使用
ImageIO.write();之前,如何水平翻转图像呢?感谢您的帮助, Rose。