注意:我没有注意到原问题还要求缩放。但是,对于那些只需要裁剪CMSampleBuffer的人,这里提供解决方案。
缓冲区只是一个像素数组,因此您实际上可以直接处理缓冲区而无需使用vImage。 代码使用Swift编写,但我认为可以很容易地找到Objective-C等效代码。
首先,请确保您的CMSampleBuffer是BGRA格式。如果不是,则您使用的预设可能是YUV,并损坏后面将使用的每行字节数。
dataOutput = AVCaptureVideoDataOutput()
dataOutput.videoSettings = [
    String(kCVPixelBufferPixelFormatTypeKey):
    NSNumber(value: kCVPixelFormatType_32BGRA)
]
然后,当您获得样本缓冲区时:
let imageBuffer = CMSampleBufferGetImageBuffer(sampleBuffer)!
CVPixelBufferLockBaseAddress(imageBuffer, .readOnly)
let baseAddress = CVPixelBufferGetBaseAddress(imageBuffer)
let bytesPerRow = CVPixelBufferGetBytesPerRow(imageBuffer)
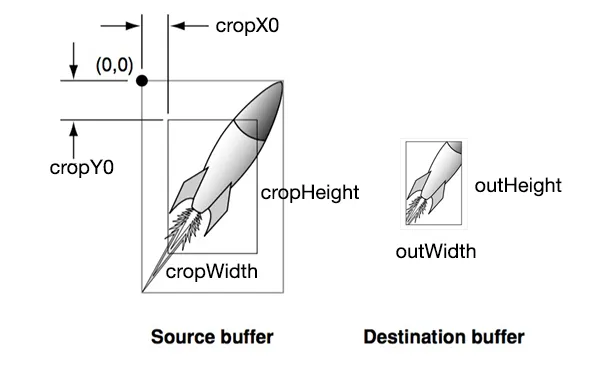
let cropWidth = 640
let cropHeight = 640
let colorSpace = CGColorSpaceCreateDeviceRGB()
let context = CGContext(data: baseAddress, width: cropWidth, height: cropHeight, bitsPerComponent: 8, bytesPerRow: bytesPerRow, space: colorSpace, bitmapInfo: CGImageAlphaInfo.noneSkipFirst.rawValue | CGBitmapInfo.byteOrder32Little.rawValue)
CVPixelBufferUnlockBaseAddress(imageBuffer, .readOnly)
let cgImage: CGImage = context!.makeImage()!
let image = UIImage(cgImage: cgImage)
如果您想从特定位置进行裁剪,请添加以下代码:
let bytesPerPixel = 4
let startPoint = [ "x": 10, "y": 10 ]
let startAddress = baseAddress + startPoint["y"]! * bytesPerRow + startPoint["x"]! * bytesPerPixel
将CGContext()中的baseAddress更改为startAddress。确保不超过原始图像的宽度和高度。