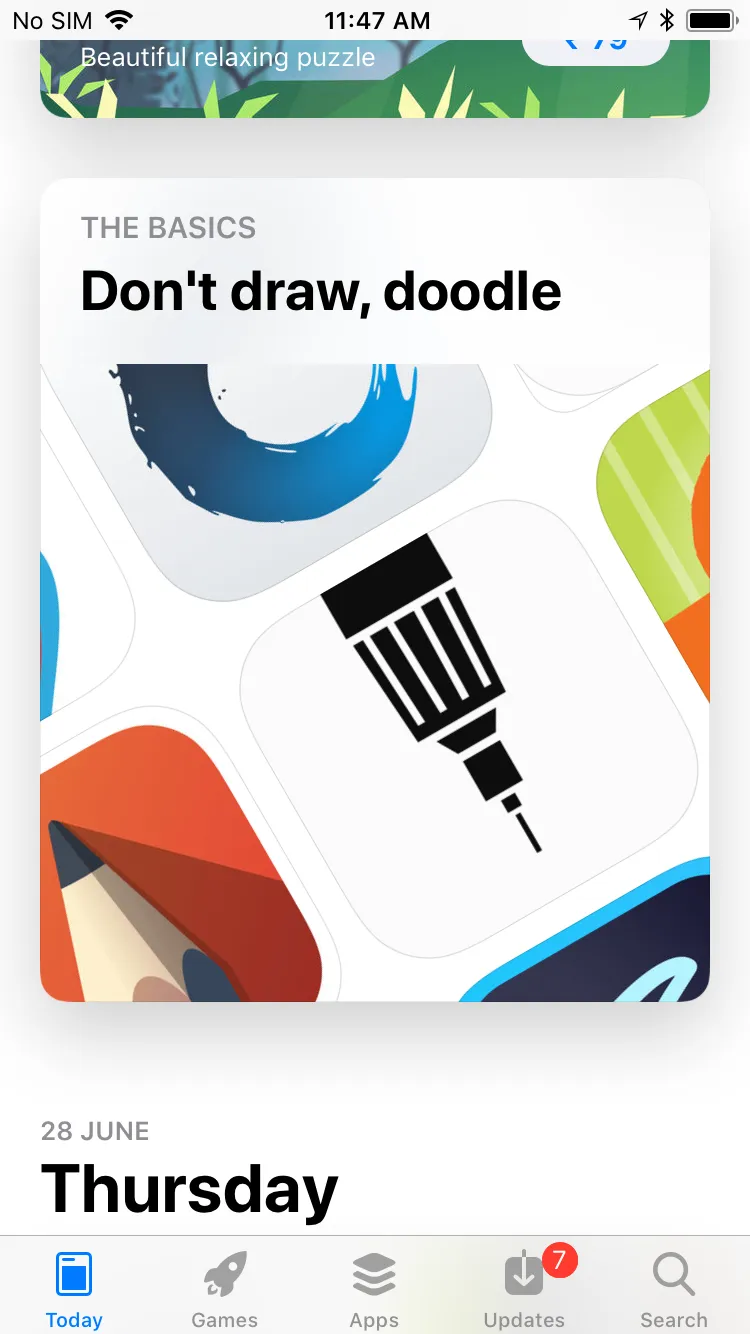
我想在我的集合视图单元格中应用“cornerRadius”和卡片视图“shadow”,就像iOS应用商店的今天视图一样。

只需向单元格添加子视图并操纵其图层属性。调整值以符合您的喜好。以下代码应产生与在App Store中看到的类似结果:
    // The subview inside the collection view cell
    myView.layer.cornerRadius = 20.0
    myView.layer.shadowColor = UIColor.gray.cgColor
    myView.layer.shadowOffset = CGSize(width: 0.0, height: 0.0)
    myView.layer.shadowRadius = 12.0
    myView.layer.shadowOpacity = 0.7

创建一个名为"CardView"的新UIView子类,如下所示:
import Foundation
import UIKit

@IBDesignable
class CardView: UIView {

    @IBInspectable var cornerRadius: CGFloat {
        get {
            return layer.cornerRadius
        }
        set {
            layer.cornerRadius = newValue
            layer.shadowRadius = newValue
            layer.masksToBounds = false
        }
    }

    @IBInspectable var shadowOpacity: Float {
        get {
            return layer.shadowOpacity
        }
        set {
            layer.shadowOpacity = newValue
            layer.shadowColor = UIColor.darkGray.cgColor
        }
    }

    @IBInspectable var shadowOffset: CGSize {
        get {
            return layer.shadowOffset
        }
        set {
            layer.shadowOffset = newValue
            layer.shadowColor = UIColor.black.cgColor
            layer.masksToBounds = false
        }
    }

}
然后在 XCode 接口构建器中将 "CardView" 设置为您的视图的自定义类。它简单易用且易于配置!
struct SimpleRedView: View {
    var body: some View {
        Rectangle()
            .foregroundColor(.red)
            .frame(width: 340, height: 500, alignment: .center)
    }
}

struct ContentView: View {
    var body: some View {
        SimpleRedView()
        .cornerRadius(28)
        .shadow(radius: 16, y: 16)
    }
}
SimpleRedView() 只是一个占位符,您可以替换为任何您喜欢的 View。
myView内的所有子视图都不要延伸到边缘。例如,我的卡片视图包含一个填充卡片的表视图 - 因此也需要设置tableView.layer.cornerRadius = 20.0。这适用于任何填充卡片的子视图。