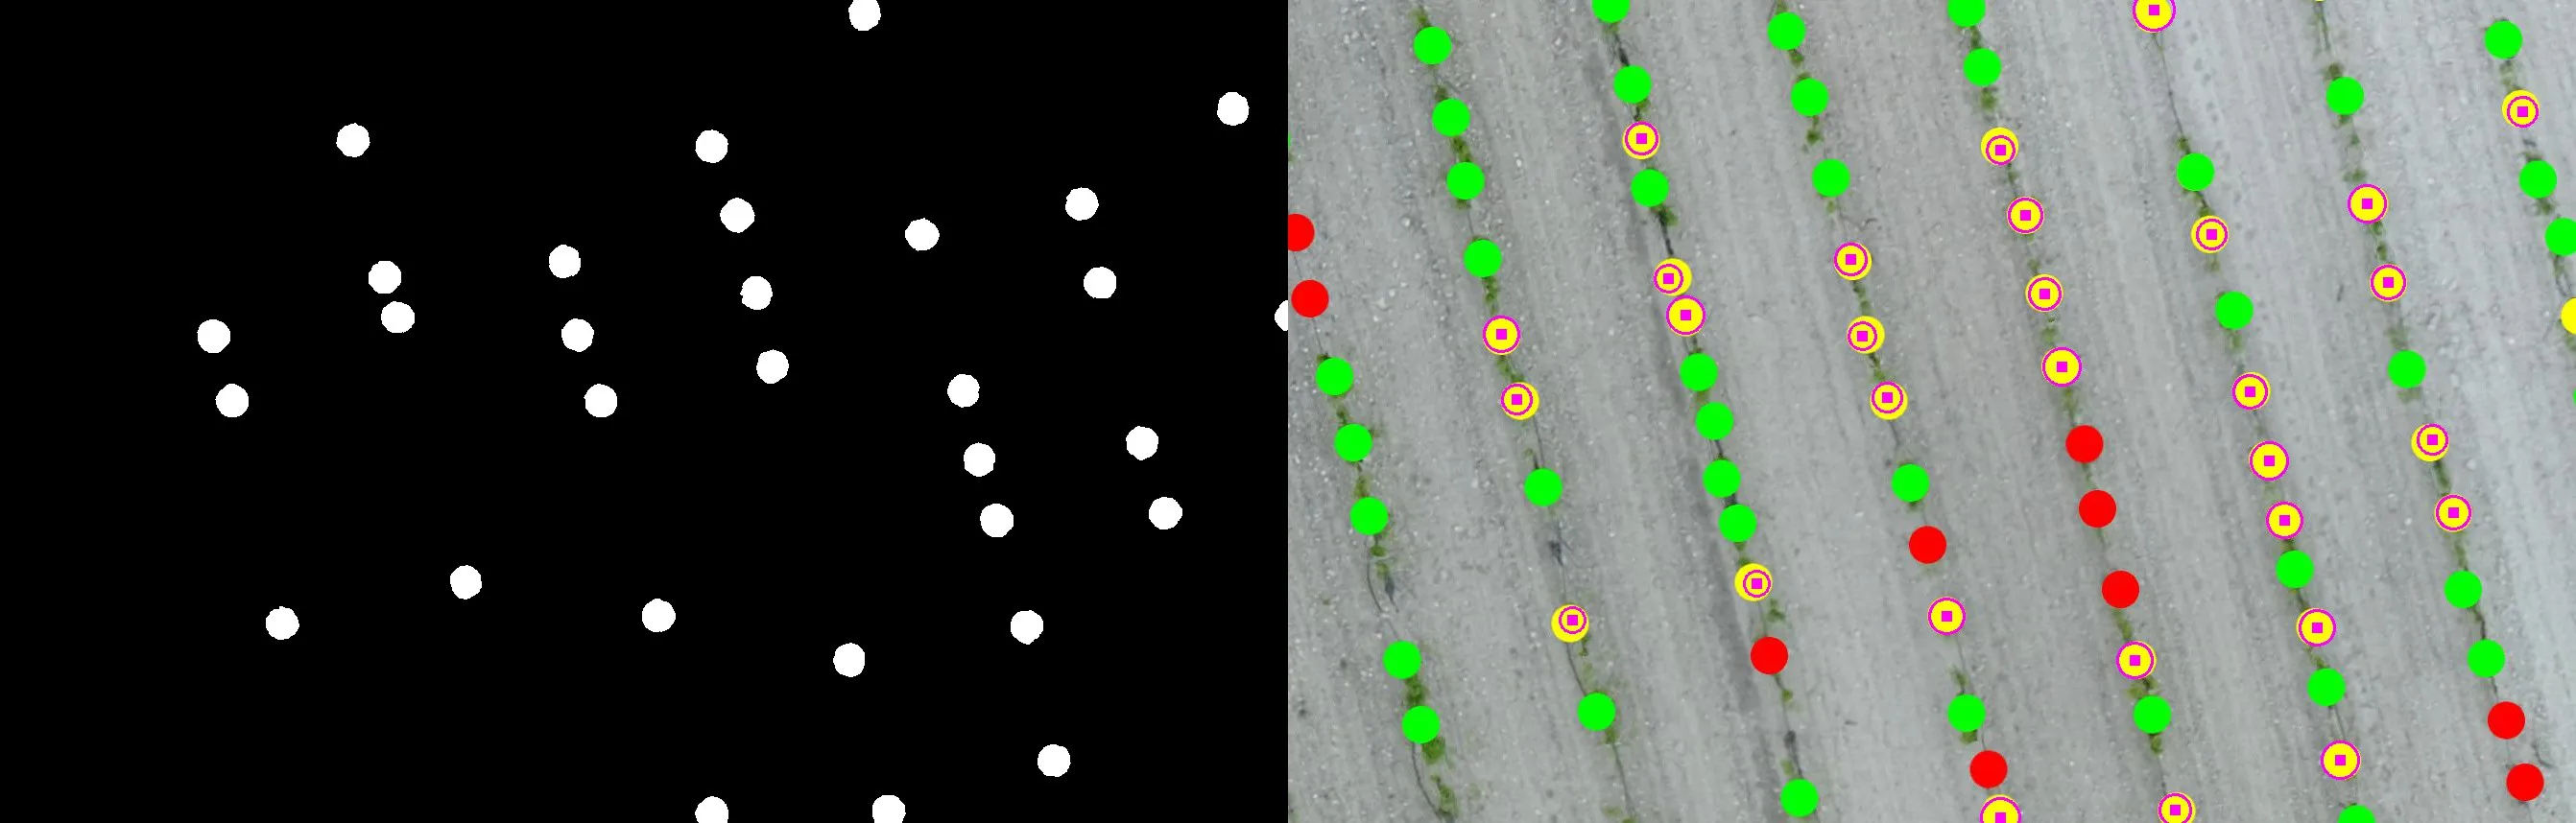
由于您似乎没有得到有关OpenCV/Python解决方案的太多帮助,我想发布一种不同的方法-使用和
ImageMagick。我将首先展示脚本,然后稍后解释一下它。
大多数Linux发行版都安装有
ImageMagick,并可免费在macOS和Windows上使用。它还具有C/C++、Perl、Python、PHP、Ruby、Java绑定。请注意,不需要编写任何代码,也不需要编译器。
#!/bin/bash

for colour in red yellow lime ; do
   echo -n "Colour: $colour "
   convert dots.jpg -fuzz 20%                              \
     -fill white -opaque $colour -fill black +opaque white \
     -define connected-components:verbose=true             \
     -define connected-components:area-threshold=800       \
     -connected-components 8 output.png | grep -c "rgb(255,255,255)"
done
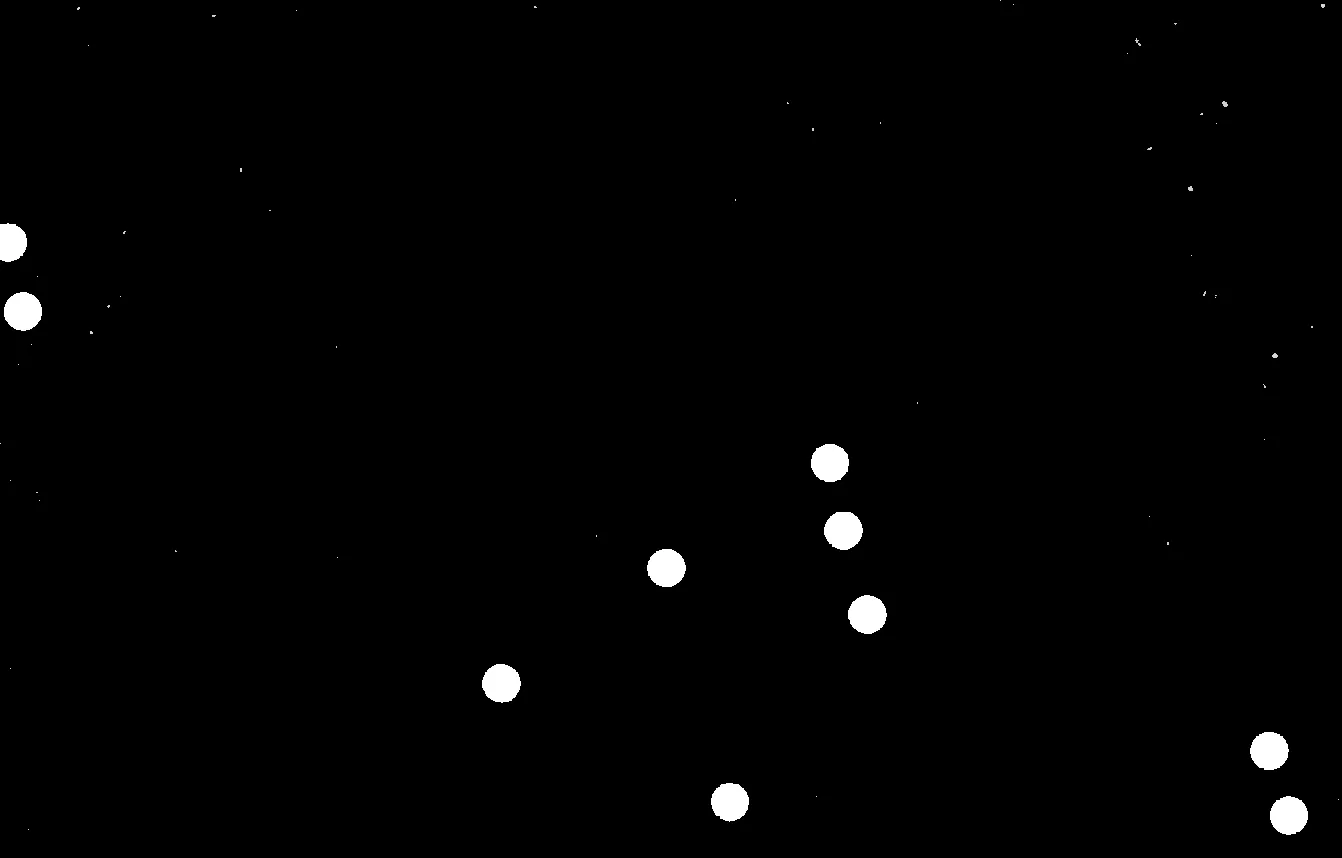
输出结果如下:
Colour: red 10
Colour: yellow 30
Colour: lime 37
convert 命令是 ImageMagick 套件的一部分。让我们来看看当 colour 是 red 时,第一次循环中该命令如何工作。最初,我们只看 convert 命令的前两行:
convert dots.jpg -fuzz 20%                          \
 -fill white -opaque red -fill black +opaque white intermediate.png
希望您能看到,它会填充所有红色范围内20%的像素为白色,然后将不是白色的所有像素填充为纯黑色。
< p >
convert 命令的其余部分对上面的图像执行“连接组件分析”,并列出所有面积超过800像素的 blob - 这大约是您的 blob 平均大小的一半,这就是我在评论部分询问部分 blob 的原因。让我们看看运行时会发生什么:
convert intermediate.png \
   -define connected-components:verbose=true       \
   -define connected-components:area-threshold=800 \
   -connected-components 8 -auto-level output.png
输出
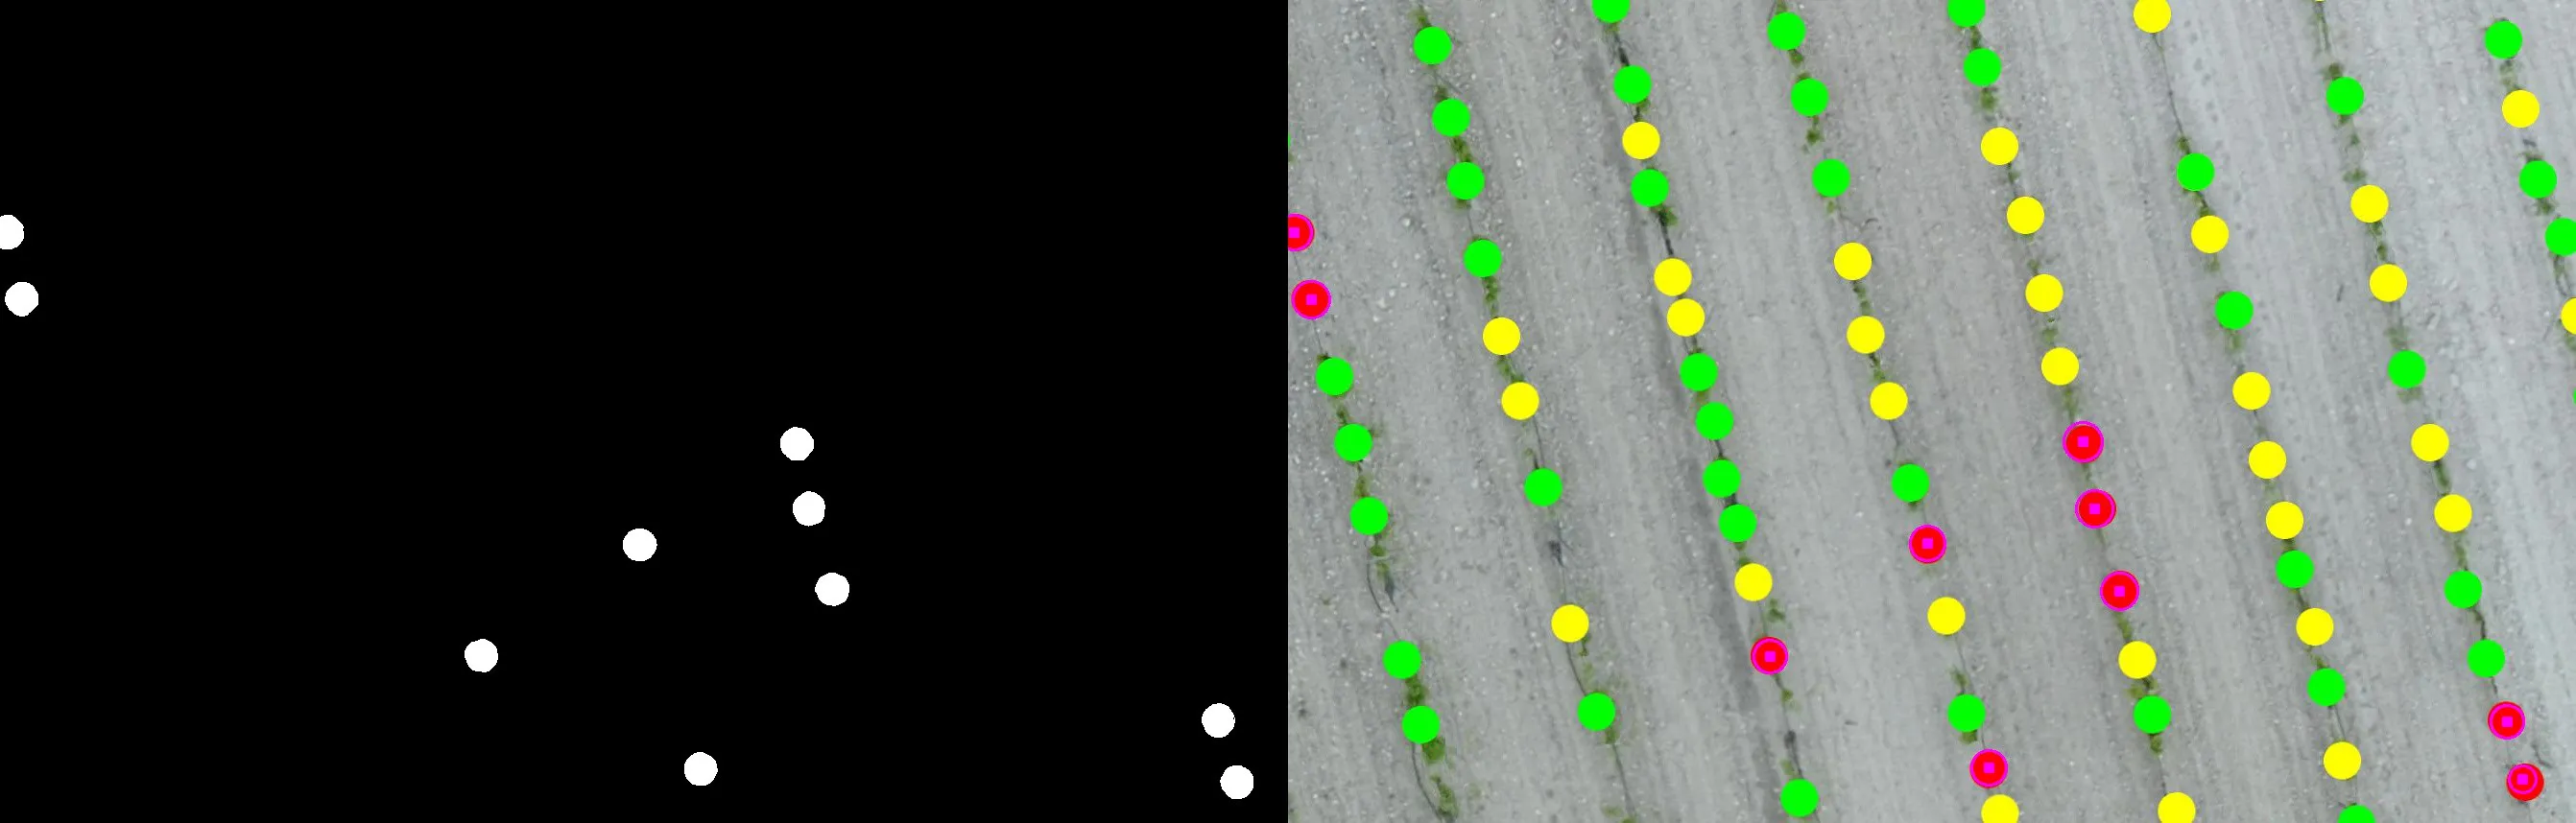
Objects (id: bounding-box centroid area mean-color):
0: 1342x858+0+0 670.0,426.9 1140186 srgb(0,0,0)
191: 39x39+848+595 866.9,614.1 1165 srgb(255,255,255) <
192: 39x39+482+664 500.9,682.9 1165 srgb(255,255,255)
117: 38x39+4+292 22.5,311.0 1155 srgb(255,255,255)
194: 39x38+1250+732 1268.9,750.5 1154 srgb(255,255,255)
178: 39x38+824+512 843.0,530.1 1154 srgb(255,255,255)
186: 39x38+647+549 666.0,567.5 1152 srgb(255,255,255)
197: 38x39+1270+796 1288.5,815.0 1150 srgb(255,255,255)
173: 38x38+811+444 829.5,462.5 1143 srgb(255,255,255)
195: 38x39+711+783 729.6,801.5 1138 srgb(255,255,255)
107: 27x39+0+223 11.5,242.0 874 srgb(255,255,255)
希望您能看到第一行是描述列的标题,有10行白色srgb(255,255,255),每行对应一个圆形块(即我们将其变为白色的红色磁盘之一)。它们都约为39x39像素(即正方形中的圆形),面积约为1150像素 - 如果想象半径为19像素,则Pi*r^2=1150。它们的大小(作为宽度和高度)和位置(作为从左上角的x和y)在第二列中。
如果您想计算至少25%全尺寸块大小的部分块,则需要将阈值更改为1150(自然,完整块大小)的25%或287,而不是我估计的800。
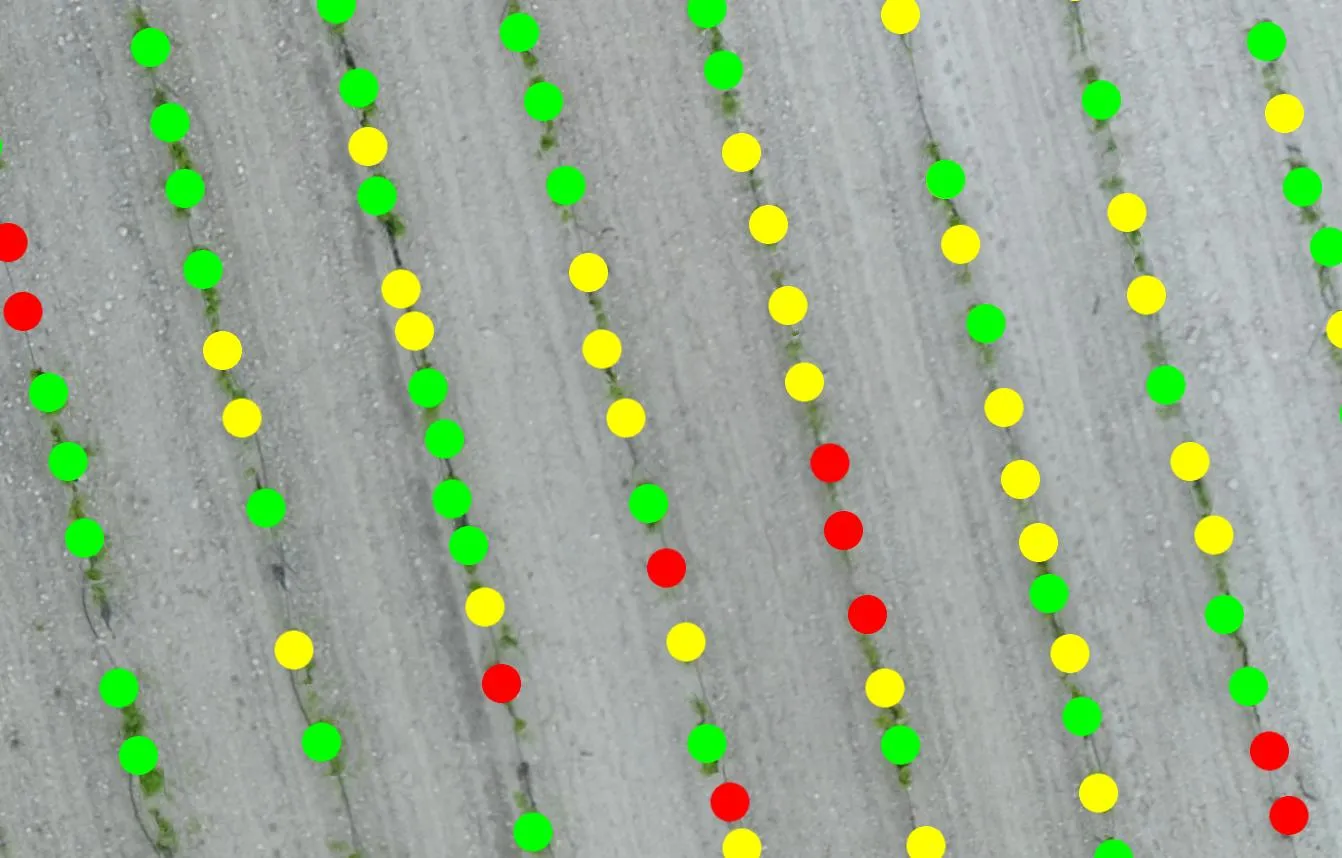
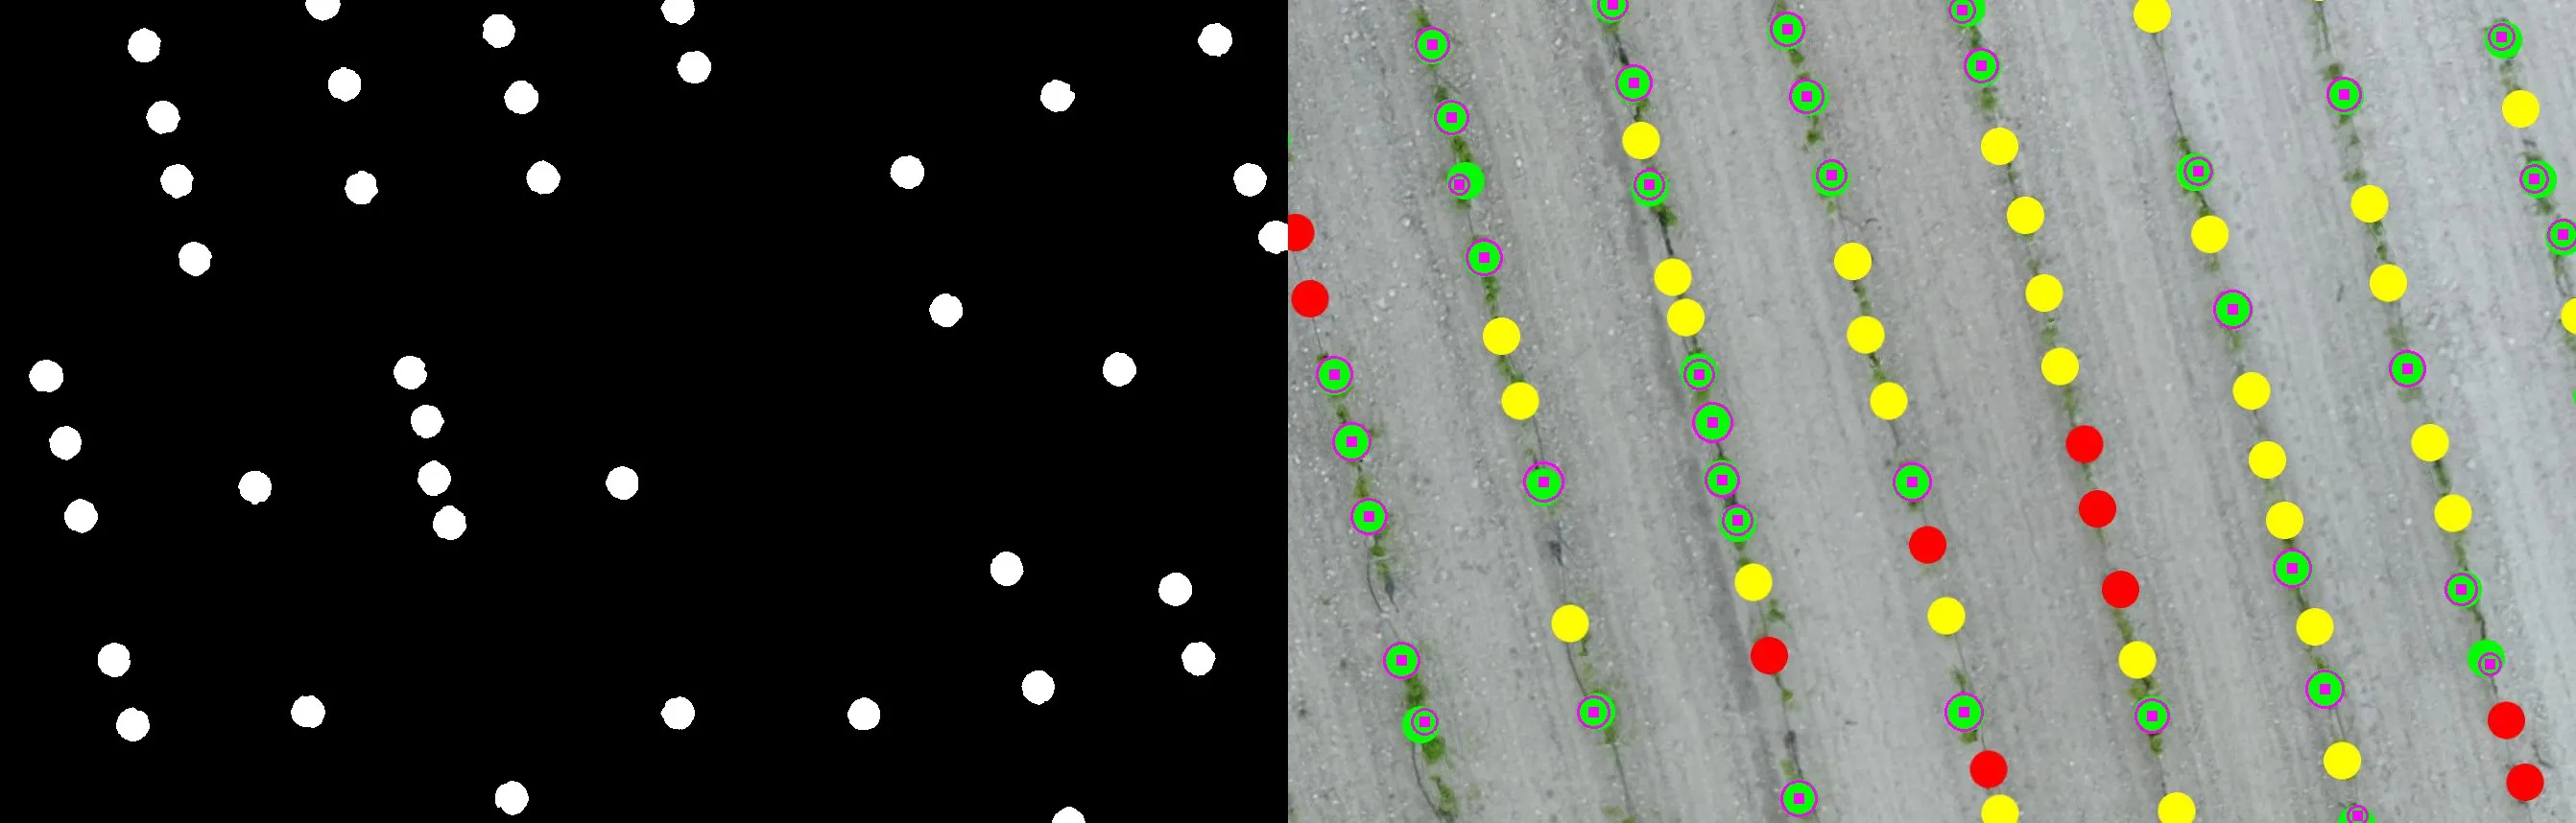
剩余的脚本只是计算具有白色块的行数(grep -c),并为您寻找的其他颜色重复此过程。请注意,您的“绿色”对应于X11命名方案中ImageMagick使用的“酸橙色”。
仅供娱乐,让我们用半透明蓝色填充上面输出列表中我标记的块所在位置:
convert dots.jpg -fill "rgba(0,0,255,0.5)" -draw "rectangle 848,595 887,634" temp.png

我希望这有助于完成工作并展示一种方法,即使它不是你期望使用的工具。请注意,
OpenCV具有
Connected Components和类似的算法-我只是不会说Python,而C++版本对你也没有更多的帮助!
inRange函数,并计算连通组件的数量。可能再进行一些研究也无妨。 - Mikibash代码实现,其中两行是for ... done循环,另一行是echo输出标签。 - Mark Setchell