我将你的问题分成了3个部分:
- 使用动态字体大小,而不是硬编码的字体大小
- 字形应该使用图像的全部高度
- 字形应该左对齐
动态缩放文本以填充图像的高度
测量文本大小后,计算需要将字体按比例缩放多少才能与图像的高度匹配:
SizeF size = TextMeasurer.Measure(text, new RendererOptions(font));
float scalingFactor = finalImage.Height / size.Height;
var scaledFont = new Font(font, scalingFactor * font.Size);
这种方法基本上忽略了最初设置的字体大小。现在我们可以使用根据图像高度动态缩放的字体绘制文本:
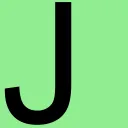
将文本放大以使用整个图像高度
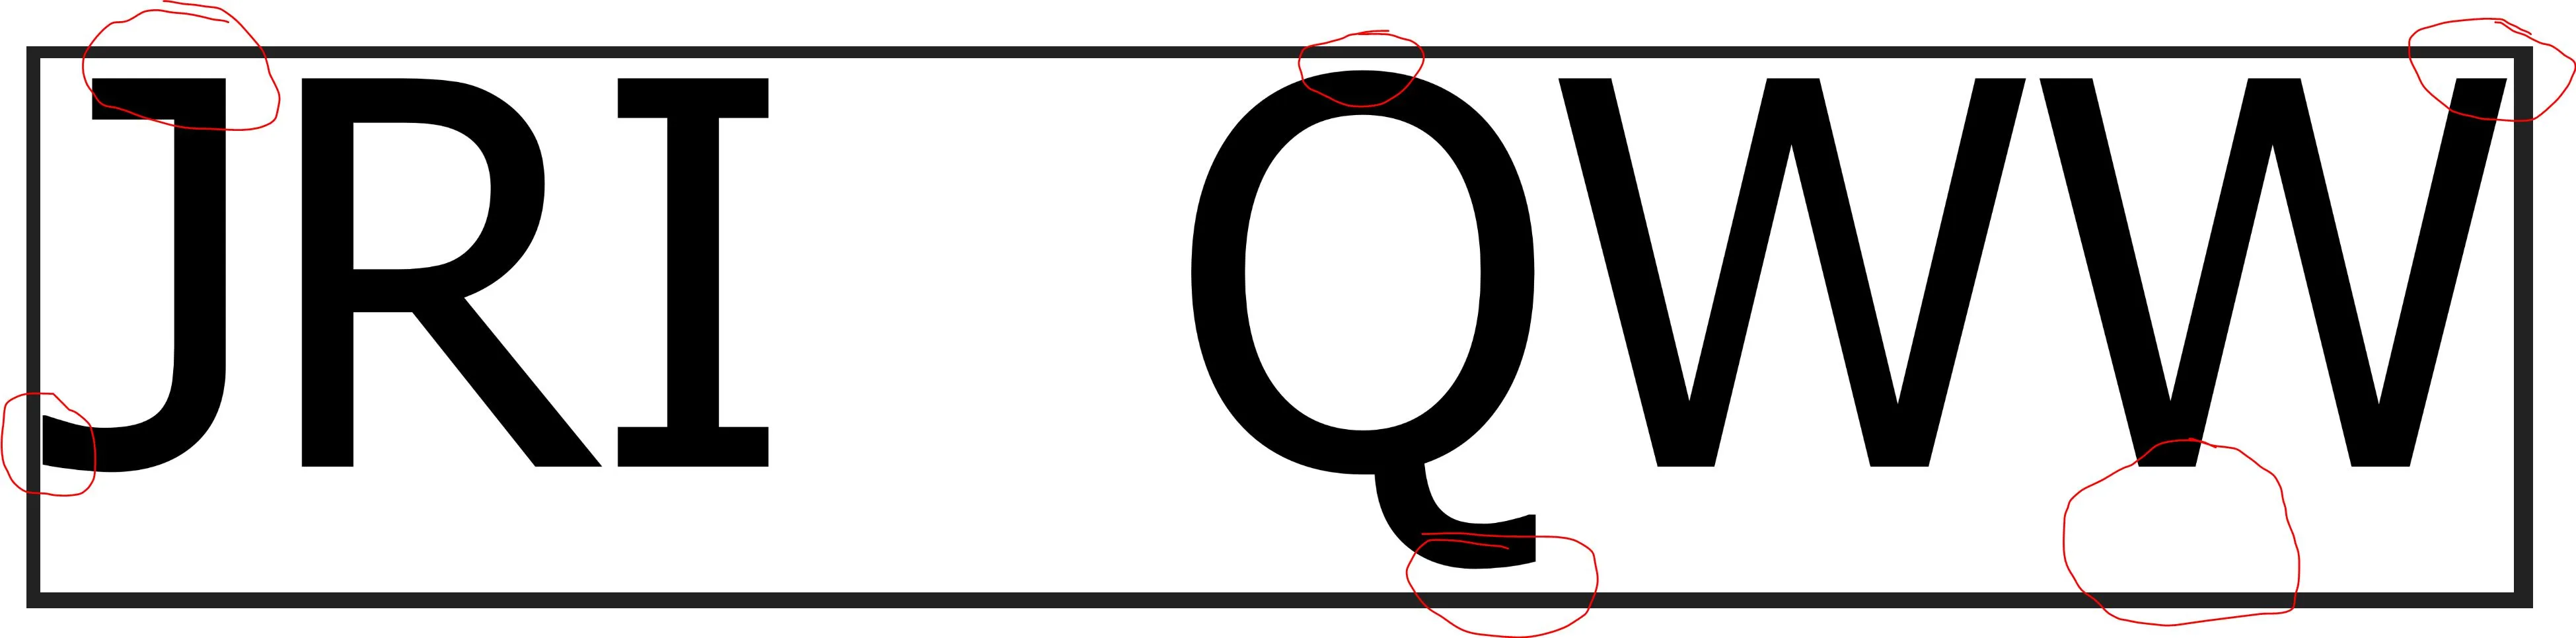
根据每个字形,我们现在可能在图像的顶部/底部和文本的顶部/底部之间有间隙。字形的呈现或绘制方式严重取决于所使用的字体。我不是印刷排版的专家,但据我所知,每种字体都有自己的边距/填充,并且具有围绕基线的自定义高度。
为了使我们的字形与图像的顶部和底部对齐,我们必须进一步放大字体。为了计算这个因子,我们可以通过搜索当前绘制文本的顶部和底部像素的高度(y),并使用此差异缩放字体。此外,我们需要按照从图像顶部到字形顶部边缘的距离偏移字形:
int top = GetTopPixel(initialImage, Rgba32.White);
int bottom = GetBottomPixel(initialImage, Rgba32.White);
int offset = top + (initialImage.Height - bottom);

SizeF inflatedSize = TextMeasurer.Measure(text, new RendererOptions(scaledFont));
float inflatingFactor = (inflatedSize.Height + offset) / inflatedSize.Height;
var inflatedFont = new Font(font, inflatingFactor * scaledFont.Size);

location.Offset(0.0f, -top);
现在我们可以将文本绘制到图像的顶部和底部与图像的顶部和底部对齐:
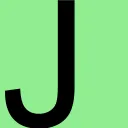
将字形移到最左边
最后,根据字形的不同,字形的左侧可能无法与图像的左侧对齐。类似于上一步,我们可以确定包含膨胀的字形的当前图像中文本的最左像素,并将文本向左移动以消除之间的间隙:
int left = GetLeftPixel(intermediateImage, Rgba32.White);

location.Offset(-left, 0.0f);
现在,我们可以绘制文本,使其与图像的左侧对齐:
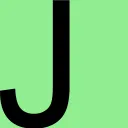
此最终图像的字体大小会根据图像的大小动态缩放,并进一步放大和移动以填充整个图像的高度,并进一步移动以消除左侧的空隙。
注意
绘制文本时,TextGraphicsOptions 的 DPI 应与图像的 DPI 匹配:
var textGraphicOptions = new TextGraphicsOptions(true)
{
    HorizontalAlignment = HorizontalAlignment.Left,
    VerticalAlignment = VerticalAlignment.Top,
    DpiX = (float)finalImage.MetaData.HorizontalResolution,
    DpiY = (float)finalImage.MetaData.VerticalResolution
};
代码
private static void CreateImageFiles()
{
    Directory.CreateDirectory("output");

    string text = "J";

    Rgba32 backgroundColor = Rgba32.White;
    Rgba32 foregroundColor = Rgba32.Black;

    int imageWidth = 256;
    int imageHeight = 256;
    using (var finalImage = new Image<Rgba32>(imageWidth, imageHeight))
    {
        finalImage.Mutate(context => context.Fill(backgroundColor));
        finalImage.MetaData.HorizontalResolution = 96;
        finalImage.MetaData.VerticalResolution = 96;
        FontFamily fontFamily = SystemFonts.Find("Arial");
        var font = new Font(fontFamily, 10, FontStyle.Regular);

        var textGraphicOptions = new TextGraphicsOptions(true)
        {
            HorizontalAlignment = HorizontalAlignment.Left,
            VerticalAlignment = VerticalAlignment.Top,
            DpiX = (float)finalImage.MetaData.HorizontalResolution,
            DpiY = (float)finalImage.MetaData.VerticalResolution
        };

        SizeF size = TextMeasurer.Measure(text, new RendererOptions(font));
        float scalingFactor = finalImage.Height / size.Height;
        var scaledFont = new Font(font, scalingFactor * font.Size);

        PointF location = new PointF();
        using (Image<Rgba32> initialImage = finalImage.Clone(context => context.DrawText(textGraphicOptions, text, scaledFont, foregroundColor, location)))
        {
            initialImage.Save("output/initial.png");

            int top = GetTopPixel(initialImage, backgroundColor);
            int bottom = GetBottomPixel(initialImage, backgroundColor);
            int offset = top + (initialImage.Height - bottom);

            SizeF inflatedSize = TextMeasurer.Measure(text, new RendererOptions(scaledFont));
            float inflatingFactor = (inflatedSize.Height + offset) / inflatedSize.Height;
            var inflatedFont = new Font(font, inflatingFactor * scaledFont.Size);

            location.Offset(0.0f, -top);
            using (Image<Rgba32> intermediateImage = finalImage.Clone(context => context.DrawText(textGraphicOptions, text, inflatedFont, foregroundColor, location)))
            {
                intermediateImage.Save("output/intermediate.png");

                int left = GetLeftPixel(intermediateImage, backgroundColor);

                location.Offset(-left, 0.0f);
                finalImage.Mutate(context => context.DrawText(textGraphicOptions, text, inflatedFont, foregroundColor, location));
                finalImage.Save("output/final.png");
            }
        }
    }
}

private static int GetTopPixel(Image<Rgba32> image, Rgba32 backgroundColor)
{
    for (int y = 0; y < image.Height; y++)
    {
        for (int x = 0; x < image.Width; x++)
        {
            Rgba32 pixel = image[x, y];
            if (pixel != backgroundColor)
            {
                return y;
            }
        }
    }

    throw new InvalidOperationException("Top pixel not found.");
}

private static int GetBottomPixel(Image<Rgba32> image, Rgba32 backgroundColor)
{
    for (int y = image.Height - 1; y >= 0; y--)
    {
        for (int x = image.Width - 1; x >= 0; x--)
        {
            Rgba32 pixel = image[x, y];
            if (pixel != backgroundColor)
            {
                return y;
            }
        }
    }

    throw new InvalidOperationException("Bottom pixel not found.");
}

private static int GetLeftPixel(Image<Rgba32> image, Rgba32 backgroundColor)
{
    for (int x = 0; x < image.Width; x++)
    {
        for (int y = 0; y < image.Height; y++)
        {
            Rgba32 pixel = image[x, y];
            if (pixel != backgroundColor)
            {
                return x;
            }
        }
    }

    throw new InvalidOperationException("Left pixel not found.");
}
我们不需要保存全部3张图片,但我们需要创建全部3张图片,并逐步填充整个图像的高度,从图像的最左侧开始逐步移动文本。
这个解决方案与所使用的字体无关。此外,在生产应用程序中,避免通过SystemFonts查找字体,因为所需字体可能在目标计算机上不可用。为了实现一个稳定的独立解决方案,可以将一个TTF字体与应用程序一起部署,并通过FontCollection手动安装字体。