好的,我认为我有一个在Swift 2中适用的解决方案。以下UIColor扩展的功劳归于
此答案。
由于我需要一张图片来测试这个,所以我选择了你的gravatar的一个切片(50 x 50 - 左上角)...
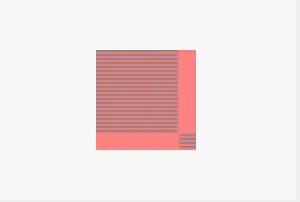
因此下面的代码将这个转换:
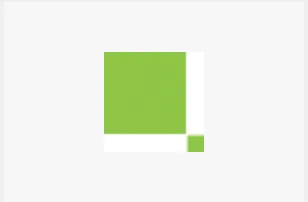
到这个:
这在playground中对我有效-你所要做的就是复制并粘贴到playground中查看结果:
import UIKit
import XCPlayground
extension CALayer {
func colorOfPoint(point:CGPoint) -> UIColor
{
var pixel:[CUnsignedChar] = [0,0,0,0]
let colorSpace = CGColorSpaceCreateDeviceRGB()
let bitmapInfo = CGBitmapInfo(rawValue: CGImageAlphaInfo.PremultipliedLast.rawValue)
let context = CGBitmapContextCreate(&pixel, 1, 1, 8, 4, colorSpace,bitmapInfo.rawValue)
CGContextTranslateCTM(context, -point.x, -point.y)
self.renderInContext(context!)
let red:CGFloat = CGFloat(pixel[0])/255.0
let green:CGFloat = CGFloat(pixel[1])/255.0
let blue:CGFloat = CGFloat(pixel[2])/255.0
let alpha:CGFloat = CGFloat(pixel[3])/255.0
let color = UIColor(red:red, green: green, blue:blue, alpha:alpha)
return color
}
}
extension UIColor {
var components:(red: CGFloat, green: CGFloat, blue: CGFloat, alpha: CGFloat) {
var r:CGFloat = 0
var g:CGFloat = 0
var b:CGFloat = 0
var a:CGFloat = 0
getRed(&r, green: &g, blue: &b, alpha: &a)
return (r,g,b,a)
}
}
var imageFromURL = UIImage(data: NSData(contentsOfURL: NSURL(string:"https://www.gravatar.com/avatar/ba4178644a33a51e928ffd820269347c?s=328&d=identicon&r=PG&f=1")!)!)
let imageSliceArea = CGRectMake(0, 0, 50, 50);
let imageSlice = CGImageCreateWithImageInRect(imageFromURL?.CGImage, imageSliceArea);
var image = UIImage(CGImage: imageSlice!)
let imageView = UIImageView(image: image)
var pointColor = imageView.layer.colorOfPoint(CGPoint(x: 0, y: 0))
let imageRect = CGRectMake(0, 0, image.size.width, image.size.height)
UIGraphicsBeginImageContext(image.size)
let context = UIGraphicsGetCurrentContext()
CGContextSaveGState(context)
CGContextDrawImage(context, imageRect, image.CGImage)
for x in 0...Int(image.size.width) {
for y in 0...Int(image.size.height) {
var pointColor = imageView.layer.colorOfPoint(CGPoint(x: x, y: y))
if y % 2 == 0 {
CGContextSetRGBFillColor(context, pointColor.components.red , 0.5, 0.5, 1)
}
else {
CGContextSetRGBFillColor(context, 255, 0.5, 0.5, 1)
}
CGContextFillRect(context, CGRectMake(CGFloat(x), CGFloat(y), 1, 1))
}
}
CGContextRestoreGState(context)
image = UIGraphicsGetImageFromCurrentImageContext()
我希望这对你有用。我玩得很开心!