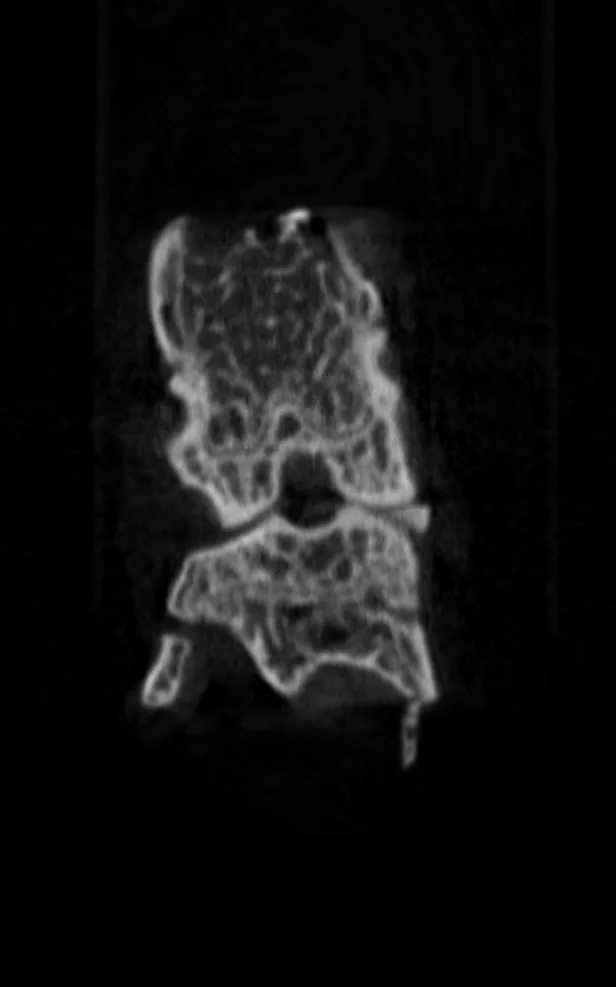
我是opencv的新手。我有多张图片。其中一张样例图片如下所示,位于左上角。基本上我想要分离背景和前景,以便边缘清晰,并且可以正确检测轮廓。
我已经尝试了许多滤波器和当然使用了各种参数的阈值。
我已经尝试了许多滤波器和当然使用了各种参数的阈值。
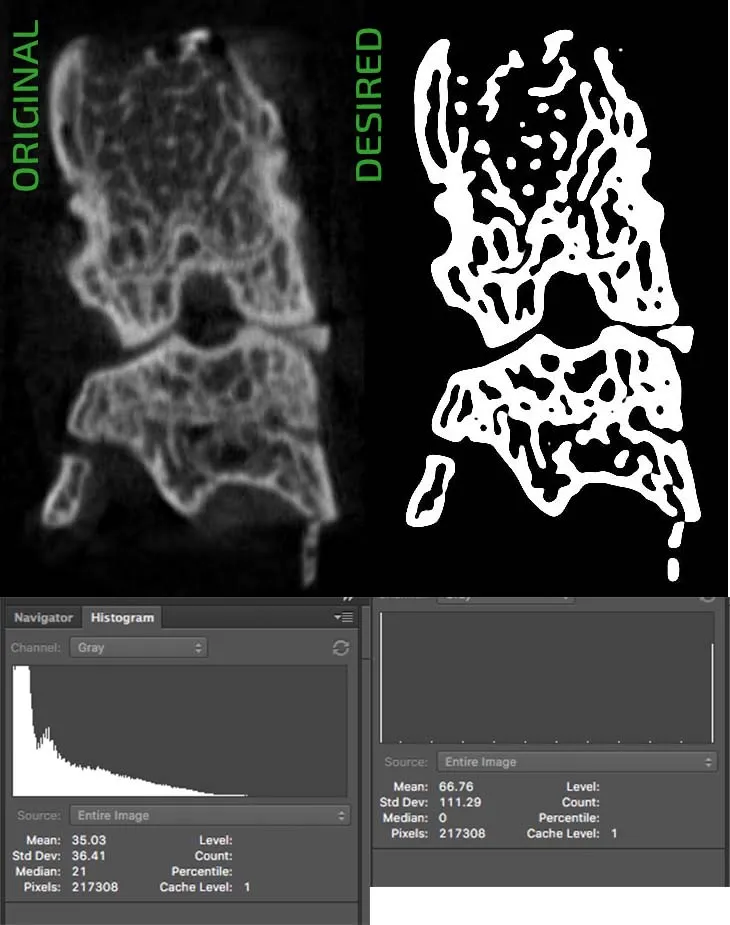
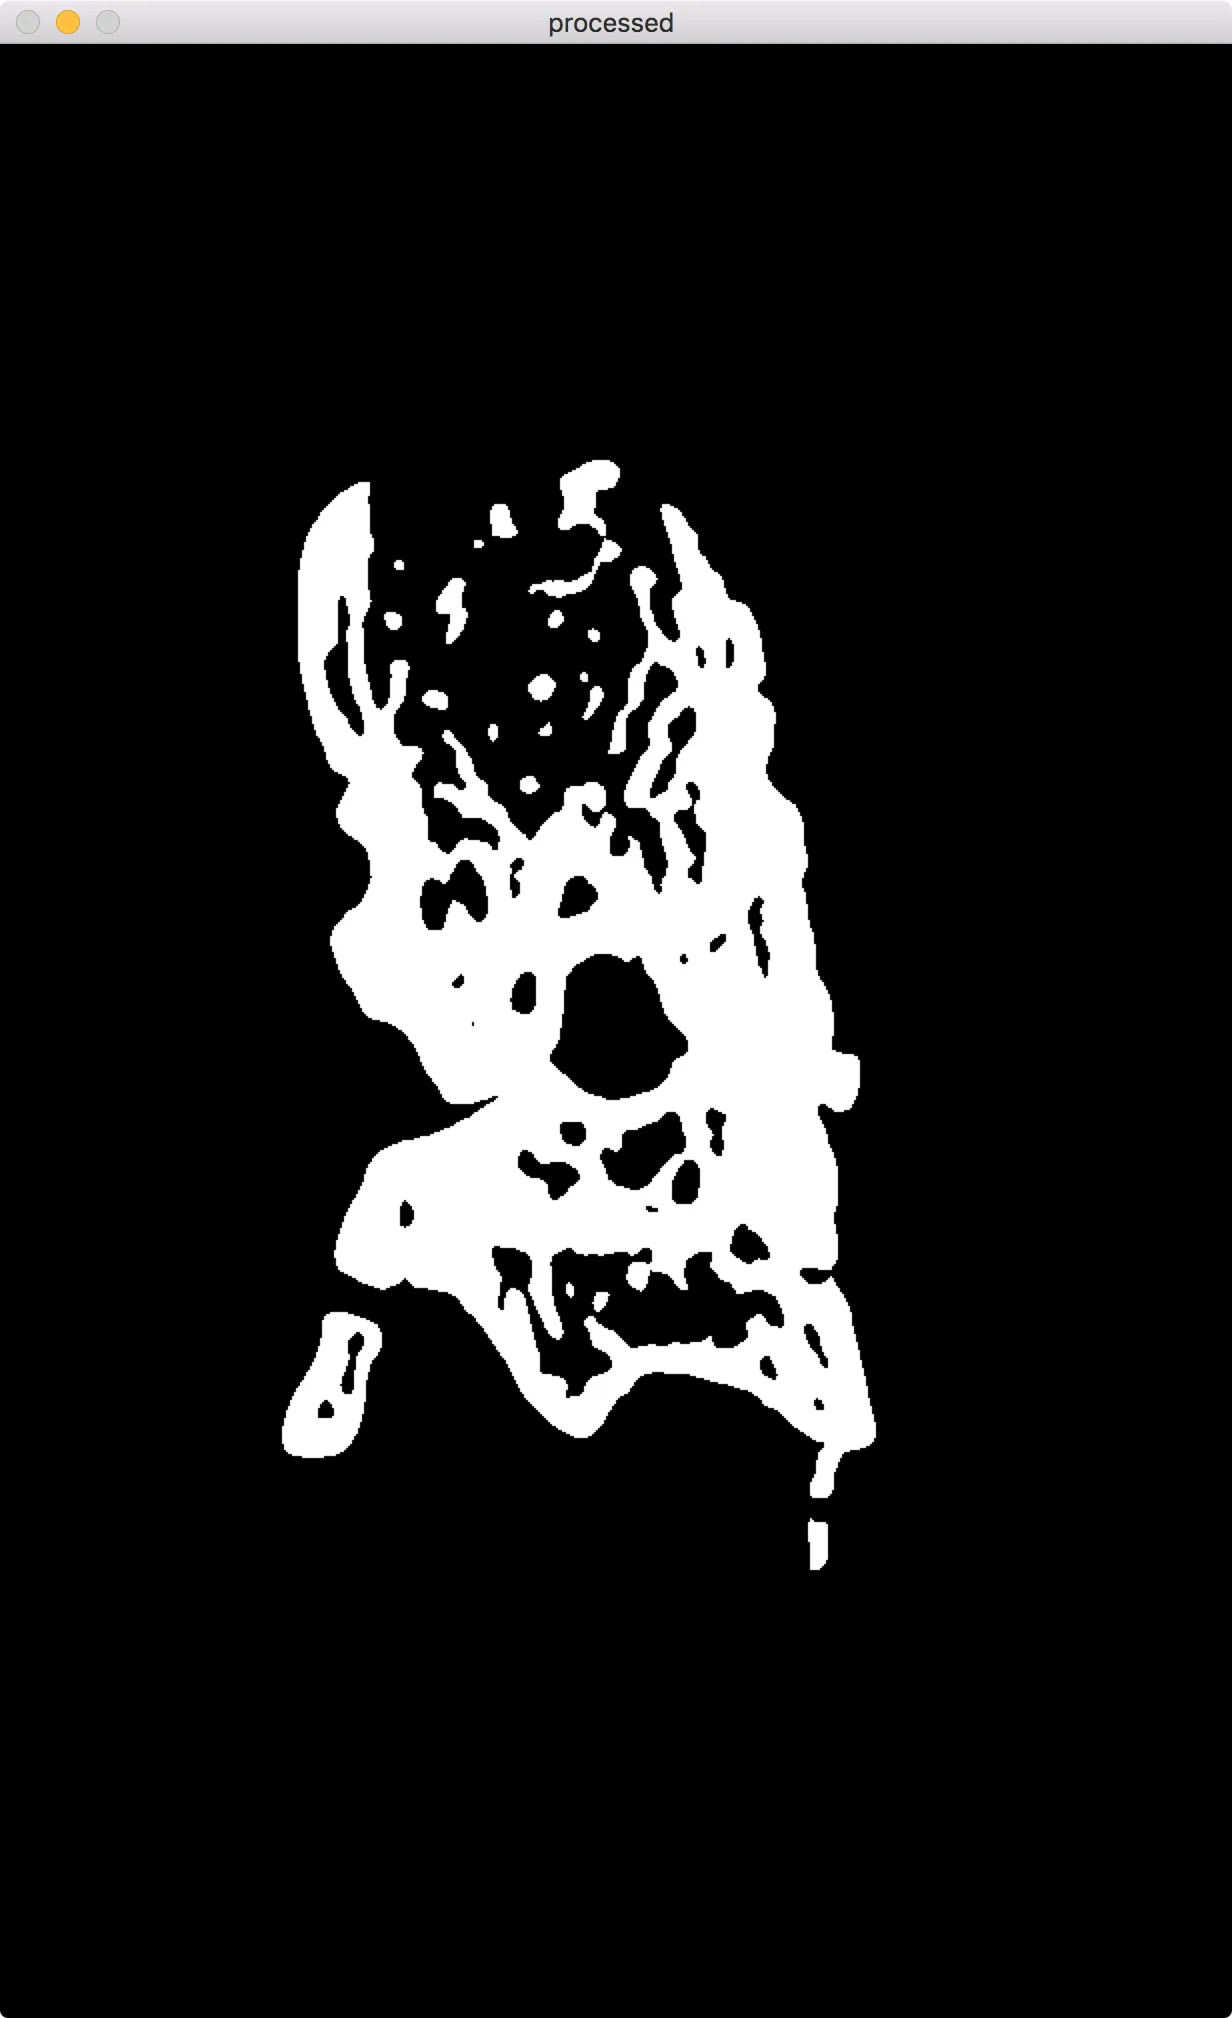
最后,当我在Photoshop滤镜库中查找时,我注意到一个名为“印章”的滤镜可以给我所需的结果(右上角)。它使边缘清晰,我猜使用了一定程度的模糊来软化角落。
我不确定如何使用Python CV2获得与Photoshop的印章滤镜相同的操作?
任何帮助或建议都将不胜感激。
原始未经处理的图像
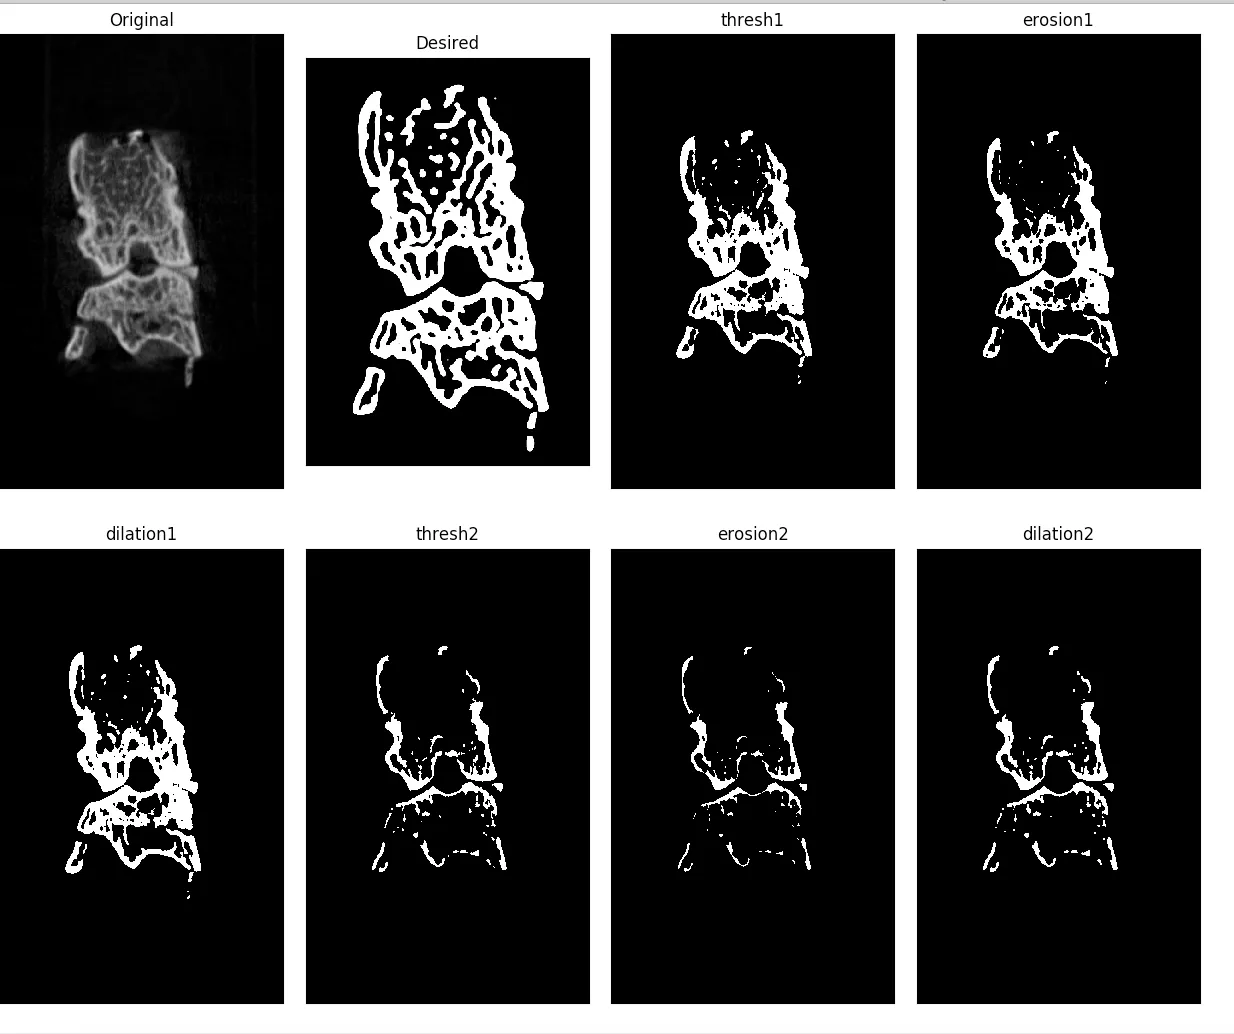
尝试 1:-- 代码
import cv2
import numpy as np
from matplotlib import pyplot as plt

input_img = cv2.imread('images/Tas/t3.bmp')
desired_img = cv2.imread('images/stamp.jpg')

# gray scale
gray = cv2.cvtColor(input_img, cv2.COLOR_BGR2GRAY)

kernel = np.ones((3,3),np.uint8)

thresh1 = cv2.threshold(input_img,80,255,cv2.THRESH_BINARY)[1]
erosion1 = cv2.erode(thresh1,kernel,iterations = 1)
dilation1 = cv2.dilate(erosion1,kernel,iterations = 1)

thresh2 = cv2.threshold(input_img,120,255,cv2.THRESH_BINARY)[1]
erosion2 = cv2.erode(thresh2,kernel,iterations = 1)
dilation2 = cv2.dilate(erosion2,kernel,iterations = 1)

titles = ['Original', 'Desired','thresh1', 'erosion1','dilation1','thresh2','erosion2','dilation2']
images = [input_img, desired_img, thresh1, erosion1,dilation1, thresh2,erosion2, dilation2]
for i in xrange(8):
  plt.subplot(2,4,i+1),plt.imshow(images[i])
  plt.title(titles[i])
  plt.xticks([]),plt.yticks([])

plt.show()
输出: