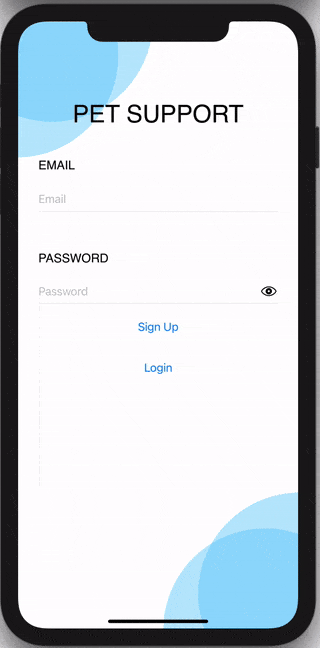
我对SwiftUI和iOS不熟悉,我在让VStack正确地堆叠项目方面遇到了麻烦。主要问题是,左上角的图像似乎太大了。这是我的布局中图像大小的截图:
图片出了点问题:


    @State private var email: String = ""
    @State private var password: String = ""
    @State private var isEditing = false
    var body: some View {
        return VStack(content: {

            Image("UIBubble")
                .resizable()
                .frame(width: 217, height: 184, alignment: .leading)
                .position(x: 108, y: 92);

            Text("PET SUPPORT").font(Font.custom("Permanent Marker", size: 36))
                .foregroundColor(Color.petSupportText)
                .padding()
                .frame(width: .infinity, height: 0, alignment: .center);

            Text("EMAIL").font(Font.custom("Permanent Marker", size: 18))
                .padding(.top, 20)
                .padding(.horizontal, 0)
                .frame(width: .infinity, height: 0, alignment: .leading);

            TextField("Email", text: $email) {
                isEditing in self.isEditing = isEditing
            }
            .autocapitalization(.none)
            .disableAutocorrection(true)
            .padding(.horizontal, 30)
            .padding(.top, 20);

            Divider()
                .padding(.horizontal, 30)
                .foregroundColor(.black);

            Text("PASSWORD").font(Font.custom("Permanent Marker", size: 18)).padding(.top, 50).padding(.horizontal, 0).frame(width: .infinity, height: 20, alignment: .leading);

            TextField("Password", text: $password) {
                isEditing in self.isEditing = isEditing
            }
            .autocapitalization(.none)
            .disableAutocorrection(true)
            .padding(.horizontal, 30)
            .padding(.top, 20)

            Divider().padding(.horizontal, 30).foregroundColor(.black);

        })
        .frame(maxWidth: .infinity, maxHeight: .infinity)
        .ignoresSafeArea()
    }
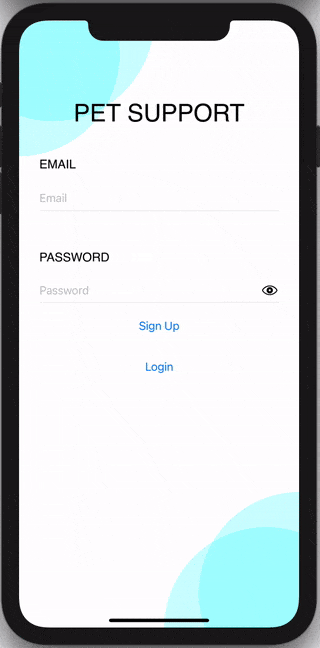
图片出了点问题: