使用圆形UIBezierPath和CABasicAnimation动画CAShapeLayer

9
我希望能够在15秒内将一个圆从0度旋转到360度。动画效果很奇怪,我知道这可能是起始/结束角度的问题,我曾经在圆形动画中遇到过这种问题,但我不知道如何解决这个问题。
var circle_layer=CAShapeLayer()
var circle_anim=CABasicAnimation(keyPath: "path")

func init_circle_layer(){
    let w=circle_view.bounds.width
    let center=CGPoint(x: w/2, y: w/2)

    //initial path
    let start_angle:CGFloat = -0.25*360*CGFloat.pi/180
    let initial_path=UIBezierPath(arcCenter: center, radius: w/2, startAngle: start_angle, endAngle: start_angle, clockwise: true)
    initial_path.addLine(to: center)

    //final path
    let end_angle:CGFloat=start_angle+360*CGFloat(CGFloat.pi/180)
    let final_path=UIBezierPath(arcCenter: center, radius: w/2, startAngle: start_angle, endAngle: end_angle, clockwise: true)
    final_path.addLine(to: center)

    //init layer
    circle_layer.path=initial_path.cgPath
    circle_layer.fillColor=UIColor(hex_code: "EA535D").cgColor
    circle_view.layer.addSublayer(circle_layer)

    //init anim
    circle_anim.duration=15
    circle_anim.fromValue=initial_path.cgPath
    circle_anim.toValue=final_path.cgPath
    circle_anim.isRemovedOnCompletion=false
    circle_anim.fillMode=kCAFillModeForwards
    circle_anim.delegate=self
}

func start_circle_animation(){
    circle_layer.add(circle_anim, forKey: "circle_anim")
}

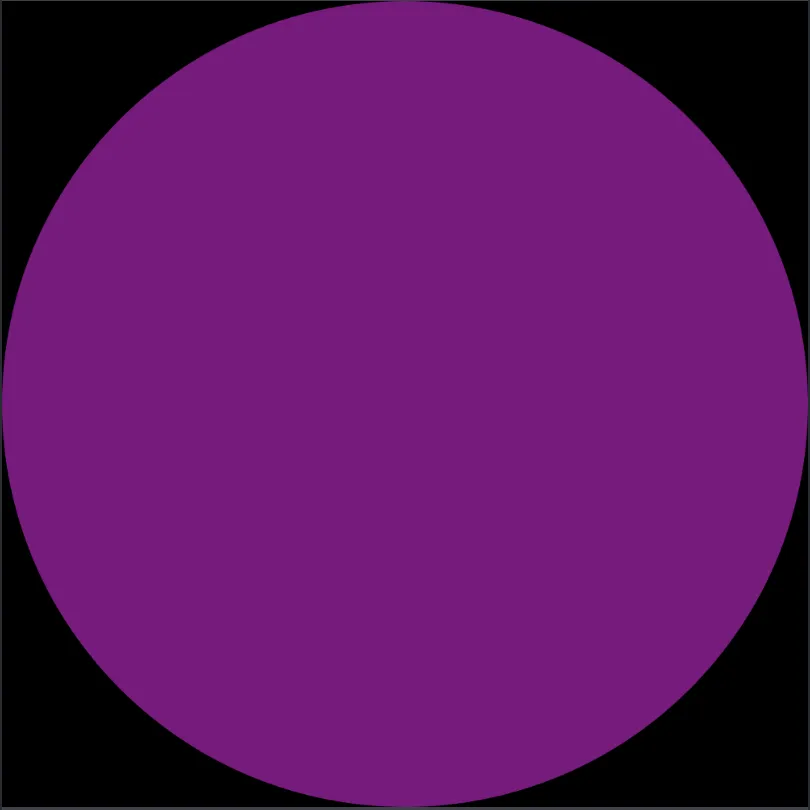
我希望从0度处开始,并在完成一周后回到顶部:
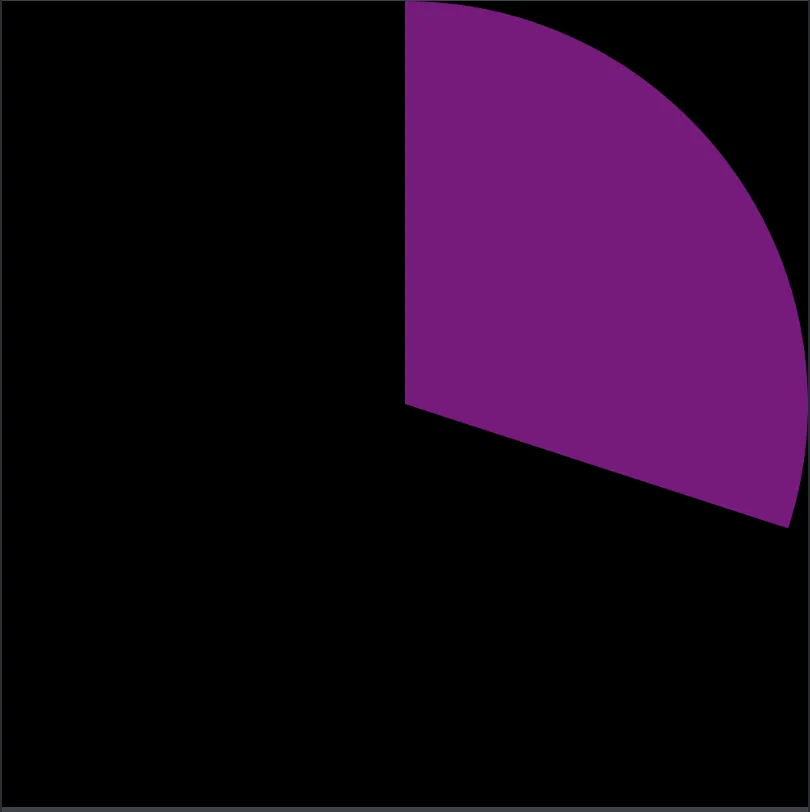
 输入图像描述

enter image description here


这会给你一些见解:https://dev59.com/D5Tfa4cB1Zd3GeqPVcjR - Anil Varghese
1个回答

16

你不能轻易地对 UIBezierPath 的填充进行动画处理(至少在没有得到精细控制的情况下很难避免奇怪的伪影)。但是你可以对 CAShapeLayerpathstrokeEnd 属性进行动画处理。如果你把描边路径的线宽设置得很宽(即最终圆的半径),并将路径的半径设为该圆的一半,你就能够得到类似于你所期望的效果。

private var circleLayer = CAShapeLayer()

private func configureCircleLayer() {
    let radius = min(circleView.bounds.width, circleView.bounds.height) / 2

    circleLayer.strokeColor = UIColor(hexCode: "EA535D").cgColor
    circleLayer.fillColor = UIColor.clear.cgColor
    circleLayer.lineWidth = radius
    circleView.layer.addSublayer(circleLayer)

    let center = CGPoint(x: circleView.bounds.width/2, y: circleView.bounds.height/2)
    let startAngle: CGFloat = -0.25 * 2 * .pi
    let endAngle: CGFloat = startAngle + 2 * .pi
    circleLayer.path = UIBezierPath(arcCenter: center, radius: radius / 2, startAngle: startAngle, endAngle: endAngle, clockwise: true).cgPath

    circleLayer.strokeEnd = 0
}

private func startCircleAnimation() {
    circleLayer.strokeEnd = 1
    let animation = CABasicAnimation(keyPath: "strokeEnd")
    animation.fromValue = 0
    animation.toValue = 1
    animation.duration = 15
    circleLayer.add(animation, forKey: nil)
}

为了获得更高级别的控制,当进行复杂的 UIBezierPath 动画时,你可以使用 CADisplayLink,从而避免在使用 CABasicAnimationpath 时可能产生的视觉问题:

private var circleLayer = CAShapeLayer()
private weak var displayLink: CADisplayLink?
private var startTime: CFTimeInterval!

private func configureCircleLayer() {
    circleLayer.fillColor = UIColor(hexCode: "EA535D").cgColor
    circleView.layer.addSublayer(circleLayer)
    updatePath(percent: 0)
}

private func startCircleAnimation() {
    startTime = CACurrentMediaTime()
    displayLink = {
        let _displayLink = CADisplayLink(target: self, selector: #selector(handleDisplayLink(_:)))
        _displayLink.add(to: .current, forMode: .commonModes)
        return _displayLink
    }()
}

@objc func handleDisplayLink(_ displayLink: CADisplayLink) {   // the @objc qualifier needed for Swift 4 @objc inference
    let percent = CGFloat(CACurrentMediaTime() - startTime) / 15.0
    updatePath(percent: min(percent, 1.0))
    if percent > 1.0 {
        displayLink.invalidate()
    }
}

private func updatePath(percent: CGFloat) {
    let w = circleView.bounds.width
    let center = CGPoint(x: w/2, y: w/2)
    let startAngle: CGFloat = -0.25 * 2 * .pi
    let endAngle: CGFloat = startAngle + percent * 2 * .pi
    let path = UIBezierPath()
    path.move(to: center)
    path.addArc(withCenter: center, radius: w/2, startAngle: startAngle, endAngle: endAngle, clockwise: true)
    path.close()

    circleLayer.path = path.cgPath
}

然后您可以执行:

override func viewDidAppear(_ animated: Bool) {
    super.viewDidAppear(animated)

    configureCircleLayer()
    startCircleAnimation()
}

override func viewDidDisappear(_ animated: Bool) {
    super.viewDidDisappear(animated)

    displayLink?.invalidate()   // to avoid displaylink keeping a reference to dismissed view during animation
}

这将产生:

动态圆形


我之前使用了 Timer,现在想要将其移除。因为我同时展示了一个视频,所以希望动画能够顺畅运行,避免屏幕冻结(视频冻结、圆形动画冻结或任何界面冻结)。我感觉 Timer 太 "重" 了,因为它需要在主线程上每隔0.01秒更新一次(在我的情况下)。CADisplayLink 真的和 Timer 不同吗?它是更好的解决方案吗? - Marie Dm
1
是的,CADisplayLinkTimer更好(因为它在每次屏幕刷新周期开始时得到最佳定时)。但它仍可能比CABasicAnimation计算密集。但是,如果您不介意笨拙的方法,因为您无法轻松地对CAShapeLayer的填充进行动画处理,您可以使用CABasicAnimation动画处理路径的strokeEnd(而不填充)。只需将描边路径的路径设置为所需半径的一半,然后将描边的lineWidth设置为所需半径即可。这很反直觉,但可以产生所需的效果。请参见修订后的答案。 - Rob
是的,那是我正在考虑的一个可能性。我会尝试并回来告诉你。 - Marie Dm

网页内容由stack overflow 提供, 点击上面的
可以查看英文原文,
原文链接