您可以通过在非不透明图层上使用透明颜色进行绘制来实现此目的。这可以通过使用另一种混合模式来完成绘制。不幸的是,CAShapeLayer不支持此功能。因此,您必须编写自己的形状层类:
@interface ShapeLayer : CALayer

@property(nonatomic) CGPathRef path;
@property(nonatomic) CGColorRef fillColor;
@property(nonatomic) CGColorRef strokeColor;
@property(nonatomic) CGFloat lineWidth;

@end

@implementation ShapeLayer

@dynamic path;
@dynamic fillColor;
@dynamic strokeColor;
@dynamic lineWidth;

- (void)drawInContext:(CGContextRef)inContext {
    CGContextSetGrayFillColor(inContext, 0.0, 1.0);
    CGContextFillRect(inContext, self.bounds);
    CGContextSetBlendMode(inContext, kCGBlendModeSourceIn);
    if(self.strokeColor) {
        CGContextSetStrokeColorWithColor(inContext, self.strokeColor);
    }
    if(self.fillColor) {
        CGContextSetFillColorWithColor(inContext, self.fillColor);
    }
    CGContextSetLineWidth(inContext, self.lineWidth);
    CGContextAddPath(inContext, self.path);
    CGContextDrawPath(inContext, kCGPathFillStroke);
}

@end
创建一个带有透明路径的图层:
ShapeLayer *theLayer = [ShapeLayer layer];

theLayer.path = ...;
theLayer.strokeColor = [UIColor clearColor].CGColor;
theLayer.fillColor = [UIColor colorWithWhite:0.8 alpha:0.5];
theLayer.lineWith = 3.0;
theLayer.opaque = NO; // Important, otherwise you will get a black rectangle
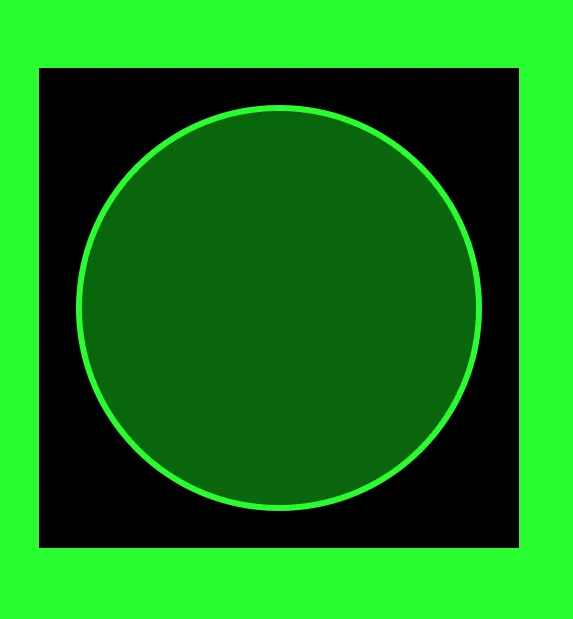
我使用了以下代码在绿色背景前绘制了一个带有透明边框的半透明圆形:
编辑:这是在Swift中用于该层的相应代码:
public class ShapeLayer: CALayer {
    @NSManaged var path : CGPath?
    @NSManaged var fillColor : CGColor?
    @NSManaged var strokeColor : CGColor?
    @NSManaged var lineWidth : CGFloat

    override class func defaultValue(forKey inKey: String) -> Any? {
        return inKey == "lineWidth" ? 1.0 : super.defaultValue(forKey: inKey)
    }

    override class func needsDisplay(forKey inKey: String) -> Bool {
        return inKey == "path" || inKey == "fillColor" || inKey == "strokeColor" || inKey == "lineWidth" || super.needsDisplay(forKey: inKey)
    }

    override public func draw(in inContext: CGContext) {
        if let thePath = path {
            inContext.setFillColor(gray: 0.0, alpha: 1.0)
            inContext.fill(self.bounds)
            inContext.setBlendMode(.sourceIn)
            if let strokeColor = self.strokeColor {
                inContext.setStrokeColor(strokeColor)
            }
            if let fillColor = self.fillColor {
                inContext.setFillColor(fillColor)
            }
            inContext.setLineWidth(self.lineWidth)
            inContext.addPath(thePath)
            inContext.drawPath(using: .fillStroke)
        }
    }
}
注意: 通过使用
@NSManaged标记属性,您可以轻松地在Swift中实现
needsDisplay(forKey inKey:)或在Objective C中实现
needsDisplayForKey:使属性可动画化。我已相应地调整了Swift代码。
但是,即使您不需要动画,最好还是使用@NSManaged标记属性,因为QuartzCore会复制图层并应该将所有属性一起复制。Swift中的@NSManaged是Objective C中@dynamic的对应物,因为它避免了创建属性实现。相反,CALayer分别使用value(forKey:)和setValue(_:forKey:)获取和设置属性值。