我希望在iPython中并排显示2个PNG图像。
我的代码如下:
但是它没有输出图片,而是只显示了 2 张图像的占位符:
我的代码如下:
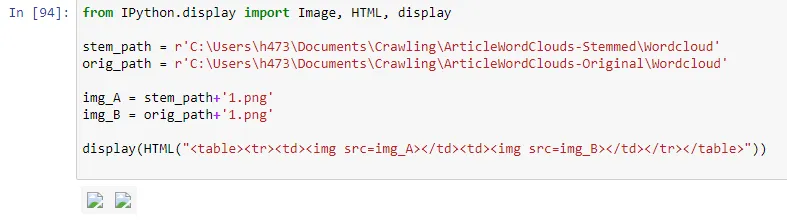
from IPython.display import Image, HTML, display

img_A = '\path\to\img_A.png'
img_B = '\path\to\img_B.png'

display(HTML("<table><tr><td><img src=img_A></td><td><img src=img_B></td></tr></table>"))
但是它没有输出图片,而是只显示了 2 张图像的占位符:
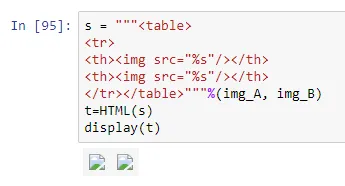
s = """<table>
<tr>
<th><img src="%s"/></th>
<th><img src="%s"/></th>
</tr></table>"""%(img_A, img_B)
t=HTML(s)
display(t)
但结果是一样的:
这些图片肯定存在于路径中,因为我通过弹出窗口来显示它们进行了验证:
plt.imshow(img_A)
plt.imshow(img_B)
它们会出现在弹出窗口中。
我该如何使两个图像在iPython中并排显示?

<img src=img_A>不会自动填充变量值,您需要手动填写。 - Klaus D.