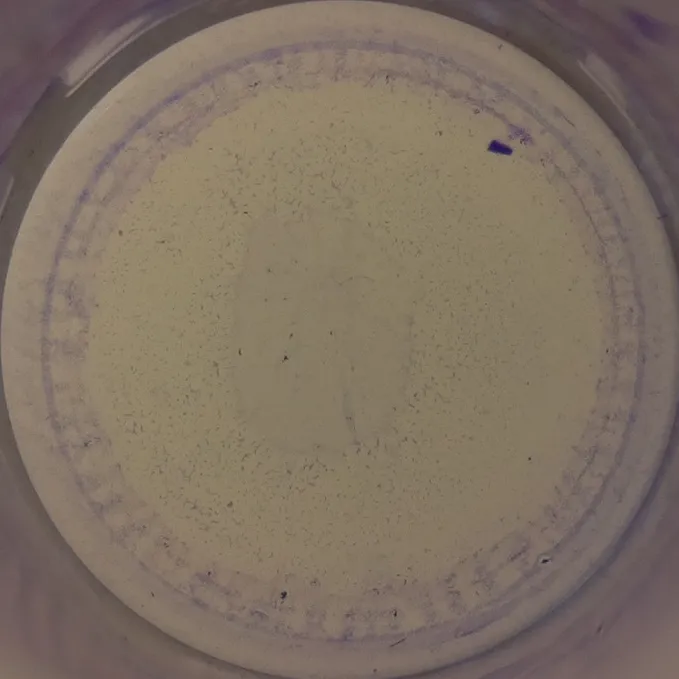
我在一些生物样本的照片中遇到了分割完成的问题,我正在尝试使用图像处理分析细菌的生长情况,理论上应该有效。这是我拥有的原始图像之一:

from skimage import morphology, exposure, io, filters
from scipy import ndimage as ndi
from skimage.color import rgb2gray, label2rgb
from skimage.filters import sobel, rank
import matplotlib.pyplot as plt
y1=400
y2=1600
x1=700
x2=1900
test_img = io.imread(folders_path+hour_tested[0]+'5.jpg')
roi_test = test_img[y1:y2, x1:x2,:]
gray_img = rgb2gray(roi_test)
denoised_img = rank.median(gray_img, morphology.disk(5))
val = filters.threshold_otsu(denoised_img)
mask = denoised_img > val
elevation_map=sobel(denoised_img)
segmentation = morphology.watershed(elevation_map, mask=mask)
labeled_bio, num_seg = ndi.label(segmentation)
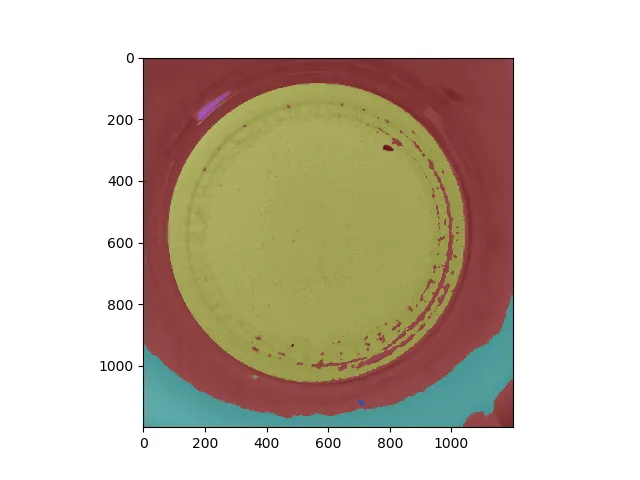
image_label_overlay = label2rgb(labeled_bio, image=gray_img)
plt.imshow(image_label_overlay)
plt.show()
在最后一行,我可以通过不同颜色来分割样本的区域,并将我想要分析的部分放入一个标签中。现在我不知道如何继续下去,或者至少如何查看该标签,然后创建一个掩模。
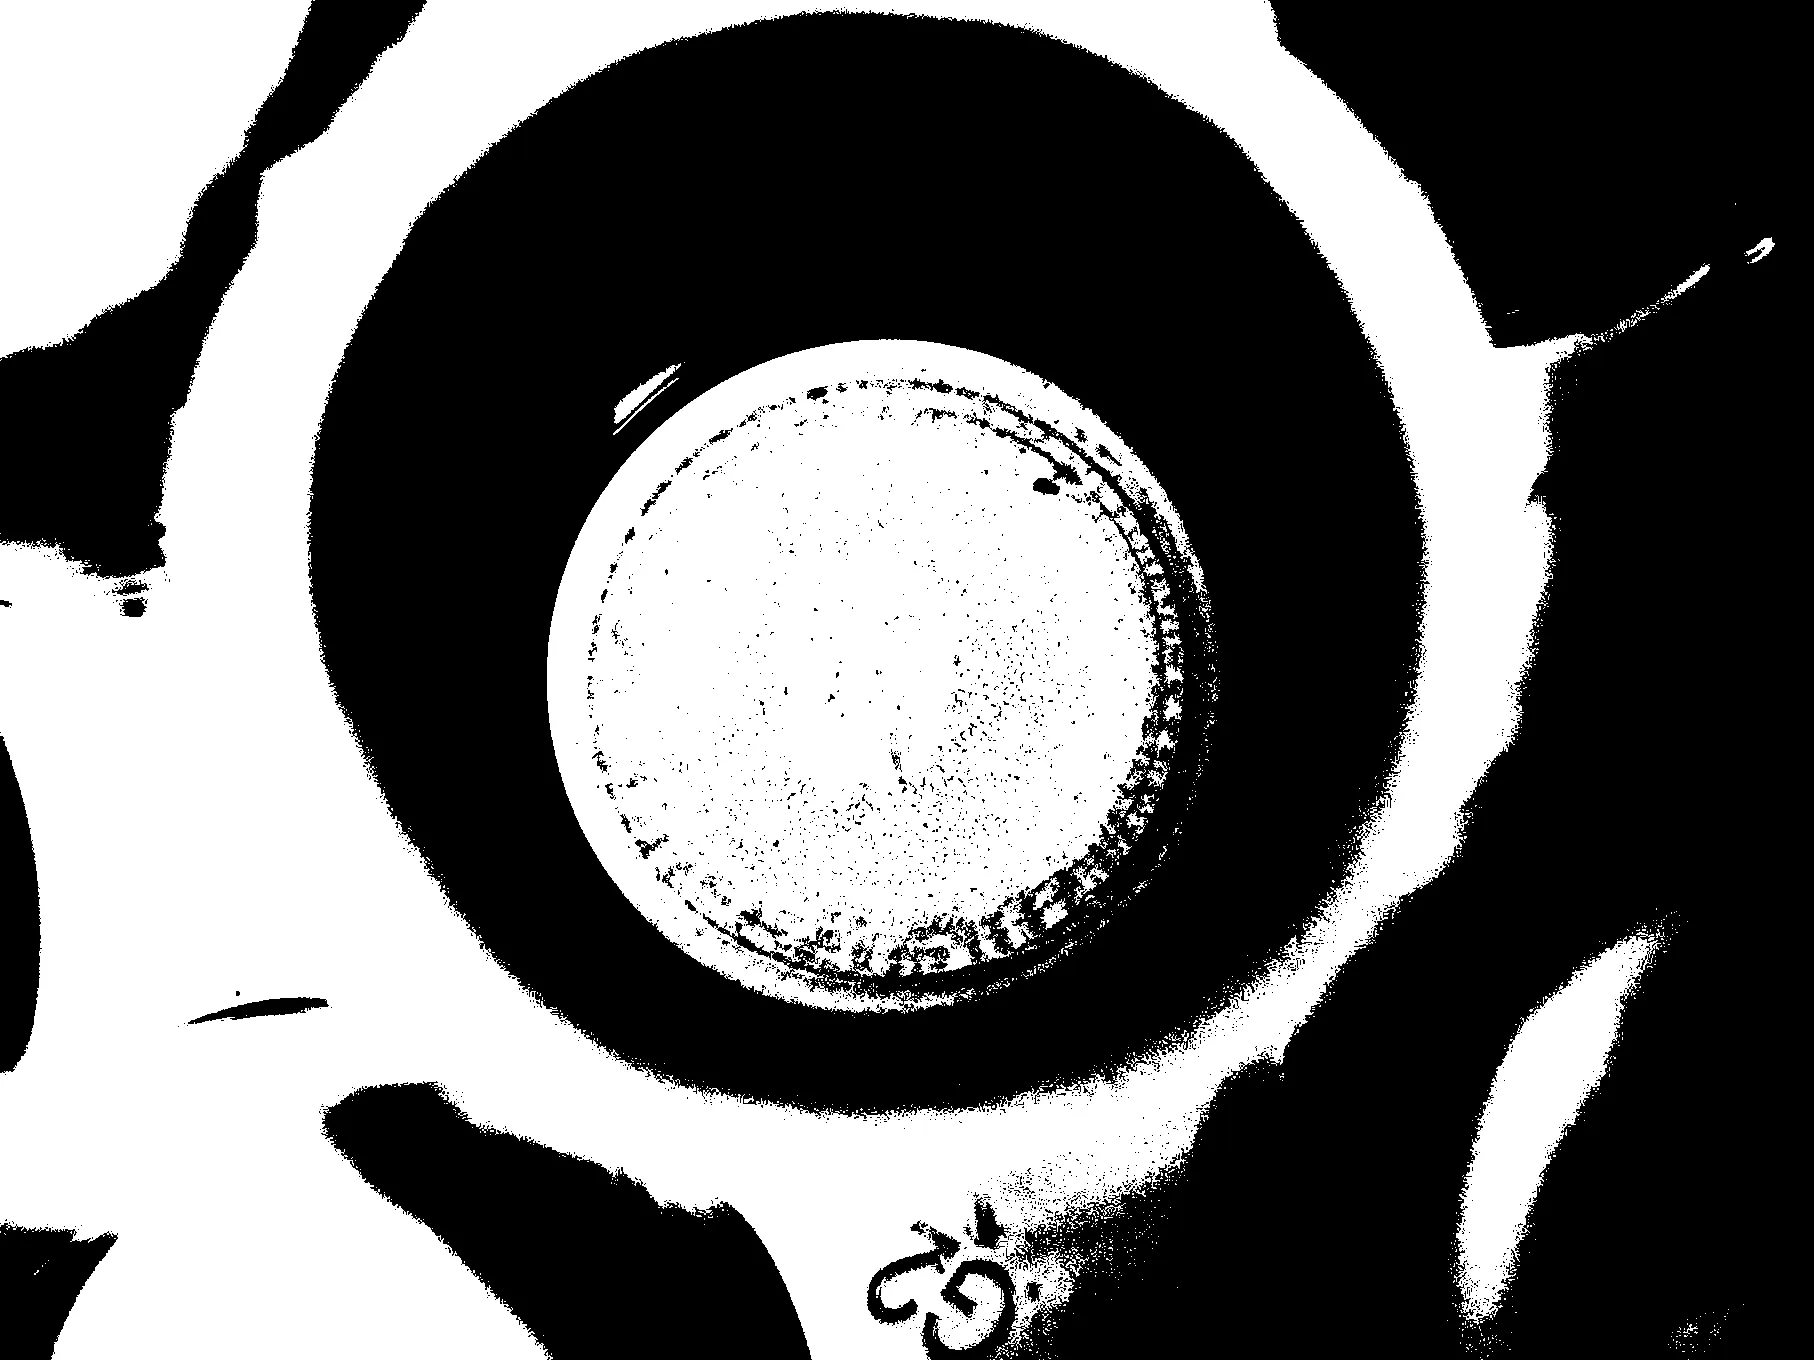
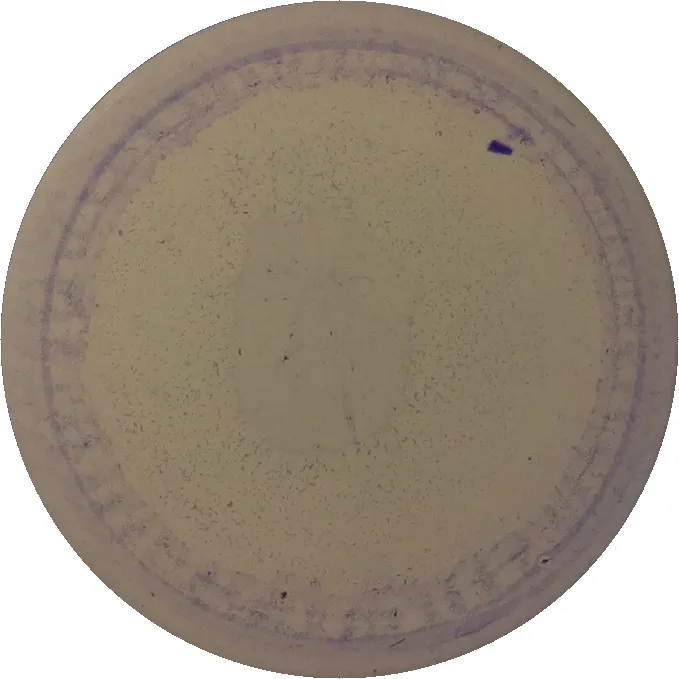
我还分享了标记图像,供任何人查看并可能在下一步中帮助我,我感觉我已经接近或者离我的感兴趣的区域很远并且感到困惑。
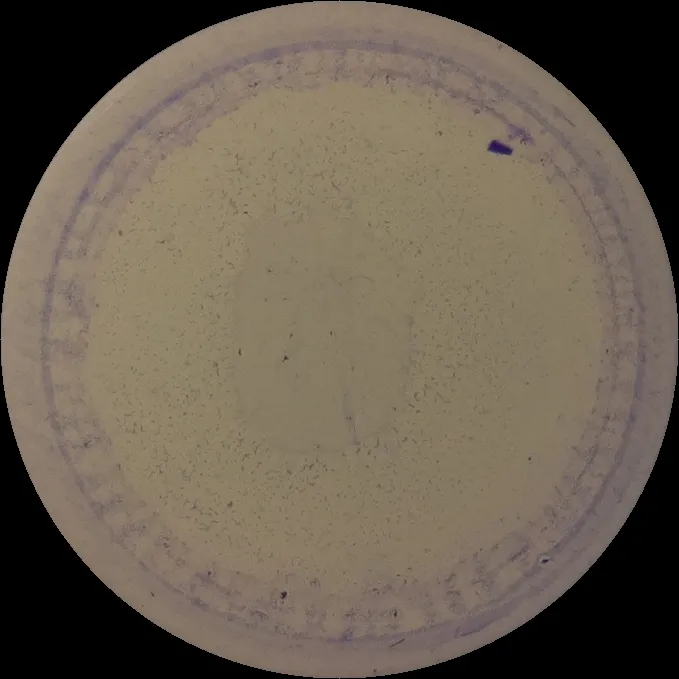
好了,这是样本的标记图像:


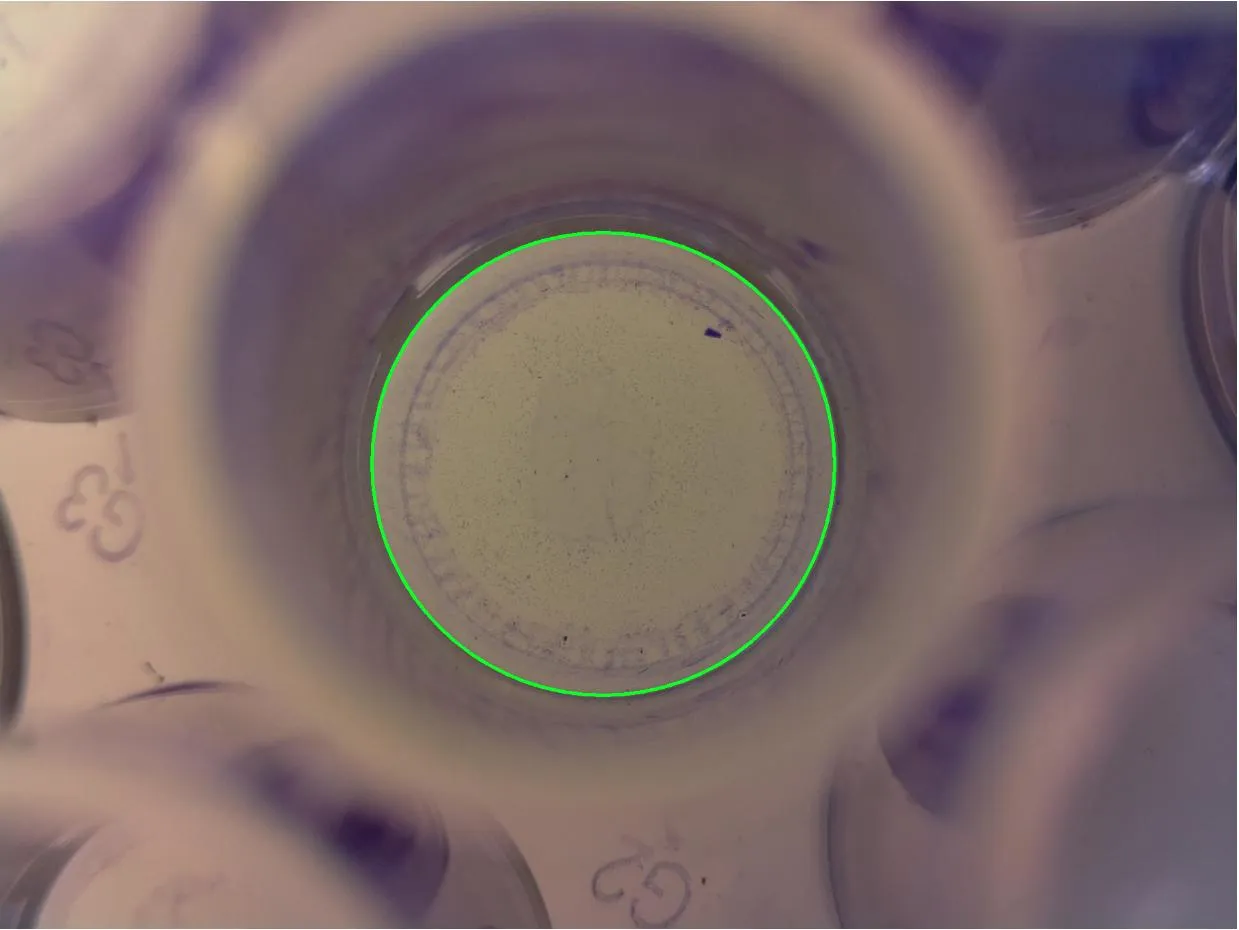

python 3.7.4,numpy==1.14.5,opencv-python==4.1.0.25。您可能需要更改下限/上限区域的值,但它应该适用于大多数图像。 - nathancy