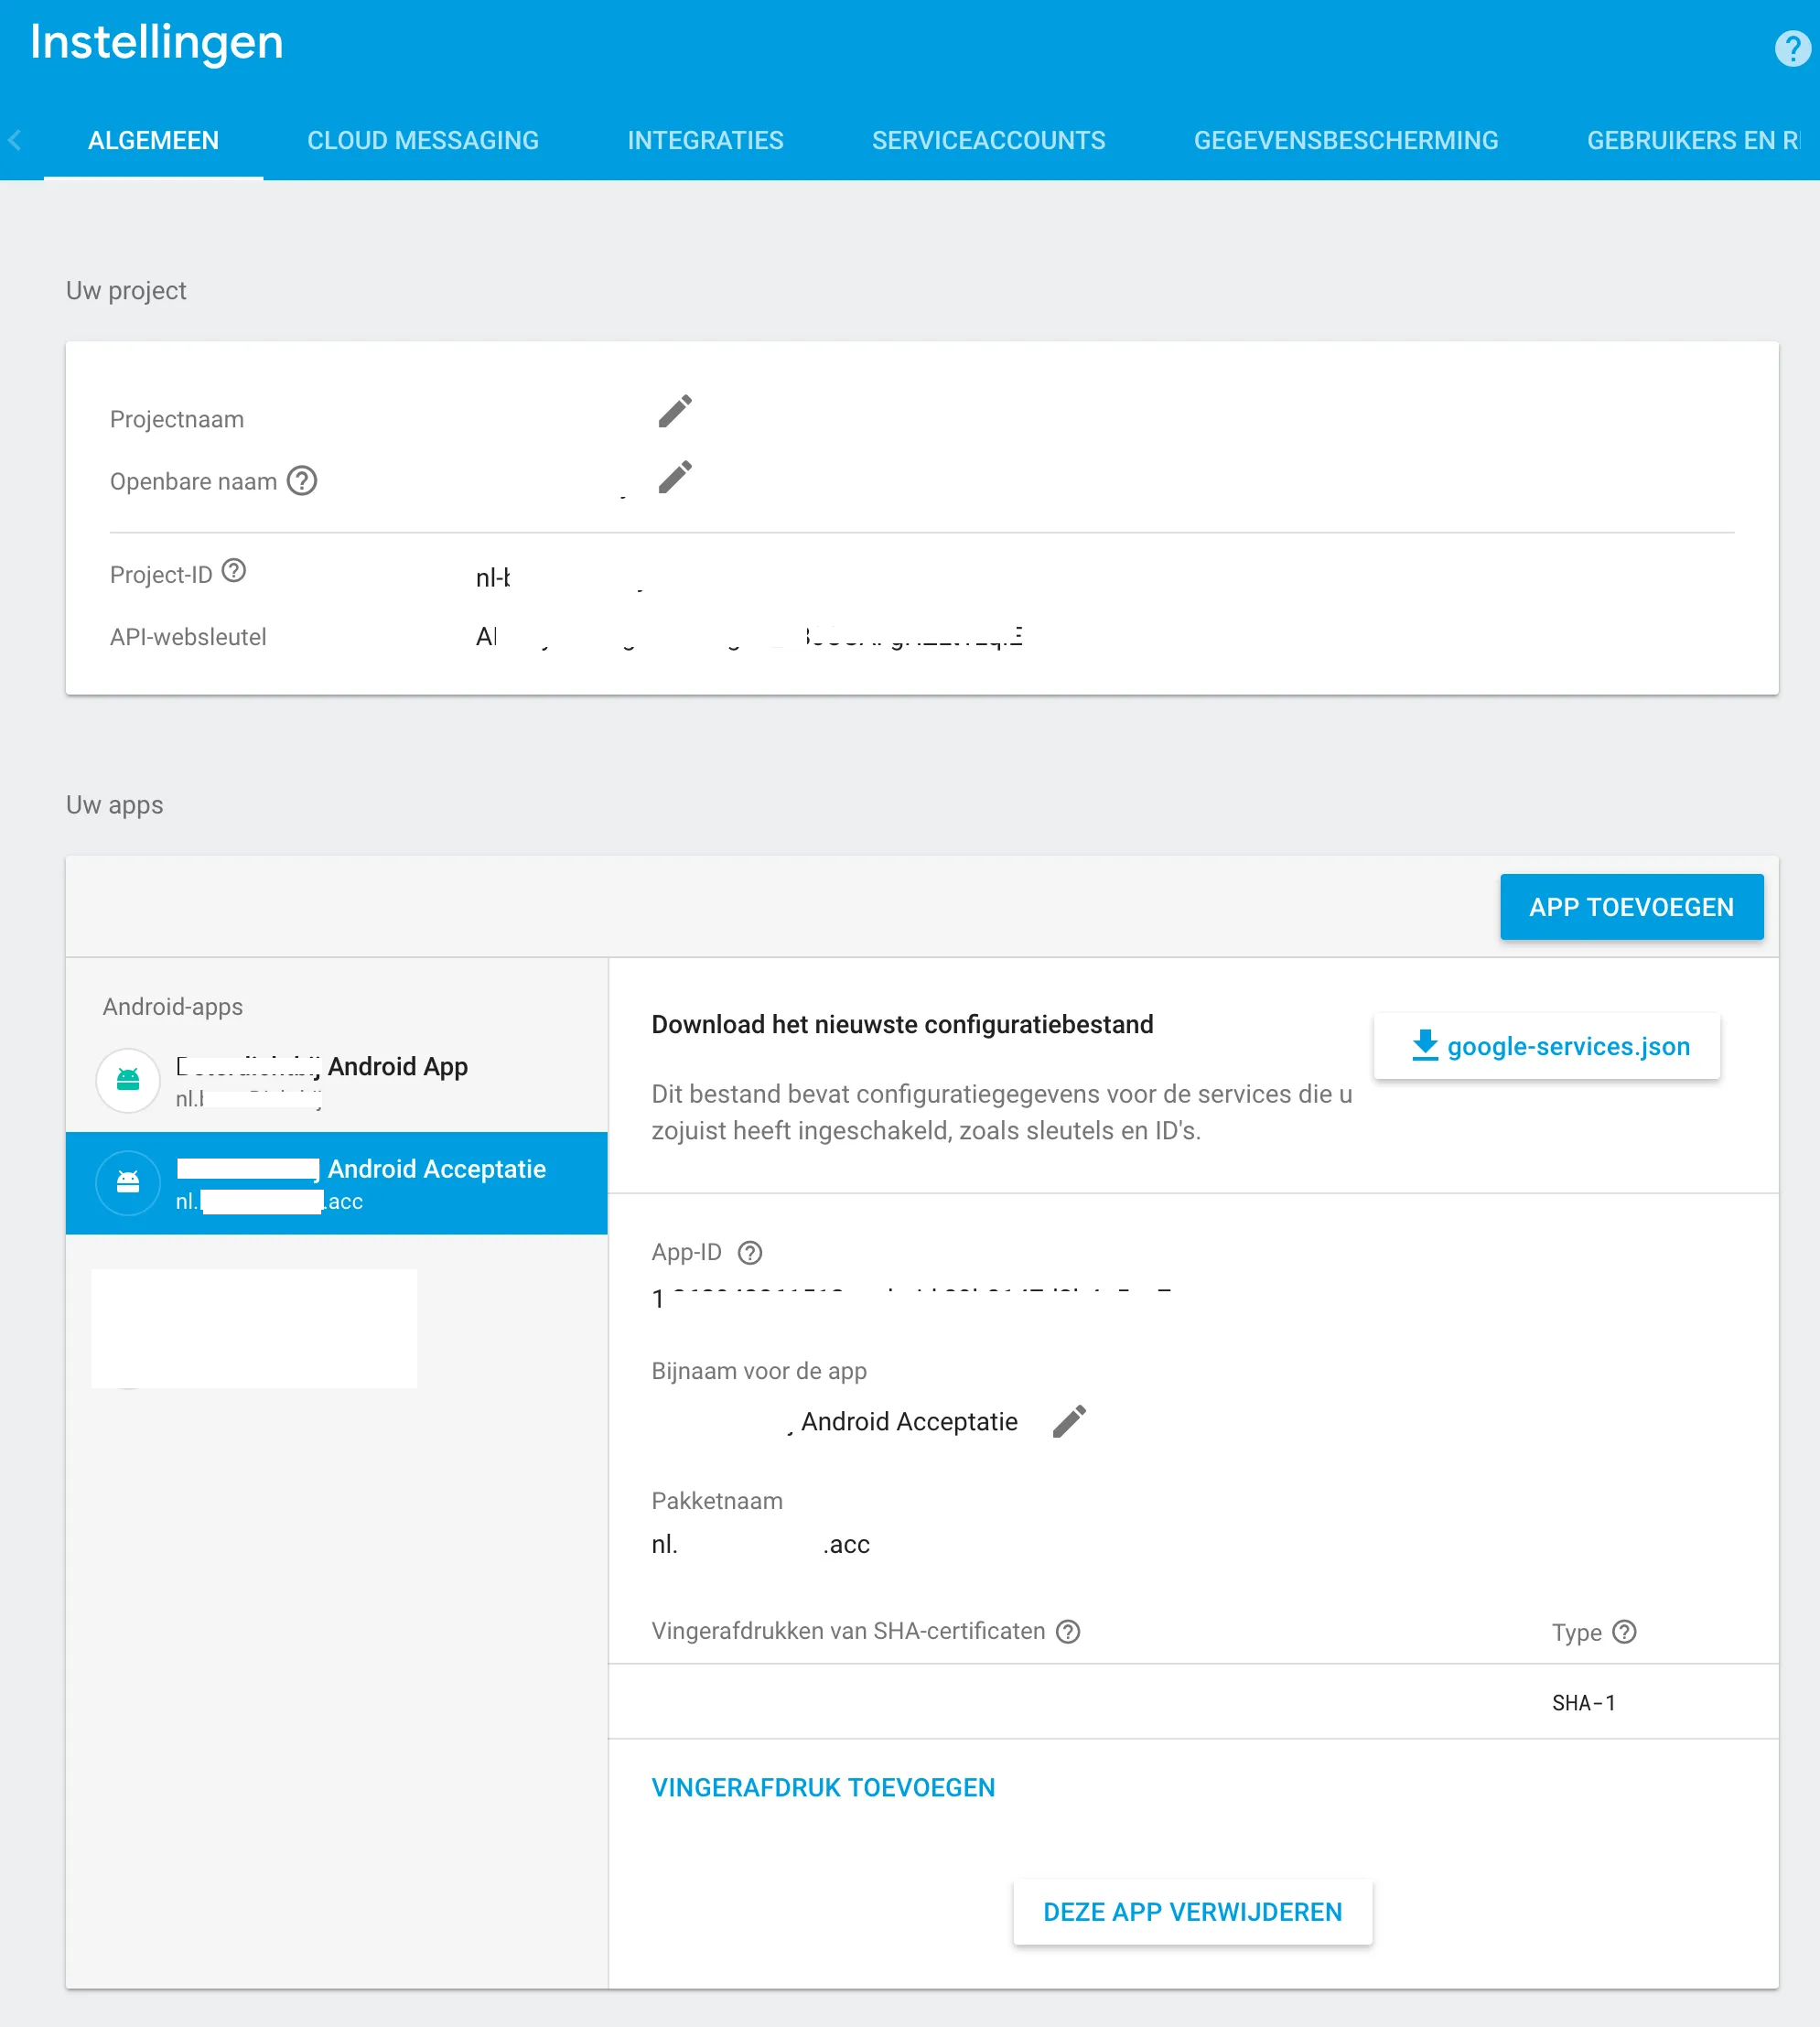
我在Firebase中有两个项目:nl.companyname和nl.companyname.acc:
下载 google-services.json 文件的目录为:app/google-services.json。
Android Studio 已登录 Google 账户并同步了:
点击可查看图片: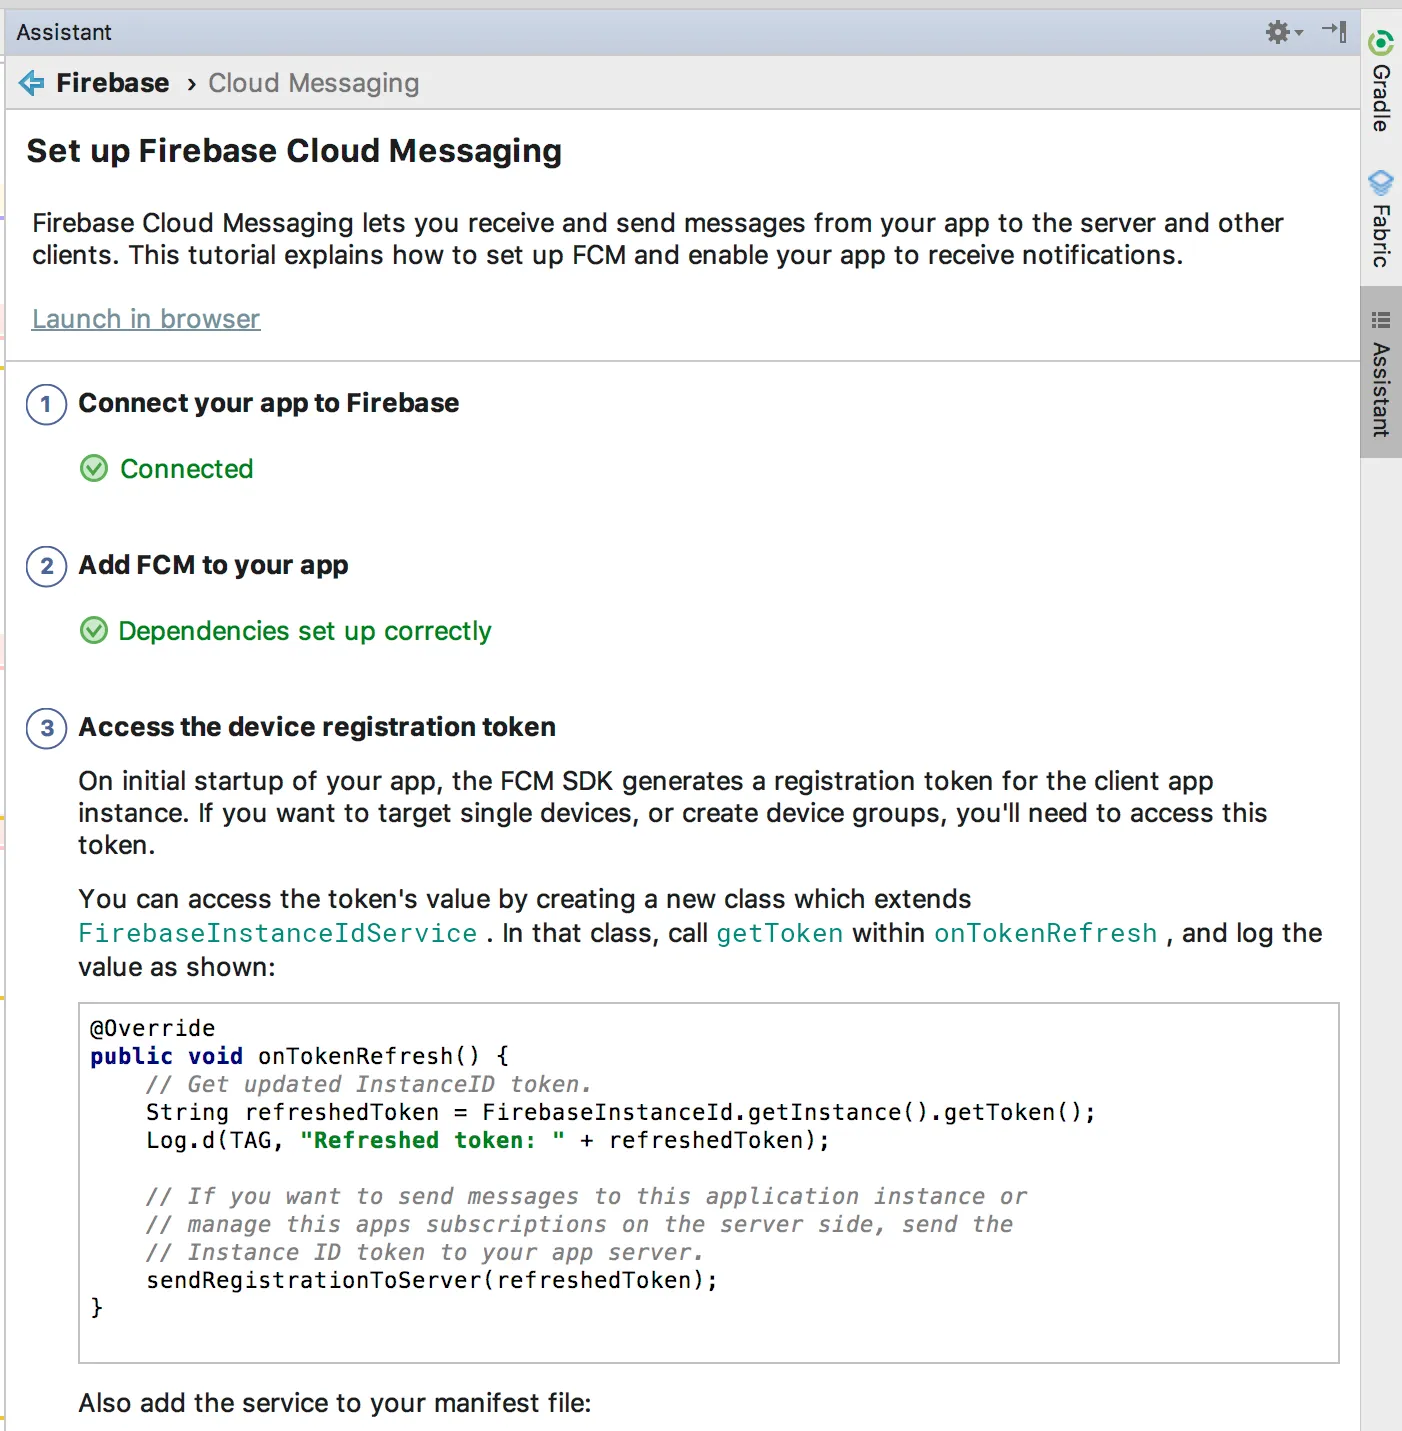 发送消息成功,显示如下:
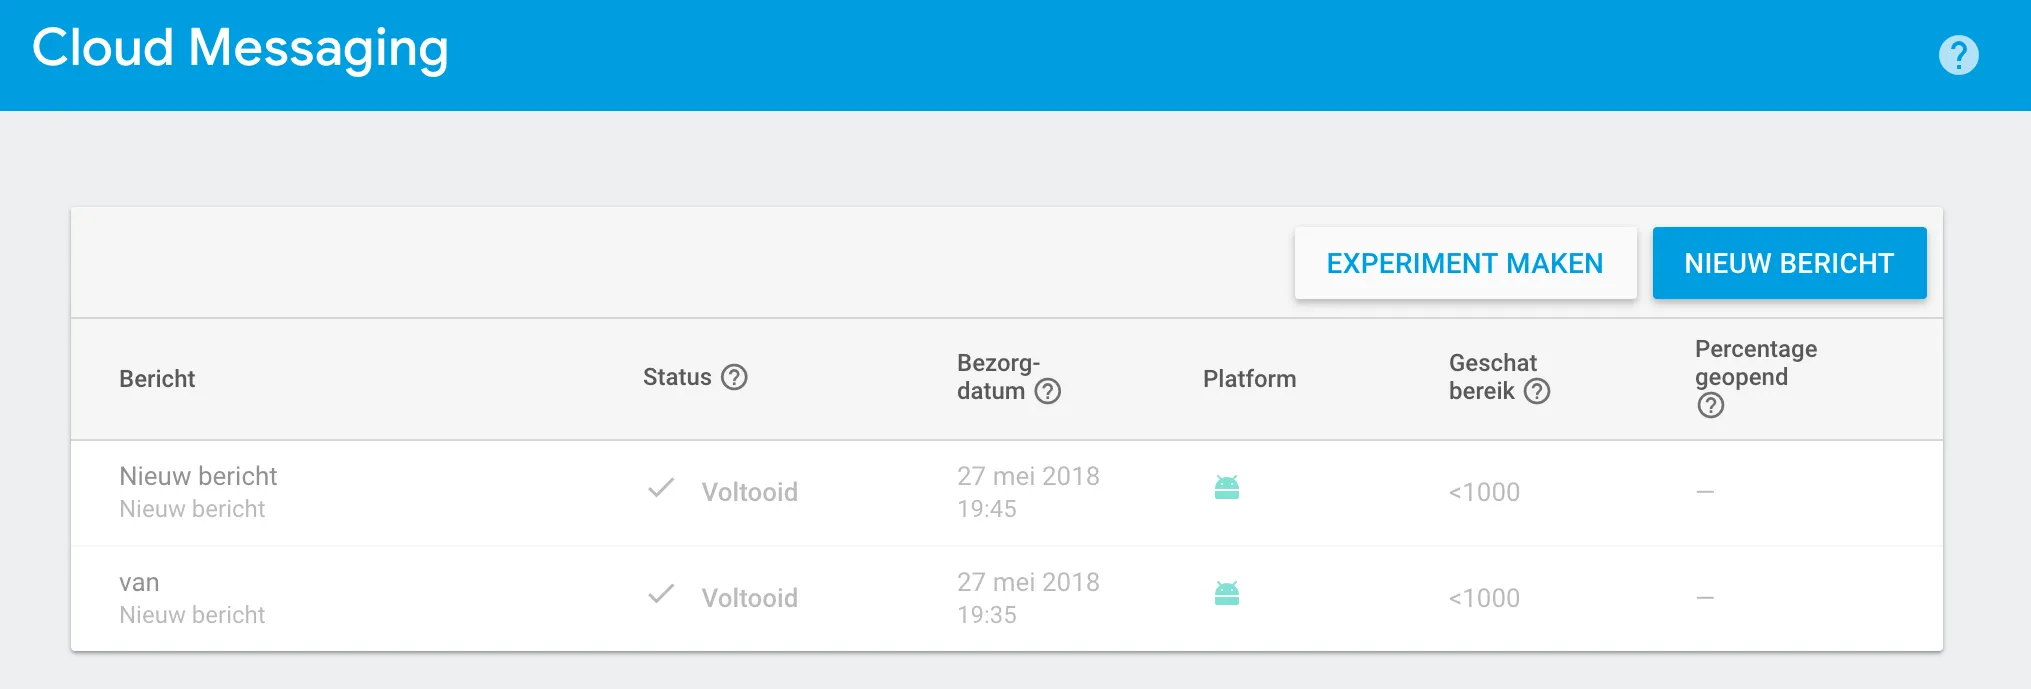
点击可查看图片: 问题描述:
问题描述:
 如有帮助将不胜感激。
flavorDimensions "type"
productFlavors {
    acceptance {
        dimension="type"
        applicationIdSuffix ".acc"
        versionNameSuffix "-acc"
    }
    production {
        dimension="type"
        applicationIdSuffix ""
        versionNameSuffix ""
    }
}
下载 google-services.json 文件的目录为:app/google-services.json。
Android Studio 已登录 Google 账户并同步了:
点击可查看图片:
发送消息成功,显示如下:点击可查看图片:
问题描述:
- 在 nl.companyname 上发送消息可以成功。
- 在以设备的 Token ID 作为目标时,消息也可以成功发送。
- 但是使用 nl.companyname.acc 时无法发送消息。
- 我已删除 Firebase 中的 .acc 应用并重新添加它(并下载了新的 json 文件)。
如有帮助将不胜感激。