你的任务中主要问题在于高斯模糊着色器通常在后处理中运行。通常情况下,在所有几何图形绘制完成后,它会应用于整个视口。高斯模糊着色器使用帧缓冲区(纹理)的片段及其邻居,并通过高斯函数混合它们的颜色,并将新颜色存储到最终帧缓冲区中。因此,必须在绘制整个场景(所有点)之后才能进行此操作。
但你可以做另外一件事。编写一个着色器,在其中心绘制点完全不透明,而在其外部边界完全透明。
在顶点着色器中,您需要将视图空间的顶点坐标和点的视图空间中心传递到片段着色器中:
pointvert.glsl
uniform mat4 projection;
uniform mat4 modelview;

attribute vec4 position;
attribute vec4 color;
attribute vec2 offset;

varying vec3 vCenter;
varying vec3 vPos;
varying vec4 vColor;


void main() {

    vec4 center = modelview * position;
    vec4 pos    = center + vec4(offset, 0, 0);

    gl_Position = projection * pos;

    vCenter = center.xyz;
    vPos    = pos.xyz;
    vColor  = color;
}
在片段着色器中,您需要计算片段到点中心的距离。为此,您需要知道点的大小。该距离可用于计算
opacity,而
opacity是点的新alpha通道。
添加一个统一变量
strokeWeight并在程序中设置该统一变量。请注意,由于点在边界处是透明的,因此看起来更小。我建议增加点的大小:
pointShader.set("strokeWeight", 6.0)

.....

strokeWeight(6)
pointfrag.glsl
#ifdef GL_ES
precision mediump float;
precision mediump int;
#endif

varying vec3 vCenter;
varying vec3 vPos;
varying vec4 vColor;

uniform float strokeWeight;
uniform float maxDepth;
uniform float focus;

void main() {

    float depth = clamp(abs(vCenter.z)/maxDepth, 0.0, 1.0);
    float blur  = abs(focus-depth);

    float dist_to_center = length(vPos-vCenter)*2.0/strokeWeight;
    float threshold      = max(0.0, blur);
    float opacity        = 1.0 - smoothstep(threshold/2.0, 1.0-threshold/2.0, dist_to_center);

    gl_FragColor = vec4(vColor.rgb, opacity);
}
您正在绘制部分透明的物体。为了实现正确的混合效果,应按升序对点进行排序:
liste = []
listZ = []

.....

for e in range(3000): listZ.append(random(width))
listZ.sort()
for z in listZ: liste.append(PVector(random(width), random(width), z))
完整的示例代码可能如下所示:
add_library('peasycam')
liste = []
listZ = []

def setup():
    global pointShader, cam
    size(900, 900, P3D)
    frameRate(1000)
    smooth(8)

    cam = PeasyCam(this, 500)
    cam.setMaximumDistance(width)
    perspective(60 * DEG_TO_RAD, width/float(height), 2, 6000)

    pointShader = loadShader("pointfrag.glsl", "pointvert.glsl")
    pointShader.set("maxDepth", 900.0)
    pointShader.set("strokeWeight", 6.0)

    for e in range(3000): listZ.append(random(width))
    listZ.sort()
    for z in listZ: liste.append(PVector(random(width), random(width), z))

    shader(pointShader, POINTS)
    strokeWeight(6)
    stroke(255)

def draw():

    background(0)
    blendMode(BLEND)
    translate(-width/2, -width/2, -width/2)
    pointShader.set("focus", map(mouseX, 0, width, 0.2, 1.0))
    for e in liste:
        point(e.x, e.y, e.z)

    cam.rotateY(.0002)
    cam.rotateX(.0001)
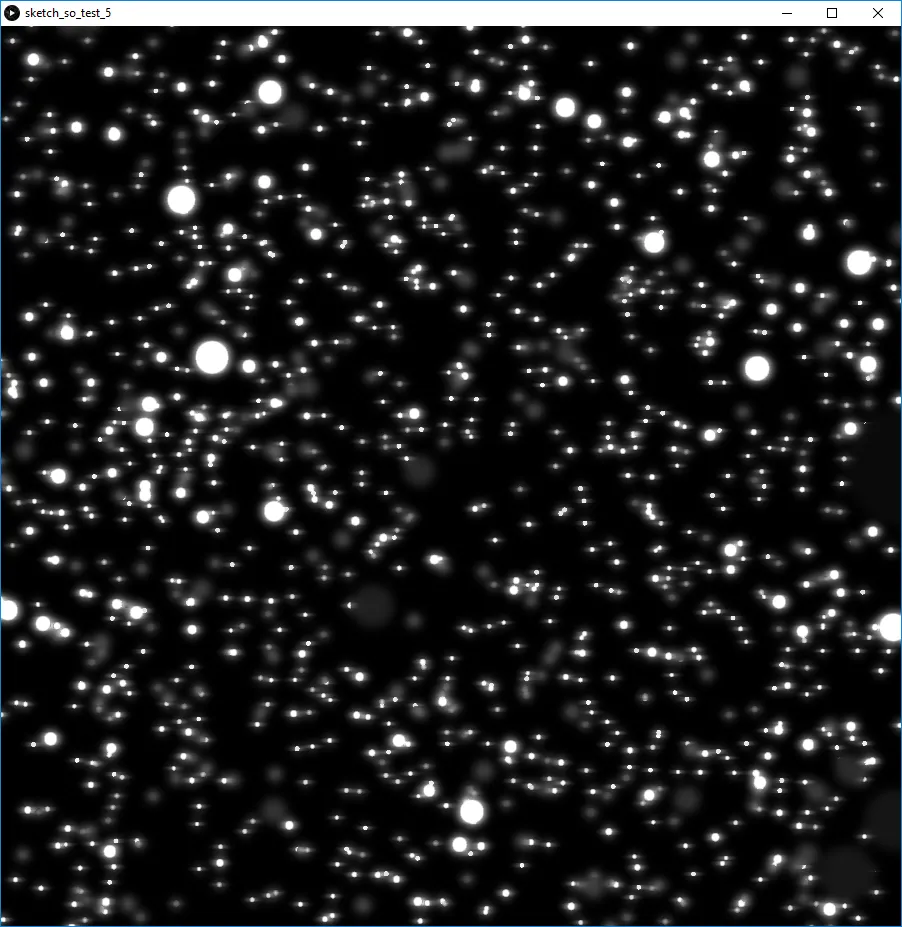
查看预览:

当然,也可以使用高斯模糊着色器。
你在问题中提出的高斯模糊着色器是一个两次后处理模糊着色器。这意味着它必须在整个视口上应用于两次后处理传递。一次传递沿水平方向模糊,另一次传递沿垂直轴模糊。
为此,您需要执行以下步骤:
1.将场景渲染到缓冲区(图像)中
2.对图像应用垂直高斯模糊传递,并将结果渲染到新的图像缓冲区中
3.对垂直高斯模糊传递的结果应用水平高斯模糊传递
使用与您的问题完全相同的着色器的代码清单可能如下所示:
add_library('peasycam')
liste = []

def setup():
    global pointShader, blurShader, cam, bufScene, bufBlurV, bufBlurH
    size(900, 900, P3D)
    frameRate(1000)

    cam = PeasyCam(this, 900)
    cam.setMaximumDistance(width)
    perspective(60 * DEG_TO_RAD, width/float(height), 2, 6000)

    pointShader = loadShader("pointfrag.glsl", "pointvert.glsl")
    pointShader.set("maxDepth", cam.getDistance()*3)

    blurShader = loadShader("blurfrag.glsl")
    blurShader.set("texOffset", [1.0/width, 1.0/height])
    blurShader.set("blurSize", 40);
    blurShader.set("sigma", 5.0);

    bufScene, bufBlurV, bufBlurH  = [createGraphics(width, height, P3D) for e in range(3)]
    bufScene.smooth(8), bufBlurV.shader(blurShader), bufBlurH.shader(blurShader)

    for e in range(5000): liste.append(PVector(random(width), random(width), random(width)))

def drawScene(pg):
    pg.beginDraw()
    pg.background(0)

    shader(pointShader, POINTS)
    strokeWeight(4)
    stroke(255)

    pushMatrix()
    translate(-width/2, -width/2, 0.0)
    for e in liste:
        point(e.x, e.y, e.z)
    popMatrix()

    pg.endDraw()
    cam.getState().apply(pg)

def draw():
    drawScene(bufScene)

    bufBlurV.beginDraw()
    blurShader.set("horizontalPass", 0);
    bufBlurV.image(bufScene, 0, 0)
    bufBlurV.endDraw()

    bufBlurH.beginDraw()
    blurShader.set("horizontalPass", 1);
    bufBlurH.image(bufBlurV, 0, 0)
    bufBlurH.endDraw()

    cam.beginHUD()
    image(bufBlurH, 0, 0)
    cam.endHUD()

    cam.rotateY(.0002)
    cam.rotateX(.0001)
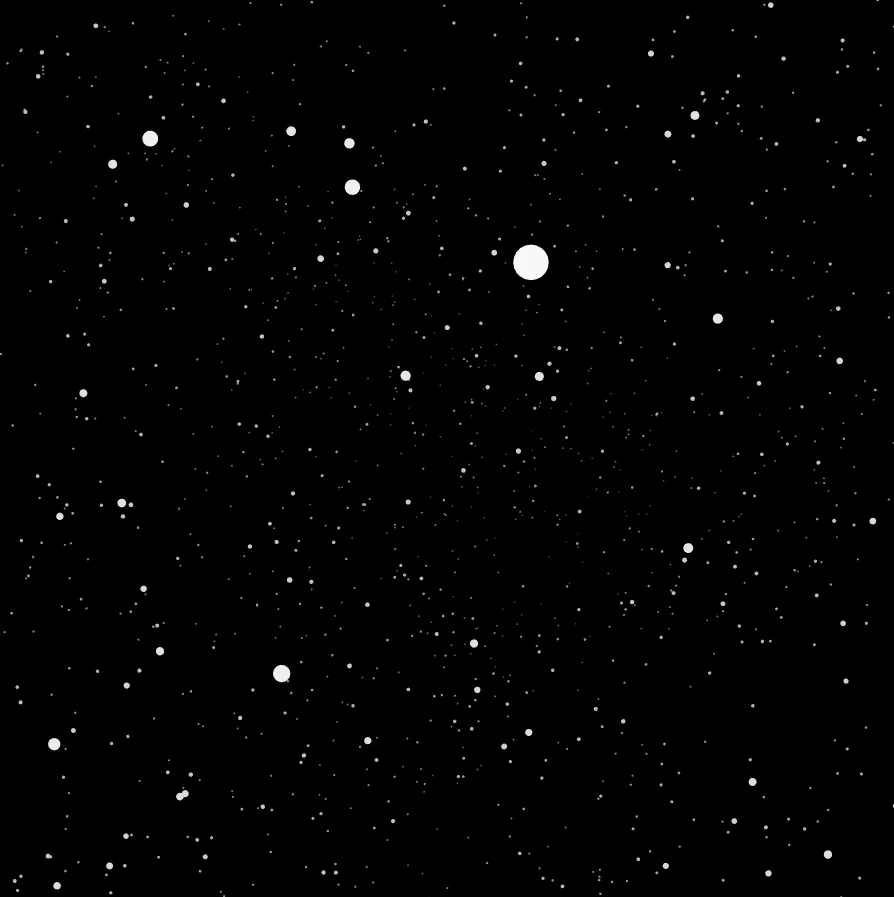
查看预览:
对于结合了这两种解决方案的方法,请参见您之前问题的答案:Processing中用于点/笔画的景深着色器
创建一个景深着色器:
depth_vert.glsl
uniform mat4 projection;
uniform mat4 modelview;

attribute vec4 position;
attribute vec2 offset;

varying vec3 vCenter;

void main() {
    vec4 center = modelview * position;
    gl_Position = projection * (center + vec4(offset, 0, 0));
    vCenter = center.xyz;
}
depth_frag.glsl
#ifdef GL_ES
precision mediump float;
precision mediump int;
#endif

varying vec3 vCenter;

uniform float maxDepth;

void main() {
    float depth = clamp(abs(vCenter.z)/maxDepth, 0.0, 1.0);
    gl_FragColor = vec4(vec3(depth), 1.0);
}
需要一个点着色器来绘制点:
point_vert.glsl
uniform mat4 projection;
uniform mat4 modelview;

attribute vec4 position;
attribute vec4 color;
attribute vec2 offset;

varying vec4 vColor;

void main() {
    vec4 pos = modelview * position;
    gl_Position = projection * (pos + vec4(offset, 0, 0));
    vColor = color;
}
point_frag.glsl
#ifdef GL_ES
precision mediump float;
precision mediump int;
#endif

varying vec4 vColor;

void main() {
    gl_FragColor = vec4(vColor.rgb, 1.0);
}
两遍景深高斯模糊着色器如下:
blurfrag.glsl
uniform sampler2D tDepth;
uniform float focus;
const float pi = 3.14159265;
void main()
{
vec2 vUv = vertTexCoord.st;
vec4 depth = texture2D( tDepth, vUv );
float dofblur = abs( depth.x - focus );
float numBlurPixelsPerSide = float(blurSize / 2) * dofblur;
float dofSigma = sigma;
vec2 blurMultiplyVec = 0 < horizontalPass ? vec2(1.0, 0.0) : vec2(0.0, 1.0);
vec3 incrementalGaussian;
incrementalGaussian.x = 1.0 / (sqrt(2.0 * pi) * dofSigma);
incrementalGaussian.y = exp(-0.5 / (dofSigma * dofSigma));
incrementalGaussian.z = incrementalGaussian.y * incrementalGaussian.y;
vec4 avgValue = vec4(0.0, 0.0, 0.0, 0.0);
float coefficientSum = 0.0;
avgValue += texture2D(texture, vertTexCoord.st) * incrementalGaussian.x;
coefficientSum += incrementalGaussian.x;
incrementalGaussian.xy *= incrementalGaussian.yz;
for (float i = 1.0; i <= numBlurPixelsPerSide; i++) {
avgValue += texture2D(texture, vertTexCoord.st - i * texOffset *
blurMultiplyVec) * incrementalGaussian.x;
avgValue += texture2D(texture, vertTexCoord.st + i * texOffset *
blurMultiplyVec) * incrementalGaussian.x;
coefficientSum += 2.0 * incrementalGaussian.x;
incrementalGaussian.xy *= incrementalGaussian.yz;
}
gl_FragColor = (avgValue / coefficientSum);
}
在程序中,您需要完成4个阶段:
1. 将场景渲染到缓冲区(图像)
2. 将“深度”渲染到另一个图像缓冲区
3. 对图像应用垂直高斯模糊处理,并将结果渲染到一个新的图像缓冲区
4. 对垂直高斯模糊处理的结果应用水平高斯模糊处理
add_library('peasycam')
liste = []

def setup():
    global depthShader, point_shader, blurShader, cam, bufDepth, bufScene, bufBlurV, bufBlurH
    size(900, 900, P3D)
    frameRate(1000)

    cam = PeasyCam(this, 900)
    cam.setMaximumDistance(width)
    perspective(60 * DEG_TO_RAD, width/float(height), 2, 6000)

    point_shader = loadShader("point_frag.glsl","point_vert.glsl")
    depthShader = loadShader("depth_frag.glsl","depth_vert.glsl")
    blurShader = loadShader("blurfrag.glsl")

    bufDepth, bufScene, bufBlurV, bufBlurH = [createGraphics(width, height, P3D) for e in range(4)]
    bufDepth.smooth(8)
    bufScene.smooth(8)
    bufBlurV.shader(blurShader)
    bufBlurH.shader(blurShader)

    depthShader.set("maxDepth", 900.0)

    blurShader.set("tDepth", bufScene)
    blurShader.set("texOffset", [1.0/width, 1.0/height])
    blurShader.set("blurSize", 40)
    blurShader.set("sigma", 5.0)

    for e in range(3000): liste.append(PVector(random(width), random(width), random(width)))

def drawScene(pg,sh):
    pg.beginDraw()
    pg.background(0)

    shader(sh, POINTS)
    strokeWeight(6)
    stroke(255)

    pushMatrix()
    translate(-width/2, -width/2, 0.0)
    for e in liste:
        point(e.x, e.y, e.z)
    popMatrix()

    pg.endDraw()
    cam.getState().apply(pg)

def draw():
    drawScene(bufDepth, point_shader)
    drawScene(bufScene, depthShader)

    blurShader.set("focus", map(mouseX, 0, width, .1, 1))

    bufBlurV.beginDraw()
    blurShader.set("horizontalPass", 0);
    bufBlurV.image(bufScene, 0, 0)
    bufBlurV.endDraw()

    bufBlurH.beginDraw()
    blurShader.set("horizontalPass", 1);
    bufBlurH.image(bufBlurV, 0, 0)
    bufBlurH.endDraw()

    cam.beginHUD()
    image(bufBlurH, 0, 0)
    cam.endHUD()
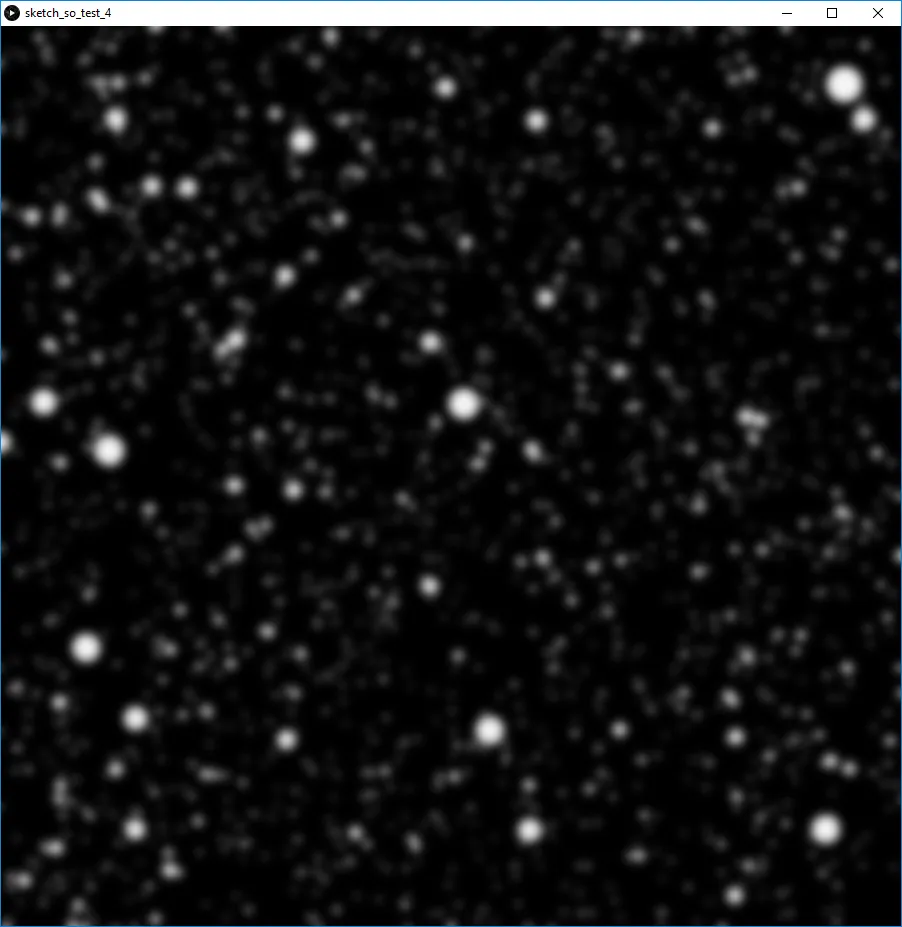
查看预览: