Keras图像预处理

4
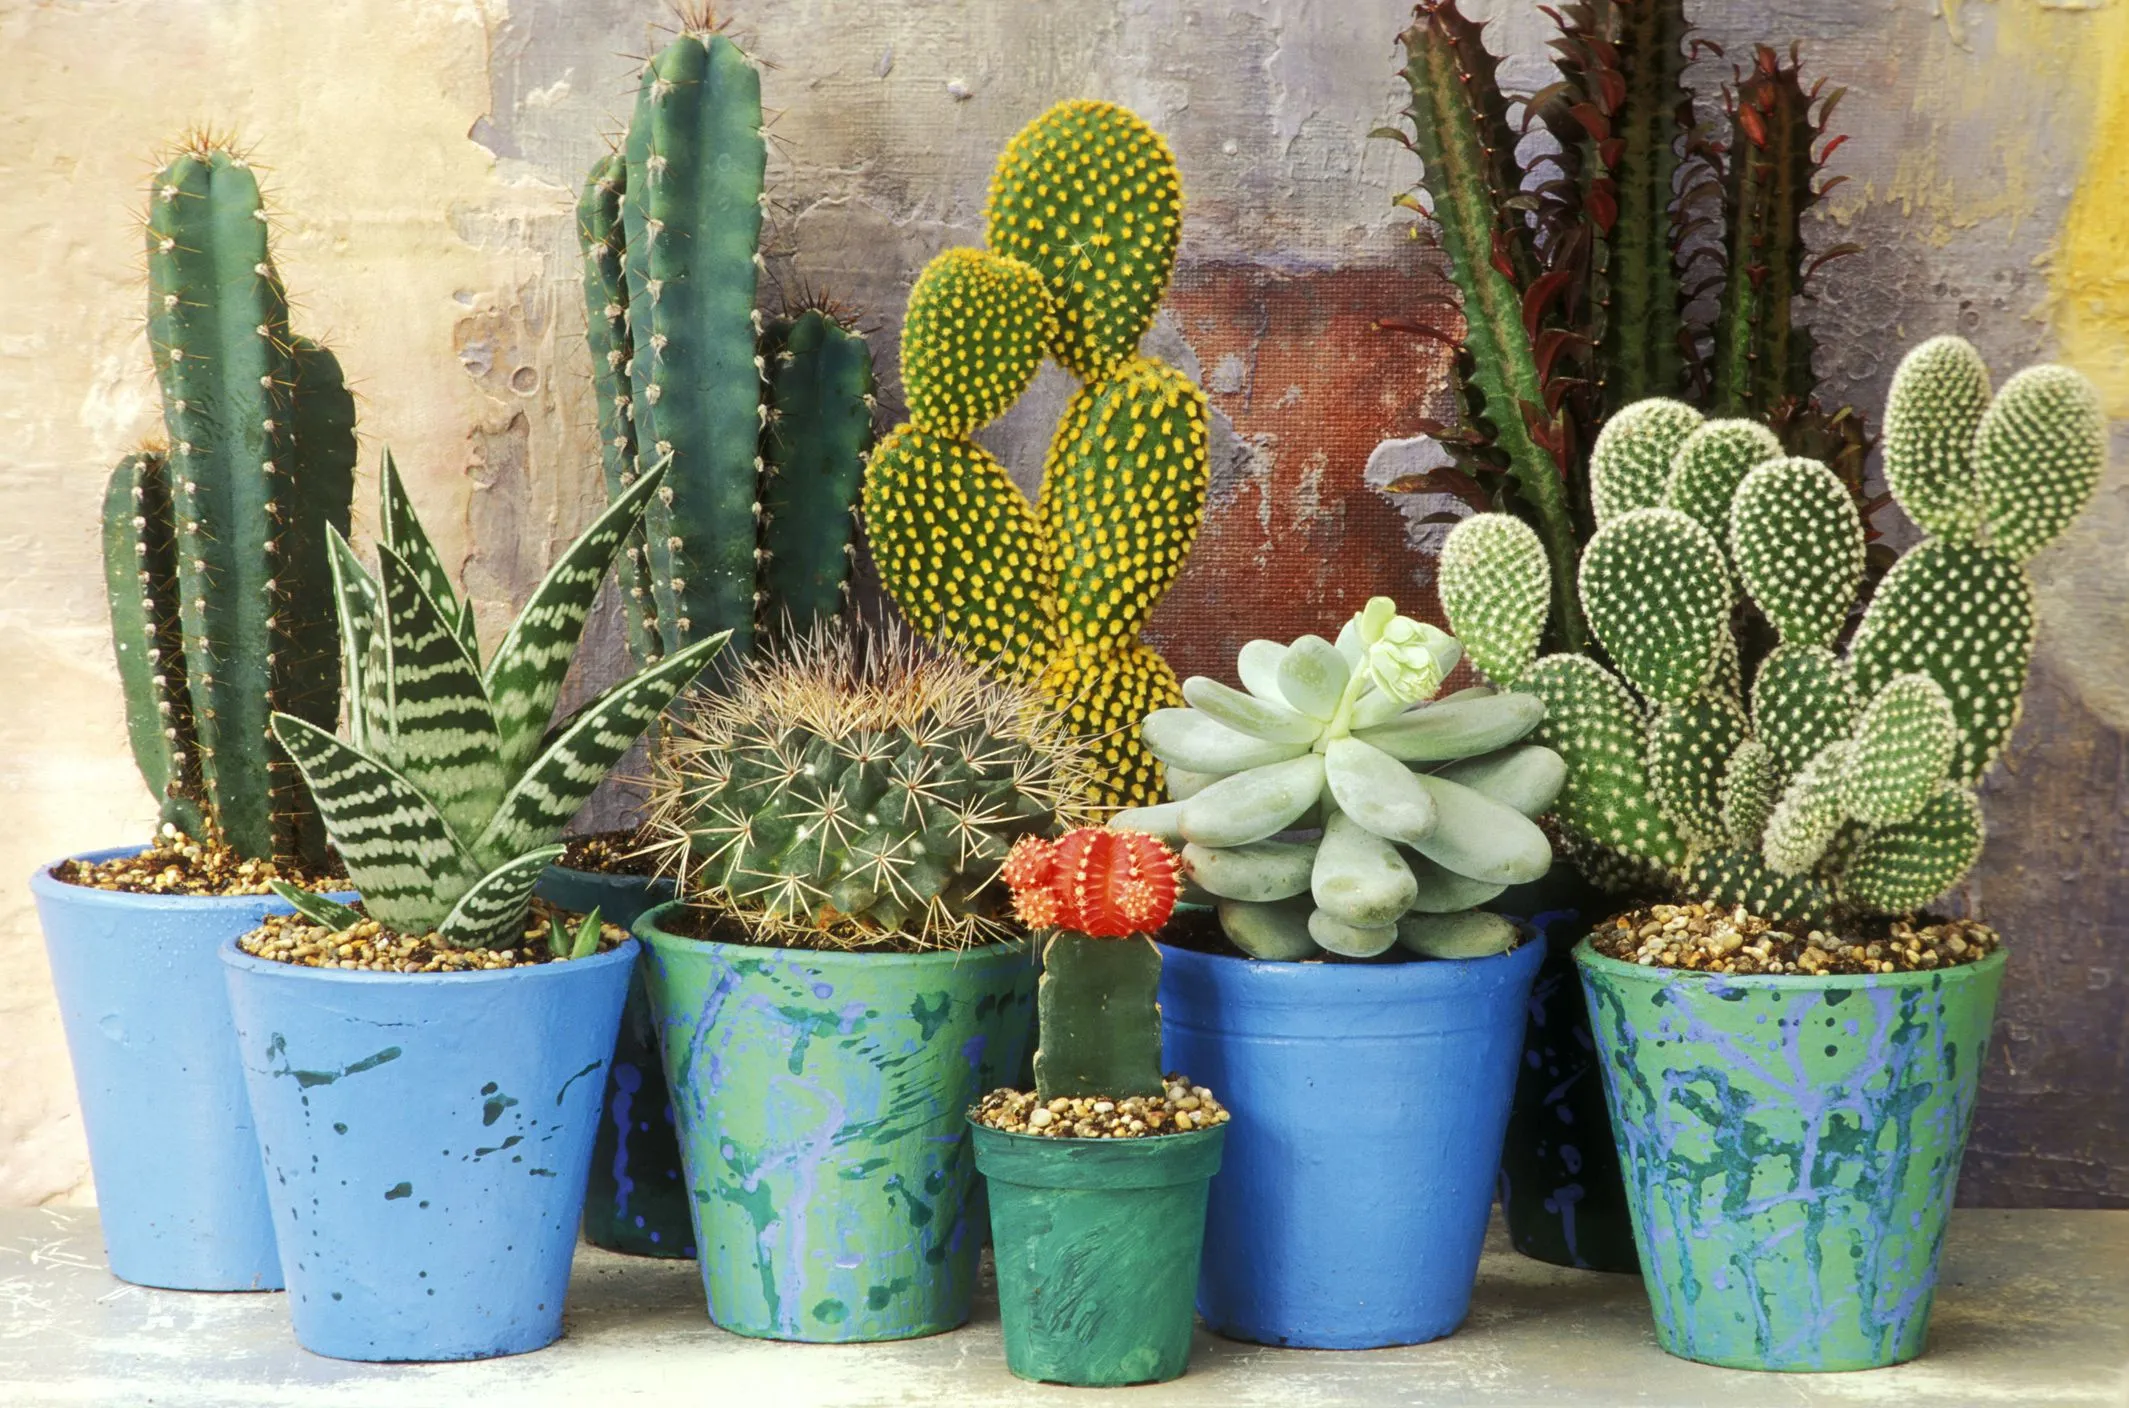
我的训练图像是它们关联的高分辨率图像的缩小版本。因此,输入和输出图像的尺寸不同。目前,我使用一个手工制作的13张图片样本,但最终我想能够使用我的500多个高分辨率图像数据集。然而,这个数据集没有相同尺寸的图像,所以我猜我需要裁剪它们以获得统一的尺寸。
我目前设置了这个代码:它采取一堆512x512x3的图像,并应用一些变换来增强数据(翻转)。因此,我得到了39个基本的高分辨率图像,然后将它们缩小4倍,从而得到我的训练集,其中包含39个尺寸为128x128x3的图像。
import numpy as np

from keras.preprocessing.image import ImageDataGenerator

import matplotlib.image as mpimg
import skimage
from skimage import transform

from constants import data_path
from constants import img_width
from constants import img_height

from model import setUpModel


def setUpImages():

    train = []
    finalTest = []

    sample_amnt = 11
    max_amnt = 13

    # Extracting images (512x512)
    for i in range(sample_amnt):
        train.append(mpimg.imread(data_path + str(i) + '.jpg'))

    for i in range(max_amnt-sample_amnt):
        finalTest.append(mpimg.imread(data_path + str(i+sample_amnt) + '.jpg'))

    # # TODO: https://keras.io/preprocessing/image/
    # ImageDataGenerator(featurewise_center=False, samplewise_center=False, featurewise_std_normalization=False,
    #                    samplewise_std_normalization=False, zca_whitening=False, zca_epsilon=1e-06, rotation_range=0,
    #                    width_shift_range=0.0, height_shift_range=0.0, brightness_range=None, shear_range=0.0,
    #                    zoom_range=0.0, channel_shift_range=0.0, fill_mode='nearest', cval=0.0, horizontal_flip=False,
    #                    vertical_flip=False, rescale=None, preprocessing_function=None, data_format=None,
    #                    validation_split=0.0, dtype=None)

    # Augmenting data
    trainData = dataAugmentation(train)
    testData  = dataAugmentation(finalTest)

    setUpData(trainData, testData)


def setUpData(trainData, testData):

    # print(type(trainData))                          # <class 'numpy.ndarray'>
    # print(len(trainData))                           # 64
    # print(type(trainData[0]))                       # <class 'numpy.ndarray'>
    # print(trainData[0].shape)                       # (1400, 1400, 3)
    # print(trainData[len(trainData)//2-1].shape)     # (1400, 1400, 3)
    # print(trainData[len(trainData)//2].shape)       # (350, 350, 3)
    # print(trainData[len(trainData)-1].shape)        # (350, 350, 3)

    # TODO: substract mean of all images to all images

    # Separating the training data
    Y_train = trainData[:len(trainData)//2]    # First half is the unaltered data
    X_train = trainData[len(trainData)//2:]    # Second half is the deteriorated data

    # Separating the testing data
    Y_test = testData[:len(testData)//2]  # First half is the unaltered data
    X_test = testData[len(testData)//2:]  # Second half is the deteriorated data

    # Adjusting shapes for Keras input  # TODO: make into a function ?
    X_train = np.array([x for x in X_train])
    Y_train = np.array([x for x in Y_train])
    Y_test = np.array([x for x in Y_test])
    X_test = np.array([x for x in X_test])

    # # Sanity check: display four images (2x HR/LR)
    # plt.figure(figsize=(10, 10))
    # for i in range(2):
    #     plt.subplot(2, 2, i + 1)
    #     plt.imshow(Y_train[i], cmap=plt.cm.binary)
    # for i in range(2):
    #     plt.subplot(2, 2, i + 1 + 2)
    #     plt.imshow(X_train[i], cmap=plt.cm.binary)
    # plt.show()

    setUpModel(X_train, Y_train, X_test, Y_test)


# TODO: possibly remove once Keras Preprocessing is integrated?
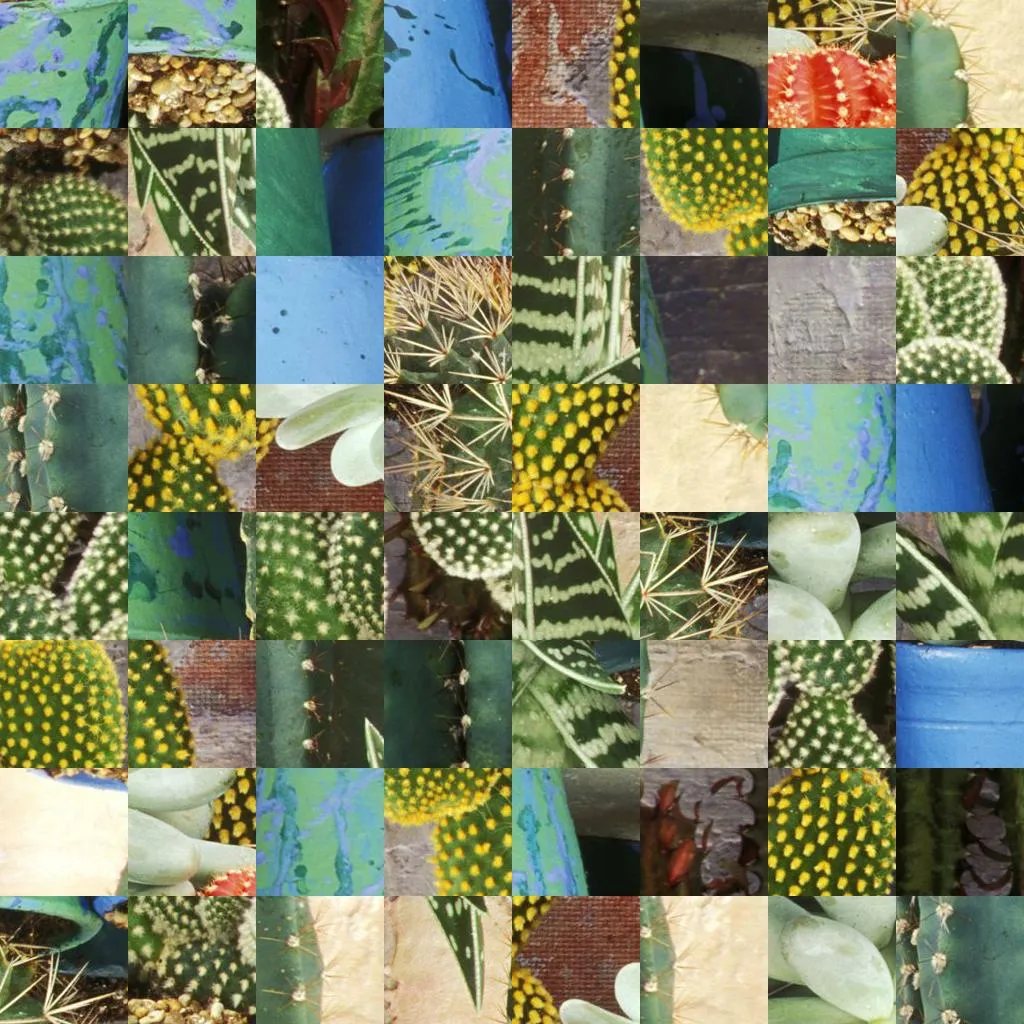
def dataAugmentation(dataToAugment):
    print("Starting to augment data")
    arrayToFill = []

    # faster computation with values between 0 and 1 ?
    dataToAugment = np.divide(dataToAugment, 255.)

    # TODO: switch from RGB channels to CbCrY
    # # TODO: Try GrayScale
    # trainingData = np.array(
    #     [(cv2.cvtColor(np.uint8(x * 255), cv2.COLOR_BGR2GRAY) / 255).reshape(350, 350, 1) for x in trainingData])
    # validateData = np.array(
    #     [(cv2.cvtColor(np.uint8(x * 255), cv2.COLOR_BGR2GRAY) / 255).reshape(1400, 1400, 1) for x in validateData])

    # adding the normal images   (8)
    for i in range(len(dataToAugment)):
        arrayToFill.append(dataToAugment[i])
    # vertical axis flip         (-> 16)
    for i in range(len(arrayToFill)):
        arrayToFill.append(np.fliplr(arrayToFill[i]))
    # horizontal axis flip       (-> 32)
    for i in range(len(arrayToFill)):
        arrayToFill.append(np.flipud(arrayToFill[i]))

    # downsizing by scale of 4   (-> 64 images of 128x128x3)
    for i in range(len(arrayToFill)):
        arrayToFill.append(skimage.transform.resize(
            arrayToFill[i],
            (img_width/4, img_height/4),
            mode='reflect',
            anti_aliasing=True))

    # # Sanity check: display the images
    # plt.figure(figsize=(10, 10))
    # for i in range(64):
    #     plt.subplot(8, 8, i + 1)
    #     plt.imshow(arrayToFill[i], cmap=plt.cm.binary)
    # plt.show()

    return np.array(arrayToFill)

我的问题是:在我的情况下,我能使用Keras提供的预处理工具吗?我想输入高质量的不同大小的图像,裁剪它们(而不是缩小它们)到512x512x3,并通过翻转等方式进行数据增强。减去平均值也是我想要实现的一部分。那个集合将代表我的验证集。
重新使用验证集,我想将所有图像缩小4倍,这将生成我的训练集。
然后可以适当地拆分这两个集以最终获得著名的X_train、Y_train、X_test和Y_test。
我只是对放弃我已经完成的迷你样本的预处理工作感到犹豫,但我在考虑是否可以通过一个单一的内置函数来完成所有工作,也许我应该试一下。
这是我的第一个ML项目,因此我不太了解Keras,文档也并不总是很清晰。我认为我正在使用大小不同的X和Y,也许这个函数不适用于我的项目。
谢谢! :)

作为一般原则,您应该删除已注释掉的代码块,因此与手头问题无关。 - desertnaut
我的错,我认为如果人们想要玩弄代码,他们可能会欣赏一些已经包含的“单元测试”/“健全性检查”。 - payne
3个回答

3

是的,您可以使用Keras预处理函数。以下是一些片段,可帮助您...

def cropping_function(x):
    ...
    return cropped_image

X_image_gen = ImageDataGenerator(preprocessing_function = cropping_function,
                               horizontal_flip = True, 
                               vertical_flip=True)
X_train_flow = X_image_gen.flow(X_train, batch_size = 16, seed = 1)
Y_image_gen = ImageDataGenerator(horizontal_flip = True, 
                                 vertical_flip=True)
Y_train_flow = Y_image_gen.flow(y_train, batch_size = 16, seed = 1)
train_flow = zip(X_train_flow,Y_train_flow)
model.fit_generator(train_flow)

“我需要用这个版本的生成器替换我的当前model.fit,对吗?”是的。batchsize是flow的参数(我已经调整了上面)。shuffle会以相同的方式洗牌X和Y,如果你定义了“裁剪函数”中的裁剪(4倍小),它只会应用于X。 - Christof Henkel
horizontal_flipvertical_flip只适用于X,而不适用于Y吗?在我的情况下,这将是糟糕的。我需要旋转和翻转应用于X和Y,但噪声应仅添加到X(如果有此选项)。 - payne
你是对的。最好将其拆分为两个具有不同参数的生成器(参见上文)。 - Christof Henkel
但是现在你已经把两个不同的参数分开了,它们都包括“flips”,那么这些翻转是否对称呢?这是一个要求。 - payne
1
是的,因为两个生成器具有相同的种子。 - Christof Henkel
显示剩余2条评论

2
Christof Henkel的建议非常干净和好。我只想提供另一种使用imgaug的方法,这是一种方便的方式,可以以许多不同的方式增强图像。如果您想要更多的实现增强或者如果您需要使用除Keras之外的某些ML库,则它非常有用。
不幸的是,它没有一种制作裁剪的方法,但它允许实现自定义函数。这是一个示例函数,用于从至少与所选裁剪大小相同的图像中生成随机裁剪的集合大小:
from imgaug import augmenters as iaa

def random_crop(images, random_state, parents, hooks):
    crop_h, crop_w = 128, 128
    new_images = []
    for img in images:
        if (img.shape[0] >= crop_h) and (img.shape[1] >= crop_w):
            rand_h = np.random.randint(0, img.shape[0]-crop_h)
            rand_w = np.random.randint(0, img.shape[1]-crop_w)
            new_images.append(img[rand_h:rand_h+crop_h, rand_w:rand_w+crop_w])
        else:
             new_images.append(np.zeros((crop_h, crop_w, 3)))
    return np.array(new_images)

def keypoints_dummy(keypoints_on_images, random_state, parents, hooks):
    return keypoints_on_images

cropper = iaa.Lambda(func_images=random_crop, func_keypoints=keypoints_dummy)

您可以将此功能与任何其他内置的imgaug函数结合使用,例如您已经使用的翻转函数,如下所示:
seq = iaa.Sequential([cropper, iaa.Fliplr(0.5), iaa.Flipud(0.5)])

这个功能可以从每张图片生成很多不同的作物。下面是一个示例图像及其可能的结果(请注意,它将产生实际的(128, 128, 3)图像,在此处仅合并为一幅图像以进行可视化)。

Original image

Crops

您的图像集可以通过以下方式生成:
crops_per_image = 10
images = [skimage.io.imread(path) for path in glob.glob('train_data/*.jpg')]
augs = np.array([seq.augment_image(img)/255 for img in images for _ in range(crops_per_image)])

这也很容易添加新的功能来应用于图像,例如您提到的去均值函数。

你又来了!哈哈。这是一个有趣的方法。如果我理解正确,你的这个裁剪函数实际上会在网络内部执行,而不是事先执行以生成集合本身?(我基于看到其中的关键字“Lambda”和“Sequential”做出这个观察。我可能完全错了。) - payne
你好 :) 你可以像Christof的回答一样将其编写为函数并将其用作生成器,但是如我上面的示例所述,它将用于预先生成整个训练集。使用fit_generator函数可以减少过度拟合,因为不断在新图像上进行训练。但是,如果网络很小(因此更新网络不需要太多时间)且图像增强需要很长时间,则这可能会显着增加训练时间。因此,能够同时执行两者并尝试哪种方法最有效是很好的。 - dennissv
我还要问一下:imgaug是否可在Anaconda上使用?我在网上搜索了一下,好像并不是这样的情况。 - payne
嗯,是的,我明白你的意思。我从未在输出需要增强的情况下使用过它,只用于分类问题,其中Y不受影响。恐怕我不知道答案。我也不知道conda上的imgaug,但您可以在任何虚拟conda环境中使用pip安装它。 - dennissv
我使用了您修改过的 random_crop 函数,它非常好用。再次感谢您,先生! - payne
显示剩余2条评论

0

这里有另一种使用本地ImageDataGeneratorflow_from_directory执行随机和中心裁剪的方法,在调整大小之前。您可以将其添加为preprocess_crop.py模块到您的项目中。

它首先调整图像大小以保留纵横比,然后进行裁剪。调整大小的图像尺寸基于crop_fraction,该值是硬编码的,但可以更改。请参见crop_fraction = 0.875行,其中0.875似乎是最常见的,例如从256px图像裁剪出224px。

请注意,实现是通过猴子补丁keras_preprocessing.image.utils.loag_img函数完成的,因为我找不到其他在重写许多其他类之前执行裁剪的方法。

由于这些限制,裁剪方法被枚举到interpolation字段中。方法由:分隔,其中第一部分是插值,第二部分是裁剪,例如lanczos:random。支持的裁剪方法包括nonecenterrandom。当未指定裁剪方法时,假定为none

如何使用

只需将preprocess_crop.py文件放入您的项目中即可启用裁剪。下面的示例展示了如何在训练中使用随机裁剪,在验证中使用中心裁剪:

import preprocess_crop
from keras.preprocessing.image import ImageDataGenerator
from keras.applications.inception_v3 import preprocess_input

#...

# Training with random crop

train_datagen = ImageDataGenerator(
    rotation_range=20,
    channel_shift_range=20,
    horizontal_flip=True,
    preprocessing_function=preprocess_input
)

train_img_generator = train_datagen.flow_from_directory(
    train_dir,
    target_size = (IMG_SIZE, IMG_SIZE),
    batch_size  = BATCH_SIZE,
    class_mode  = 'categorical',
    interpolation = 'lanczos:random', # <--------- random crop
    shuffle = True
)

# Validation with center crop

validate_datagen = ImageDataGenerator(
    preprocessing_function=preprocess_input
)

validate_img_generator = validate_datagen.flow_from_directory(
    validate_dir,
    target_size = (IMG_SIZE, IMG_SIZE),
    batch_size  = BATCH_SIZE,
    class_mode  = 'categorical',
    interpolation = 'lanczos:center', # <--------- center crop
    shuffle = False
)

这是与您的项目一起包含的preprocess_crop.py文件:
import random
import keras_preprocessing.image

def load_and_crop_img(path, grayscale=False, color_mode='rgb', target_size=None,
             interpolation='nearest'):
    """Wraps keras_preprocessing.image.utils.loag_img() and adds cropping.
    Cropping method enumarated in interpolation
    # Arguments
        path: Path to image file.
        color_mode: One of "grayscale", "rgb", "rgba". Default: "rgb".
            The desired image format.
        target_size: Either `None` (default to original size)
            or tuple of ints `(img_height, img_width)`.
        interpolation: Interpolation and crop methods used to resample and crop the image
            if the target size is different from that of the loaded image.
            Methods are delimited by ":" where first part is interpolation and second is crop
            e.g. "lanczos:random".
            Supported interpolation methods are "nearest", "bilinear", "bicubic", "lanczos",
            "box", "hamming" By default, "nearest" is used.
            Supported crop methods are "none", "center", "random".
    # Returns
        A PIL Image instance.
    # Raises
        ImportError: if PIL is not available.
        ValueError: if interpolation method is not supported.
    """

    # Decode interpolation string. Allowed Crop methods: none, center, random
    interpolation, crop = interpolation.split(":") if ":" in interpolation else (interpolation, "none")  

    if crop == "none":
        return keras_preprocessing.image.utils.load_img(path, 
                                            grayscale=grayscale, 
                                            color_mode=color_mode, 
                                            target_size=target_size,
                                            interpolation=interpolation)

    # Load original size image using Keras
    img = keras_preprocessing.image.utils.load_img(path, 
                                            grayscale=grayscale, 
                                            color_mode=color_mode, 
                                            target_size=None, 
                                            interpolation=interpolation)

    # Crop fraction of total image
    crop_fraction = 0.875
    target_width = target_size[1]
    target_height = target_size[0]

    if target_size is not None:        
        if img.size != (target_width, target_height):

            if crop not in ["center", "random"]:
                raise ValueError('Invalid crop method {} specified.', crop)

            if interpolation not in keras_preprocessing.image.utils._PIL_INTERPOLATION_METHODS:
                raise ValueError(
                    'Invalid interpolation method {} specified. Supported '
                    'methods are {}'.format(interpolation,
                        ", ".join(keras_preprocessing.image.utils._PIL_INTERPOLATION_METHODS.keys())))

            resample = keras_preprocessing.image.utils._PIL_INTERPOLATION_METHODS[interpolation]

            width, height = img.size

            # Resize keeping aspect ratio
            # result shold be no smaller than the targer size, include crop fraction overhead
            target_size_before_crop = (target_width/crop_fraction, target_height/crop_fraction)
            ratio = max(target_size_before_crop[0] / width, target_size_before_crop[1] / height)
            target_size_before_crop_keep_ratio = int(width * ratio), int(height * ratio)
            img = img.resize(target_size_before_crop_keep_ratio, resample=resample)

            width, height = img.size

            if crop == "center":
                left_corner = int(round(width/2)) - int(round(target_width/2))
                top_corner = int(round(height/2)) - int(round(target_height/2))
                return img.crop((left_corner, top_corner, left_corner + target_width, top_corner + target_height))
            elif crop == "random":
                left_shift = random.randint(0, int((width - target_width)))
                down_shift = random.randint(0, int((height - target_height)))
                return img.crop((left_shift, down_shift, target_width + left_shift, target_height + down_shift))

    return img

# Monkey patch
keras_preprocessing.image.iterator.load_img = load_and_crop_img

网页内容由stack overflow 提供, 点击上面的
可以查看英文原文,
原文链接