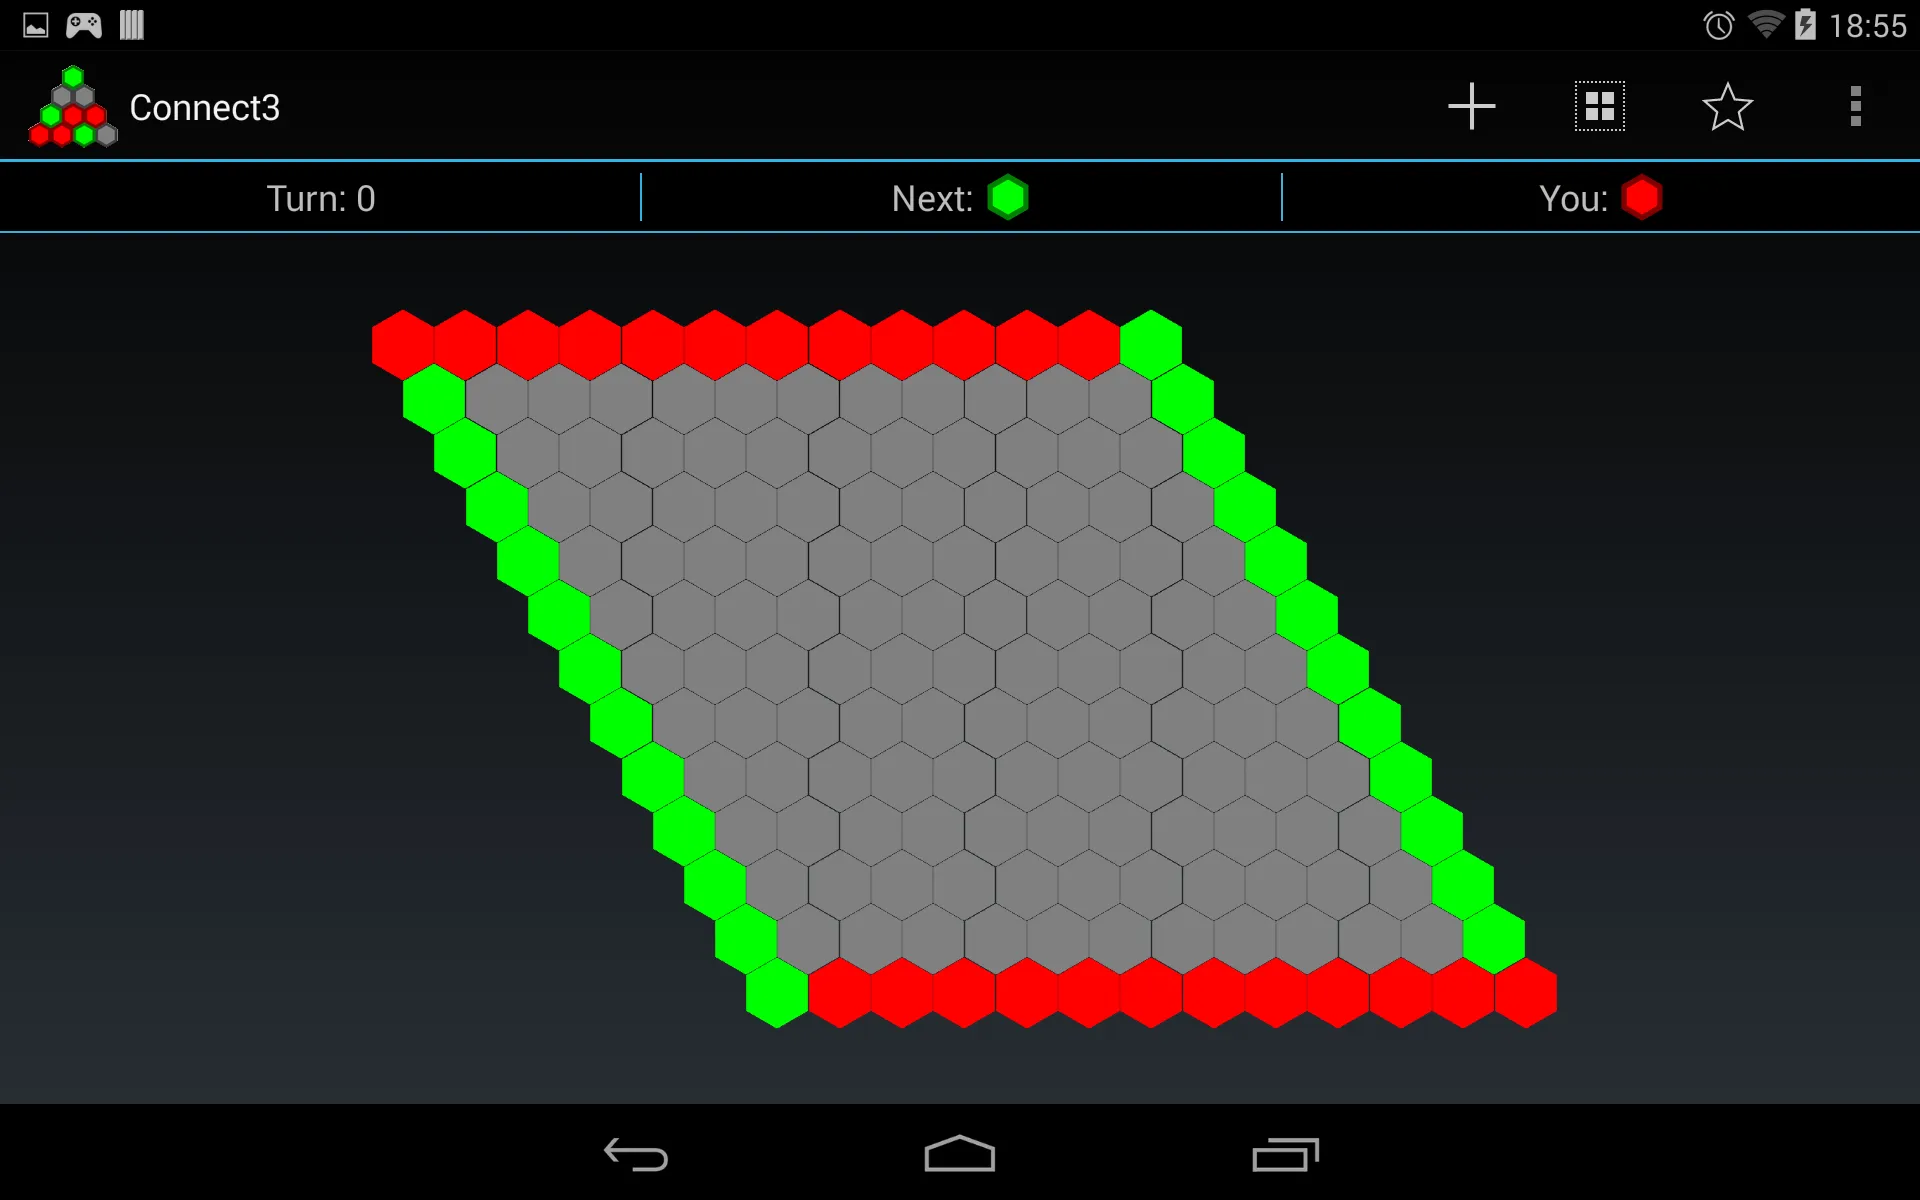
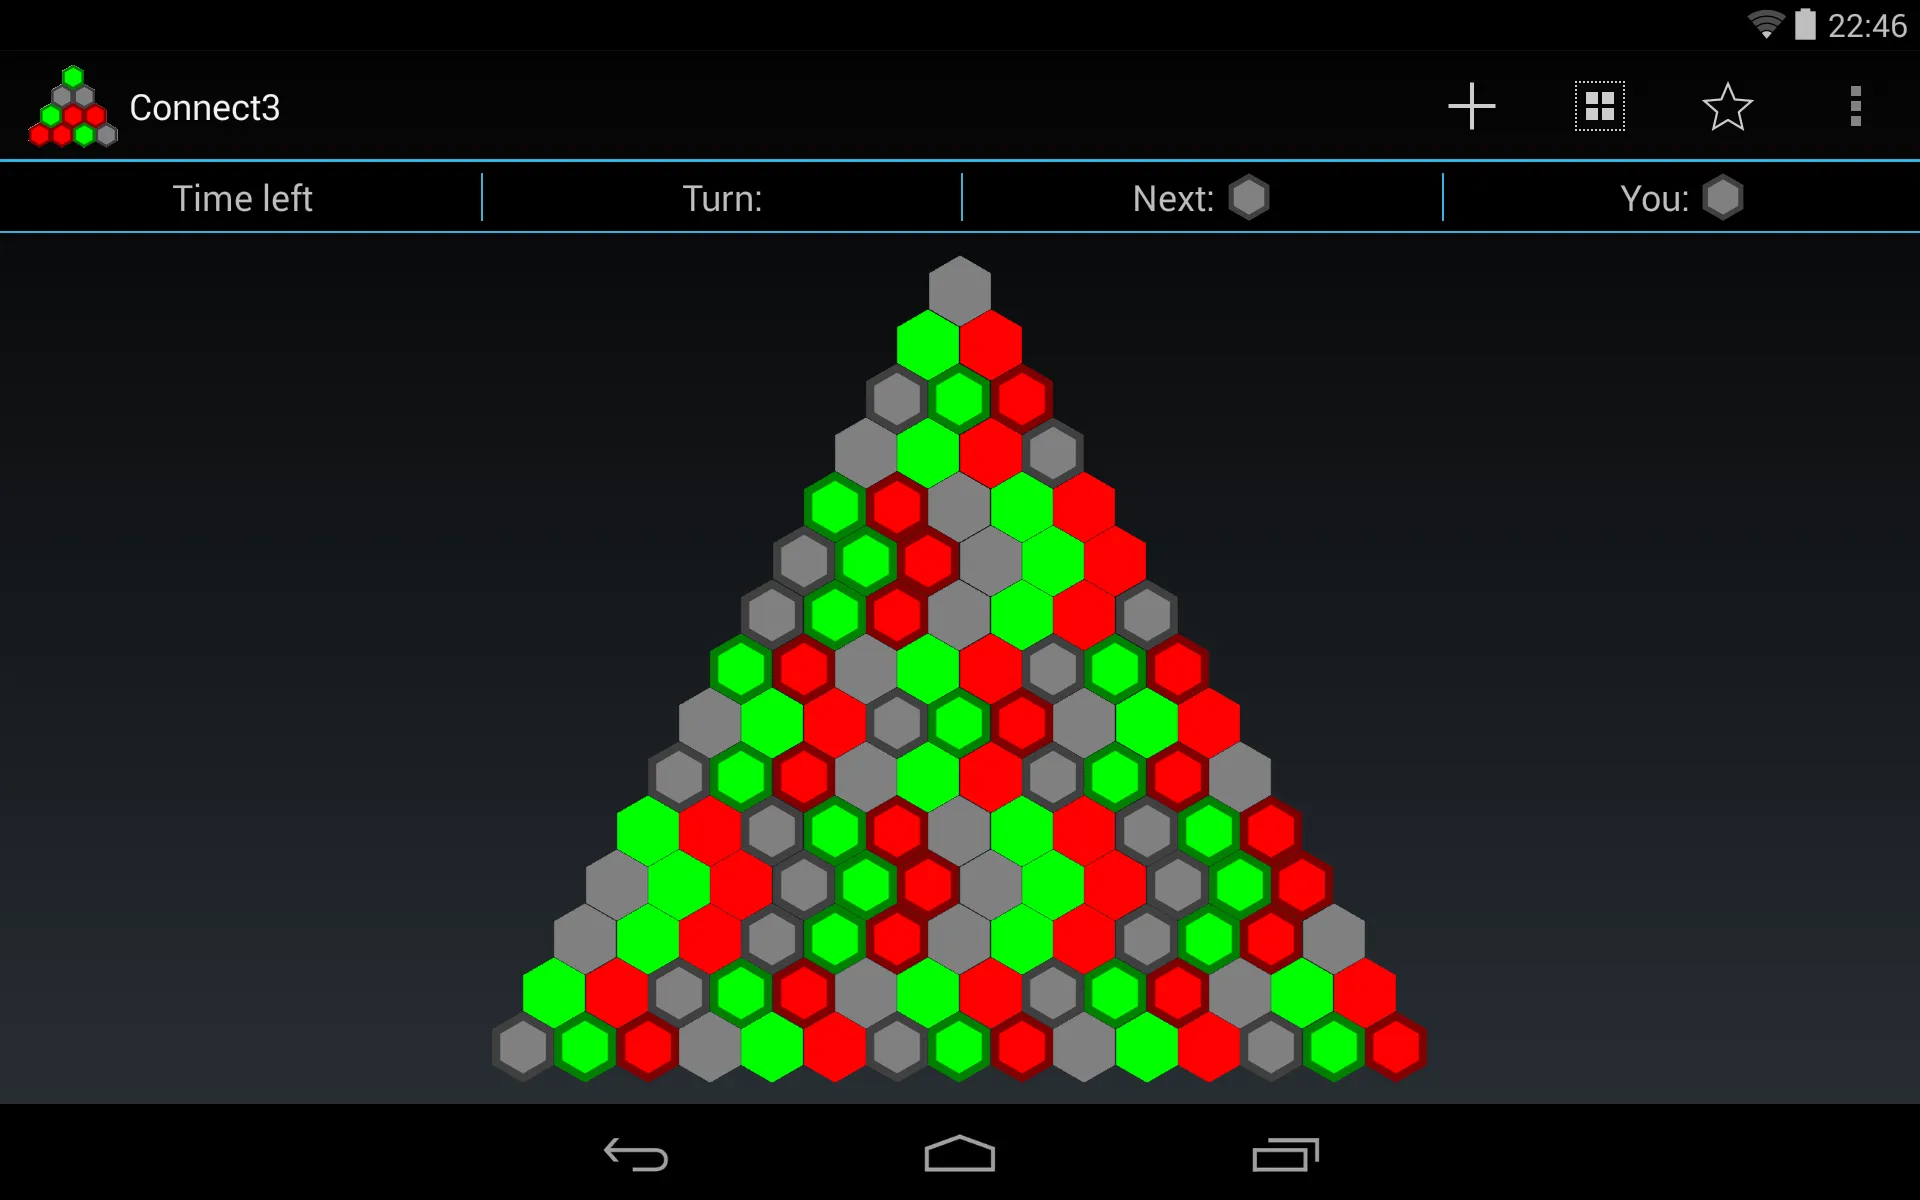
这里是我在一个应用程序中使用的一些代码(如果你想玩的话,它叫做“Connect3”:))。这是一个自定义布局类,可以在网格中绘制六边形图像。该网格可以是三角形或倾斜矩形。
代码计算每个imageView的边界(相对于六边形网格原点的像素)然后调用 imageView.layout(left, top, right, bottom) 来设置计算出的边界。这些计算并不难。主要参数是六边形的半径。从那里,总高度,总宽度,有效高度和有效宽度(分别是imageview的高度/宽度或两个相邻视图的左/上边界之间的距离)。然后就是一些简单的for循环来绘制它们。
要使视图可点击,只需在创建它们时设置一个onClickListener。(我将其作为一个类成员,因为这样更容易)。
onMeasure函数只需要计算视图的总宽度和高度,然后使用这些值调用setMeasuredDimension。
所有用于此的图像都只是单个六边形,就像您在操作栏下方看到的那样。请注意,这些图像都是正方形。
@Override
protected void onLayout(final boolean changed, final int l, final int t, final int r, final int b) {
Log.d(TAG, "board.onlayout called with size "+mSize+" l: "+l+" r: "+r+" t: "+t+" b: "+b);
if (!changed && !mSizeInvalidated) {
invalidate();
return;
}
int childCount = getChildCount();
float radius = getResources().getDimension(R.dimen.radius);
float verticalMargin = -radius / 4;
float horizontalMargin = ((float) Math.sqrt(3) / 2 - 1) * radius;
float height = 2 * radius;
float width = height;
float effectiveHeight = height + 2 * verticalMargin;
float effectiveWidth = width + 2 * horizontalMargin;
float totalHeight=(radius * (3 * mSize + 1)) / 2;
float totalWidth;
switch (mGameType) {
case Connect3Turn.GAME_TYPE_HEX:
totalWidth = (((float) mSize * 3 - 1)/ 2) * ((float) Math.sqrt(3)) * radius;
break;
case Connect3Turn.GAME_TYPE_Y:
default:
totalWidth = mSize * ((float) Math.sqrt(3)) * radius;
}
LayoutParams layoutParams = new LayoutParams((int) width, (int) height);
float x_offset_row;
switch (mGameType) {
case Connect3Turn.GAME_TYPE_Y:
x_offset_row=(mSize - 1) * effectiveWidth / 2 + horizontalMargin;
break;
case Connect3Turn.GAME_TYPE_HEX:
default:
x_offset_row=0;
}
switch (mCenterHorizontal) {
case 1: {
x_offset_row += Math.max(0,(r-l-totalWidth)/2);
break;
}
case 2: {x_offset_row += Math.max(0,(r-l-totalWidth));
break;
}
case 0:
default: {
break;
}
}
float y_offset = 0;
switch (mCenterVertical) {
case 1: {
y_offset = Math.max(0, (b - t - totalHeight) / 2);
break;
}
case 2: {
y_offset = Math.max(0, (b - t -totalHeight));
break;
}
}
int cell = 0;
for (int row = 0; row < mSize; ++row) {
float x_offset = x_offset_row;
int rowLength;
switch (mGameType){
case Connect3Turn.GAME_TYPE_HEX:
rowLength=mSize;
break;
case Connect3Turn.GAME_TYPE_Y:
default:
rowLength=row+1;
}
Log.d(TAG, "Drawing row "+row+" with "+rowLength+" cells.");
for (int col = 0; col < rowLength; ++col) {
ImageView v;
if (cell < childCount) {
v = (ImageView) getChildAt(cell);
} else {
v = new ImageView(super.getContext());
v.setLayoutParams(layoutParams);
v.setOnClickListener(onClickListener);
addViewInLayout(v, cell, v.getLayoutParams(), true);
}
v.setImageResource(mImageIds[mImages[cell]]);
v.setTag(cell);
v.layout((int) x_offset, (int) y_offset, (int) (x_offset + width), (int) (y_offset + height));
x_offset += effectiveWidth;
++cell;
}
y_offset += effectiveHeight;
switch(mGameType){
case Connect3Turn.GAME_TYPE_Y:
x_offset_row -= effectiveWidth / 2;
break;
case Connect3Turn.GAME_TYPE_HEX:
x_offset_row += effectiveWidth / 2;
}
}
mSizeInvalidated=false;
}

HexView-View 是从哪里来的? - theomega