如何实时将带有alpha/透明度的PNG图像合并到框架中

16

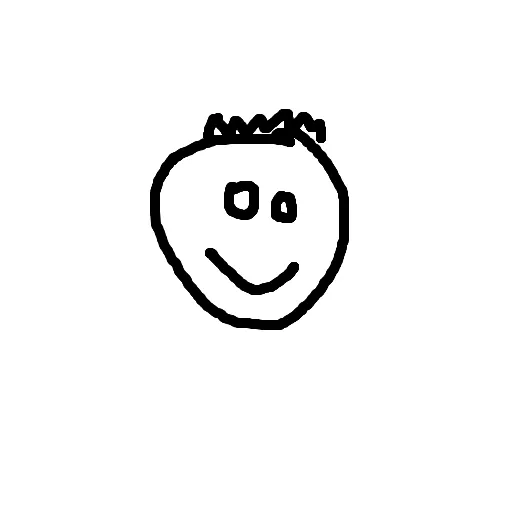
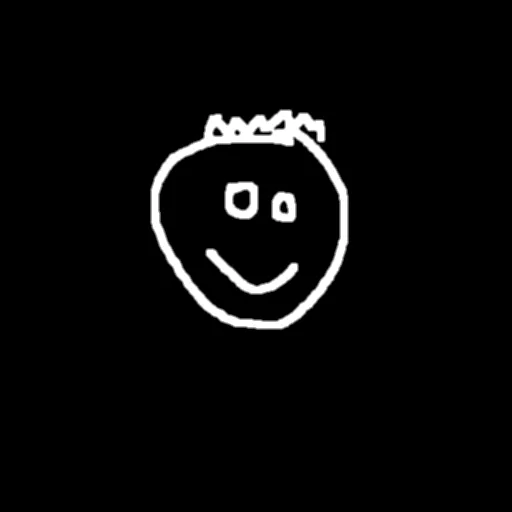
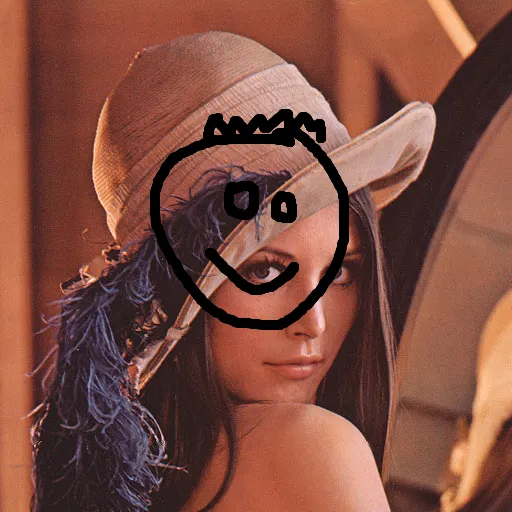
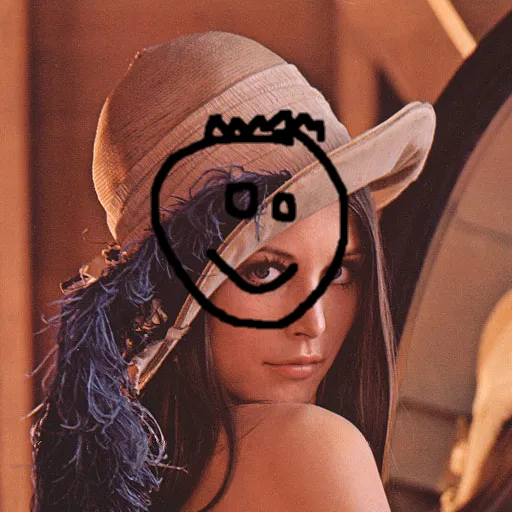
我正在使用OpenCV android 2.4.11的示例,该示例使用相机检测人脸。 我尝试在找到的脸上放置一个口罩(png图像),而不是在脸上绘制矩形。 但是要在脸上显示图像,png图像会带有黑色背景,其中原本应该是透明的。

FdActivity.java

public void onCameraViewStarted(int width, int height) {
        mGray = new Mat();
        mRgba = new Mat();

        //Load my mask png
        Bitmap image = BitmapFactory.decodeResource(getResources(), R.drawable.mask_1);

        mask = new Mat();

        Utils.bitmapToMat(image, mask);

}

public Mat onCameraFrame(CvCameraViewFrame inputFrame) {

        mRgba = inputFrame.rgba();
        mGray = inputFrame.gray();

        if (mAbsoluteFaceSize == 0) {
            int height = mGray.rows();
            if (Math.round(height * mRelativeFaceSize) > 0) {
                mAbsoluteFaceSize = Math.round(height * mRelativeFaceSize);
            }
            mNativeDetector.setMinFaceSize(mAbsoluteFaceSize);
        }

        MatOfRect faces = new MatOfRect();

        if (mDetectorType == JAVA_DETECTOR) {
            if (mJavaDetector != null)
                mJavaDetector.detectMultiScale(mGray, faces, 1.1, 2, 2,
                        new Size(mAbsoluteFaceSize, mAbsoluteFaceSize), new Size());
        }
        else if (mDetectorType == NATIVE_DETECTOR) {
            if (mNativeDetector != null)
                mNativeDetector.detect(mGray, faces);
        }
        else {
            Log.e(TAG, "Detection method is not selected!");
        }

        Rect[] facesArray = faces.toArray();


        for (int i = 0; i < facesArray.length; i++) {

              overlayImage(mRgba, mask, facesArray[i]);

        }

        return mRgba;
    }

    public Mat overlayImage(Mat background, Mat foregroundMask, Rect faceRect)
    {
        Mat mask = new Mat();

        Imgproc.resize(this.mask, mask, faceRect.size());

        Mat source = new Mat();
        Imgproc.resize(foregroundMask, source, background.size());

        mask.copyTo( background.submat( new Rect((int) faceRect.tl().x, (int) faceRect.tl().y, mask.cols(), mask.rows())) );

        source.release();
        mask.release();
        return background;
    }

你是在询问如何使用OpenCV进行alpha混合吗?(请参考文末的解释,并将这两行代码移植到Java中)。 - Dan Mašek
我检查了你的代码,发现PNG图片带有黑色背景和透明效果。也就是说,这个PNG图片显然被加载了黑色背景,但原始图片并没有背景! - VTR2015
@DanMašek,感谢您的回复,但我尝试了这种方法,但是没有成功。 如果PNG图像完全透明,只留下可见的图像轮廓。需要删除最初透明的黑色区域... 无论alpha值、beta和gamma的组合如何,结果都不如预期... Core.addWeighted(mRgba.submat(eyeArea), 1, maskEye, 1, 1, mRgba.submat(eyeArea)); - VTR2015
嘿 @VTR2015,你把 DanMašek 的回答中的 Python 代码移植到 Java 了吗?能分享一下吗? - delkant
我认为这个线程有一个更简单的解决方案:https://stackoverflow.com/questions/47248053/java-opencv-png-image-with-alpha-channel-over-video-issue - Alexei Masterov
1个回答

38
注意:我将解释一般原理,并在Python中给出实现示例,因为我没有设置Android开发环境。 将其移植到Java应该相当简单。随意发布您的代码作为单独的答案。

你需要做类似于addWeighted操作的事情,即操作

Linear blend formula

然而,在你的情况下, α 需要是一个矩阵(即每个像素需要一个不同的混合系数)。


样本图像

让我们使用一些示例图像来说明这一点。 我们可以使用Lena图像作为示例人脸:

Sample Face

这张图像具有透明度的叠加图像:

Overlay with Alpha

以及这张没有透明度的叠加图像:

Overlay without Alpha


混合矩阵

为了获得alpha矩阵,我们可以使用阈值法确定前景(叠加图像)和背景(人脸)遮罩,或者如果可用,则使用输入图像的alpha通道。

将此操作应用于浮点图像(值范围为0.0 .. 1.0)上非常有用。然后,我们可以表示两个掩模之间的关系:

foreground_mask = 1.0 - background_mask

即两个掩码相加的结果是全为1。

对于RGBA格式的叠加图像,我们得到以下前景和背景掩码:

透明度生成的前景掩码

透明度生成的背景掩码

当我们在RGB格式下使用二值化、腐蚀和模糊处理后,我们得到以下前景和背景掩码:

阈值处理生成的前景掩码

阈值处理生成的背景掩码


加权求和

现在我们可以计算出两个加权部分:

foreground_part = overlay_image * foreground_mask
background_part = face_image * background_mask

对于RGBA叠加,前景部分和背景部分如下所示:

前景部分(RGBA叠加)

背景部分(RGBA叠加)

而对于RGB叠加,则前景部分和背景部分如下所示:

前景部分(RGB叠加)

背景部分(RGB叠加)


最终将它们相加,并将图像转换回取值范围为0-255的8位整数。

操作的结果如下所示(分别为RGBA和RGB叠加):

合并后的图像(RGBA叠加)

合并后的图像(RGB叠加)


代码示例 - RGB叠加

import numpy as np
import cv2

# ==============================================================================

def blend_non_transparent(face_img, overlay_img):
    # Let's find a mask covering all the non-black (foreground) pixels
    # NB: We need to do this on grayscale version of the image
    gray_overlay = cv2.cvtColor(overlay_img, cv2.COLOR_BGR2GRAY)
    overlay_mask = cv2.threshold(gray_overlay, 1, 255, cv2.THRESH_BINARY)[1]

    # Let's shrink and blur it a little to make the transitions smoother...
    overlay_mask = cv2.erode(overlay_mask, cv2.getStructuringElement(cv2.MORPH_ELLIPSE, (3, 3)))
    overlay_mask = cv2.blur(overlay_mask, (3, 3))

    # And the inverse mask, that covers all the black (background) pixels
    background_mask = 255 - overlay_mask

    # Turn the masks into three channel, so we can use them as weights
    overlay_mask = cv2.cvtColor(overlay_mask, cv2.COLOR_GRAY2BGR)
    background_mask = cv2.cvtColor(background_mask, cv2.COLOR_GRAY2BGR)

    # Create a masked out face image, and masked out overlay
    # We convert the images to floating point in range 0.0 - 1.0
    face_part = (face_img * (1 / 255.0)) * (background_mask * (1 / 255.0))
    overlay_part = (overlay_img * (1 / 255.0)) * (overlay_mask * (1 / 255.0))

    # And finally just add them together, and rescale it back to an 8bit integer image
    return np.uint8(cv2.addWeighted(face_part, 255.0, overlay_part, 255.0, 0.0))

# ==============================================================================

# We load the images
face_img = cv2.imread("lena.png", -1)
overlay_img = cv2.imread("overlay.png", -1)

result_1 = blend_non_transparent(face_img, overlay_img)
cv2.imwrite("merged.png", result_1)

代码示例 - RGBA叠加

import numpy as np
import cv2

# ==============================================================================

def blend_transparent(face_img, overlay_t_img):
    # Split out the transparency mask from the colour info
    overlay_img = overlay_t_img[:,:,:3] # Grab the BRG planes
    overlay_mask = overlay_t_img[:,:,3:]  # And the alpha plane

    # Again calculate the inverse mask
    background_mask = 255 - overlay_mask

    # Turn the masks into three channel, so we can use them as weights
    overlay_mask = cv2.cvtColor(overlay_mask, cv2.COLOR_GRAY2BGR)
    background_mask = cv2.cvtColor(background_mask, cv2.COLOR_GRAY2BGR)

    # Create a masked out face image, and masked out overlay
    # We convert the images to floating point in range 0.0 - 1.0
    face_part = (face_img * (1 / 255.0)) * (background_mask * (1 / 255.0))
    overlay_part = (overlay_img * (1 / 255.0)) * (overlay_mask * (1 / 255.0))

    # And finally just add them together, and rescale it back to an 8bit integer image    
    return np.uint8(cv2.addWeighted(face_part, 255.0, overlay_part, 255.0, 0.0))

# ==============================================================================

# We load the images
face_img = cv2.imread("lena.png", -1)
overlay_t_img = cv2.imread("overlay_transparent.png", -1) # Load with transparency

result_2 = blend_transparent(face_img, overlay_t_img)
cv2.imwrite("merged_transparent.png", result_2)

2
这段代码(blend_transparent)给我报了这个错误: File "./test.py", line 19, in blend_transparent face_part = (face_img * (1 / 255.0)) * (background_mask * (1 / 255.0)) ValueError: operands could not be broadcast together with shapes (614,500,3) (640,500,3) - xabi
2
混合算法要求图像的大小相同。在你的代码中很容易解决这个问题,只需将第35行改为rotated = cv2.warpPerspective(glasses, M, (face.shape[1], face.shape[0])) - Dan Mašek
1
TMI... 图片太多了 ;) 感谢您的直接回答! - linusg
1
@linusg :) 是的,它有点图像密集,尽管当我写它时它们似乎都与解释相关(我喜欢提供输入以允许读者重现它,同时显示中间步骤和结果)。话虽如此,如果您对如何改进它有一些想法/建议,请告诉我(或者更好的是,直接编辑答案)。很高兴它有用。 - Dan Mašek
1
不,开玩笑的:P我也喜欢在输入和输出之间有所有步骤,这样更容易理解所有步骤。顺便说一句,刚刚一分钟前我测试了代码,它完全正常:D - linusg
显示剩余3条评论

网页内容由stack overflow 提供, 点击上面的
可以查看英文原文,
原文链接