我使用了layout_weight参数来将按钮的宽度设置为总布局宽度的70%,但似乎我缺少一些重要细节以使其正常工作。
(另一种解决方案是通过编程方式使用display.getWidth(),但它也无法正常工作,因为如果选择使用button.setWidth()来设置宽度,我不知道我的.xml应该是什么样子。)
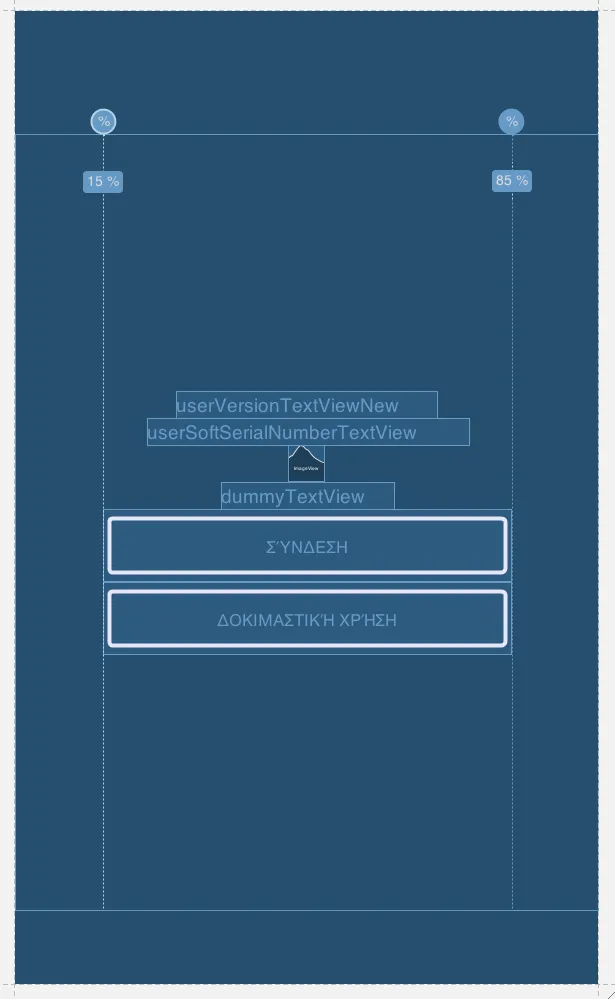
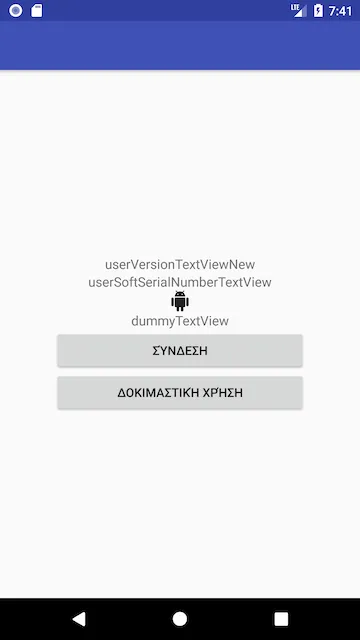
<?xml version="1.0" encoding="utf-8"?>
<RelativeLayout
    xmlns:android="http://schemas.android.com/apk/res/android"
    android:layout_height="fill_parent"
    android:layout_width="fill_parent"
    android:layout_weight="1.0">
    <TextView
        android:layout_width="fill_parent"
        android:layout_height="wrap_content"
        android:textSize="15px"
        android:id="@+id/userVersionTextViewNew"
        android:gravity="center"
        android:layout_centerVertical="true"/>
    <TextView
        android:layout_width="fill_parent"
        android:layout_height="wrap_content"
        android:textSize="15px"
        android:gravity="center"
        android:layout_above="@id/userVersionTextViewNew"
        android:id="@+id/userSoftSerialNumberTextView"/>
    <ImageView
        android:layout_width="fill_parent"
        android:layout_height="wrap_content"
        android:src="@drawable/logo_200"
        android:layout_above="@id/userSoftSerialNumberTextView"
        android:layout_centerHorizontal="true"/>
    <TextView
        android:layout_width="fill_parent"
        android:layout_height="wrap_content"
        android:textSize="15px"
        android:gravity="center"
        android:layout_below="@id/userVersionTextViewNew"
        android:id="@+id/dummyTextView"/>
    <Button
        android:layout_width="fill_parent"
        android:layout_height="wrap_content"
        android:id="@+id/loginButton"
        android:text="Σύνδεση"
        android:layout_centerHorizontal="true"
        android:layout_below="@id/dummyTextView"
        android:layout_weight="0.7"/>
    <Button
        android:layout_width="fill_parent"
        android:layout_height="wrap_content"
        android:id="@+id/demoLoginButton"
        android:text="Δοκιμαστική χρήση"
        android:layout_centerHorizontal="true"
        android:layout_below="@id/loginButton"
        android:layout_weight="0.7"/>
</RelativeLayout>