iPhone iOS通过编程生成星形、太阳花或多边形UIBezierPath

7
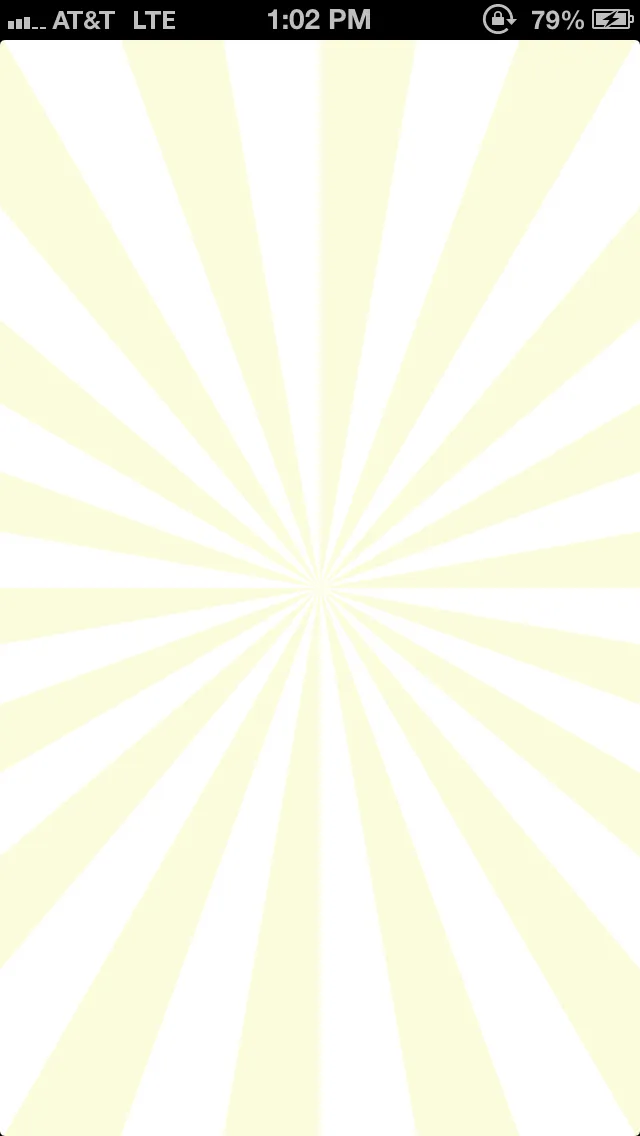
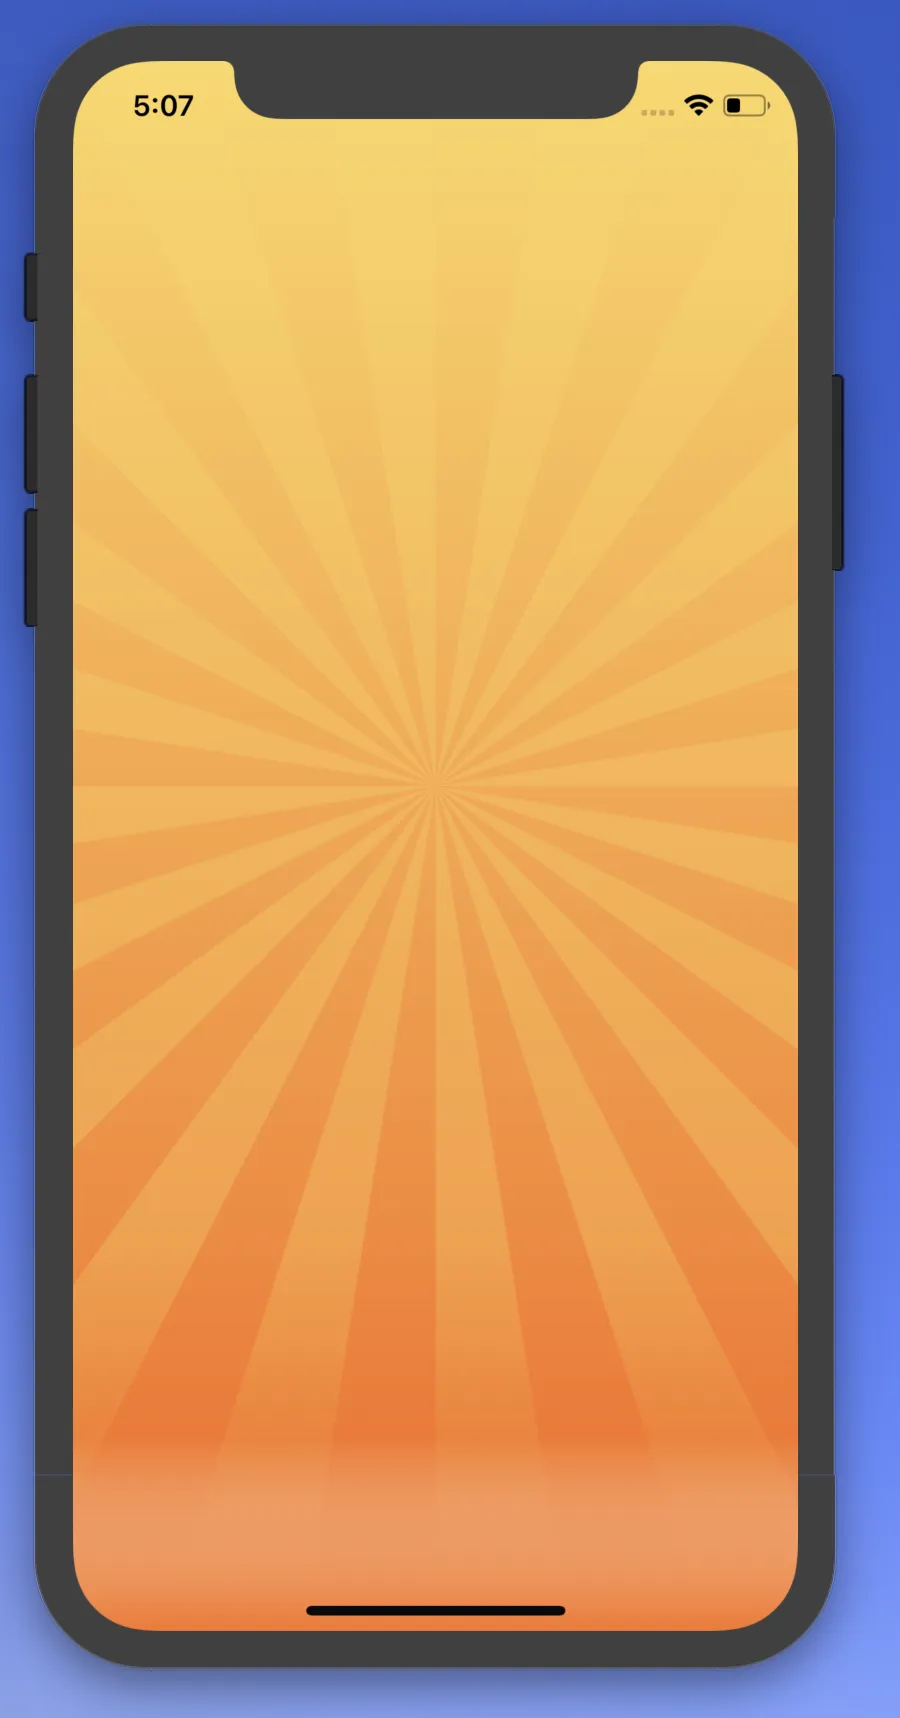
我正在寻找一种使用UIBezierPath编程创建星形、日芒和其他尖锐效果的方法。 Starburst image
UIBezierPath *sunbeamsPath = [UIBezierPath bezierPath];
[sunbeamsPath moveToPoint: CGPointMake(x, y)];

有没有一种算法可以通过编程生成太阳辐射形状的点,而不会使路径重叠?
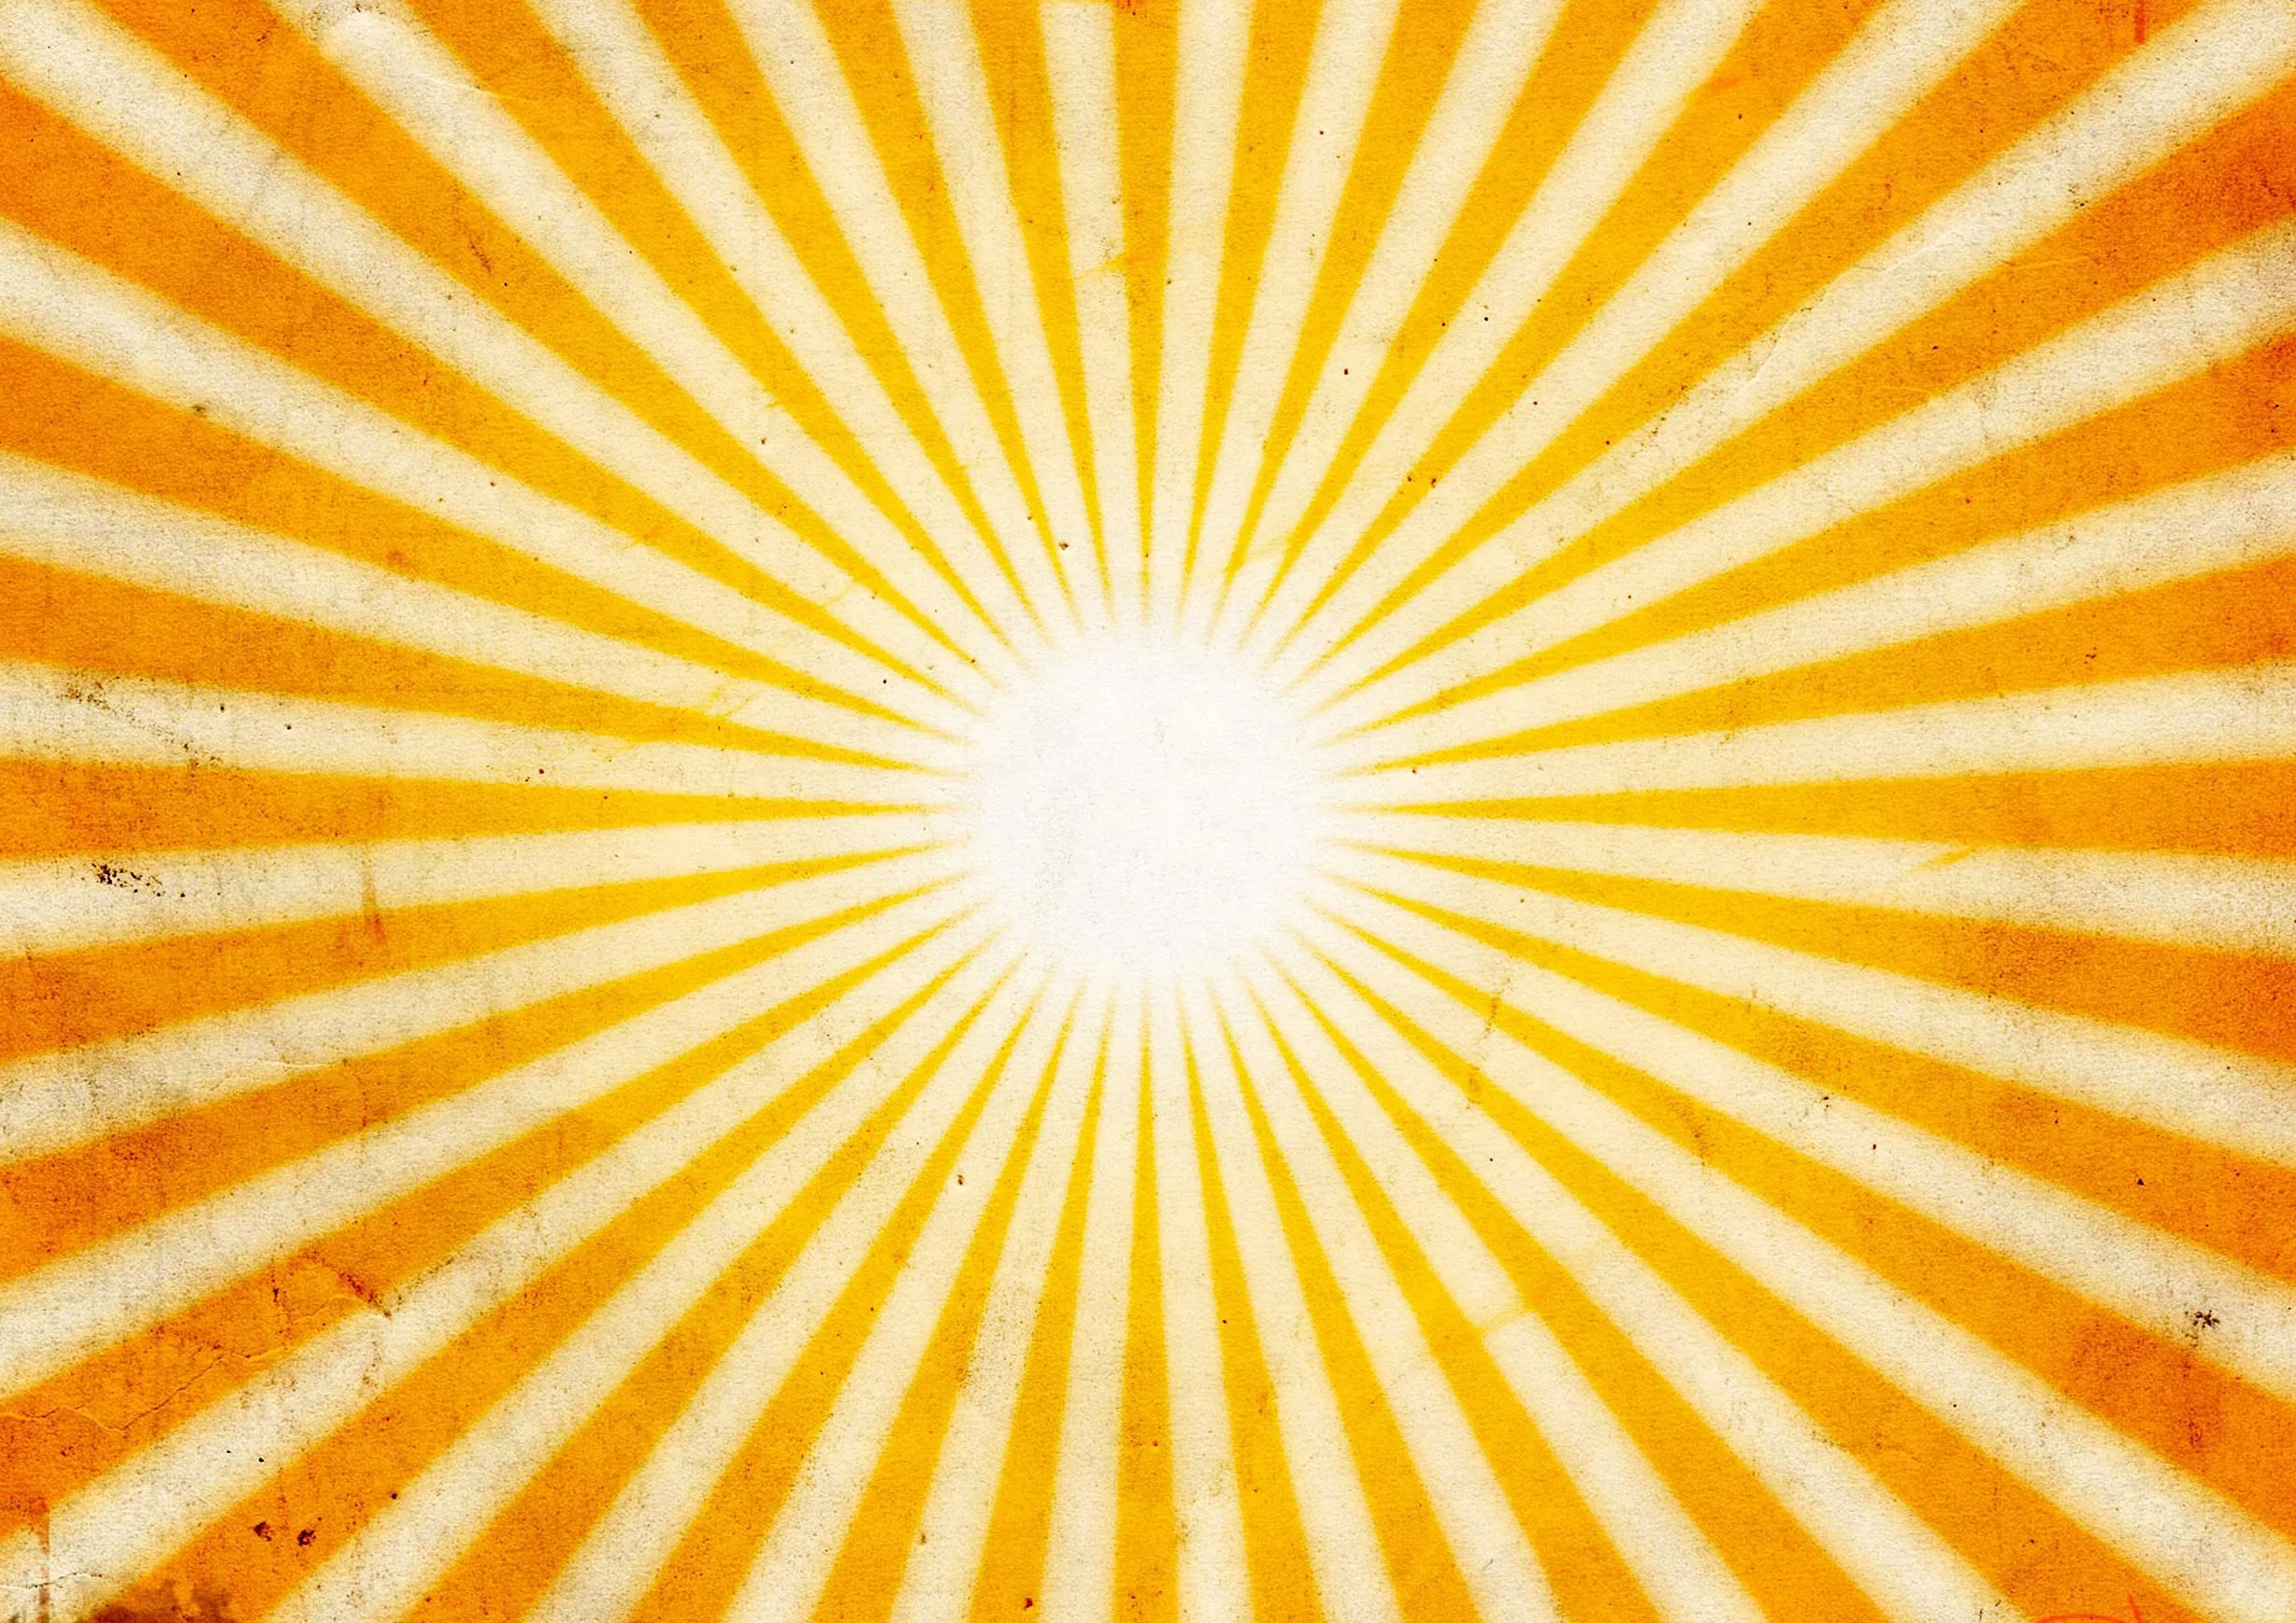
我还对下面这个不规则形状的太阳辐射感兴趣: irregular sunburst 
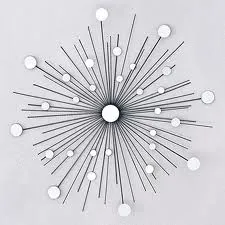
我想象这样的算法将采用一定数量的射线,然后大致地将圆分成若干段,在顺时针方向为该段生成点。是否已经存在像我描述的这种算法,还是我必须自己编写一个?
谢谢!
4个回答

7

我知道这篇文章有点老,但我对其中的第一部分很感兴趣。根据jrturton的帖子,我创建了一个自定义的UIView,从视图中心生成一个UIBezierPath。我还为其添加了旋转动画,以下是结果:

enter image description here

我使用的代码如下:

- (void)drawRect:(CGRect)rect {
CGFloat radius = rect.size.width/2.0f;

[self.fillColor setFill];
[self.strokeColor setStroke];

UIBezierPath *bezierPath = [UIBezierPath bezierPath];
CGPoint centerPoint = CGPointMake(rect.origin.x + radius, rect.origin.y + radius);

CGPoint thisPoint = CGPointMake(centerPoint.x + radius, centerPoint.y);
[bezierPath moveToPoint:centerPoint];

CGFloat thisAngle = 0.0f;
CGFloat sliceDegrees = 360.0f / self.beams / 2.0f;

for (int i = 0; i < self.beams; i++) {

    CGFloat x = radius * cosf(DEGREES_TO_RADIANS(thisAngle + sliceDegrees)) + centerPoint.x;
    CGFloat y = radius * sinf(DEGREES_TO_RADIANS(thisAngle + sliceDegrees)) + centerPoint.y;
    thisPoint = CGPointMake(x, y);
    [bezierPath addLineToPoint:thisPoint];
    thisAngle += sliceDegrees;

    CGFloat x2 = radius * cosf(DEGREES_TO_RADIANS(thisAngle + sliceDegrees)) + centerPoint.x;
    CGFloat y2 = radius * sinf(DEGREES_TO_RADIANS(thisAngle + sliceDegrees)) + centerPoint.y;
    thisPoint = CGPointMake(x2, y2);
    [bezierPath addLineToPoint:thisPoint];
    [bezierPath addLineToPoint:centerPoint];
    thisAngle += sliceDegrees;

}

[bezierPath closePath];

bezierPath.lineWidth = 1;
[bezierPath fill];
[bezierPath stroke];

你可以在这里下载一个示例项目:

https://github.com/meekapps/Sunburst


2
我不知道有什么算法可以创建这些,但我有一些建议-创建您的贝塞尔路径,使(0,0)为太阳爆发的中心,然后定义您需要绘制一个“光束”的点数向上,返回到(0,0)。
然后,对于您想要的任意数量的光束,执行循环:将旋转变换(2 pi /光束数)应用于您的太阳光束点(CGPointApplyTransform),并将它们添加到路径中。
完成后,您可以翻译和缩放路径以进行绘制。
我最近使用类似的过程绘制星形多边形,非常简单。感谢Rob Napier's书提供的灵感。

0

这个的 Swift 版本

import UIKit

extension Int {
    var degreesToRadians: Double { return Double(self) * .pi / 180 }
    var radiansToDegrees: Double { return Double(self) * 180 / .pi }
}
extension FloatingPoint {
    var degreesToRadians: Self { return self * .pi / 180 }
    var radiansToDegrees: Self { return self * 180 / .pi }
}

class SunBurstView: UIView {

    override func draw(_ rect: CGRect) {
        let radius: CGFloat = rect.size.width / 2.0
        UIColor.red.setFill()
        UIColor.blue.setStroke()
        let bezierPath = UIBezierPath()
        let centerPoint = CGPoint(x: rect.origin.x + radius, y: rect.origin.y + radius)
        var thisPoint = CGPoint(x: centerPoint.x + radius, y: centerPoint.y)
        bezierPath.move(to: centerPoint)
        var thisAngle: CGFloat = 0.0
        let sliceDegrees: CGFloat = 360.0 / self.beams / 2.0

        for _ in 0..<self.beams {
            let x = radius * CGFloat(cosf(Float((thisAngle + sliceDegrees).degreesToRadians))) + centerPoint.x
            let y = radius * CGFloat(sinf(Float((thisAngle + sliceDegrees).degreesToRadians))) + centerPoint.y
            thisPoint = CGPoint(x: x, y: y)
            bezierPath.addLine(to: thisPoint)
            thisAngle += sliceDegrees
            let x2 = radius * CGFloat(cosf(Float((thisAngle + sliceDegrees).degreesToRadians))) + centerPoint.x
            let y2 = radius * CGFloat(sinf(Float((thisAngle + sliceDegrees).degreesToRadians))) + centerPoint.y
            thisPoint = CGPoint(x: x2, y: y2)
            bezierPath.addLine(to: thisPoint)
            bezierPath.addLine(to: centerPoint)
            thisAngle += sliceDegrees
        }
        bezierPath.close()
        bezierPath.lineWidth = 1
        bezierPath.fill()
        bezierPath.stroke()
    }

}

0

我注意到Swift版本无法编译或占据足够的屏幕空间,因此这里是Reinier在Swift 4中针对矩形视图调整后的答案。

extension Int {
    var degreesToRadians: Double { return Double(self) * .pi / 180 }
    var radiansToDegrees: Double { return Double(self) * 180 / .pi }
}

extension FloatingPoint {
    var degreesToRadians: Self { return self * .pi / 180 }
    var radiansToDegrees: Self { return self * 180 / .pi }
}

class SunBurstView: UIView {

    var beams: CGFloat = 20

    override func draw(_ rect: CGRect) {
        self.clipsToBounds = false
        self.layer.masksToBounds = false
        let radius: CGFloat = rect.size.width * 1.5
        UIColor.orange.withAlphaComponent(0.3).setFill()
        UIColor.clear.setStroke()
        let bezierPath = UIBezierPath()
        let centerPoint = CGPoint(x: rect.origin.x + (radius / 3), y: rect.origin.y + (radius / 1.5))
        var thisPoint = CGPoint(x: centerPoint.x + radius, y: centerPoint.y)

        bezierPath.move(to: centerPoint)
        var thisAngle: CGFloat = 0.0
        let sliceDegrees: CGFloat = 360.0 / self.beams / 2.0

        for _ in 0...Int(beams) {
            let x = radius * CGFloat(cosf(Float((thisAngle + sliceDegrees).degreesToRadians))) + centerPoint.x
            let y = radius * CGFloat(sinf(Float((thisAngle + sliceDegrees).degreesToRadians))) + centerPoint.y
            thisPoint = CGPoint(x: x, y: y)
            bezierPath.addLine(to: thisPoint)
            thisAngle += sliceDegrees
            let x2 = radius * CGFloat(cosf(Float((thisAngle + sliceDegrees).degreesToRadians))) + centerPoint.x
            let y2 = radius * CGFloat(sinf(Float((thisAngle + sliceDegrees).degreesToRadians))) + centerPoint.y
            thisPoint = CGPoint(x: x2, y: y2)
            bezierPath.addLine(to: thisPoint)
            bezierPath.addLine(to: centerPoint)
            thisAngle += sliceDegrees
        }
        bezierPath.close()
        bezierPath.lineWidth = 1
        bezierPath.fill()
        bezierPath.stroke()
    }

}

enter image description here


网页内容由stack overflow 提供, 点击上面的
可以查看英文原文,
原文链接