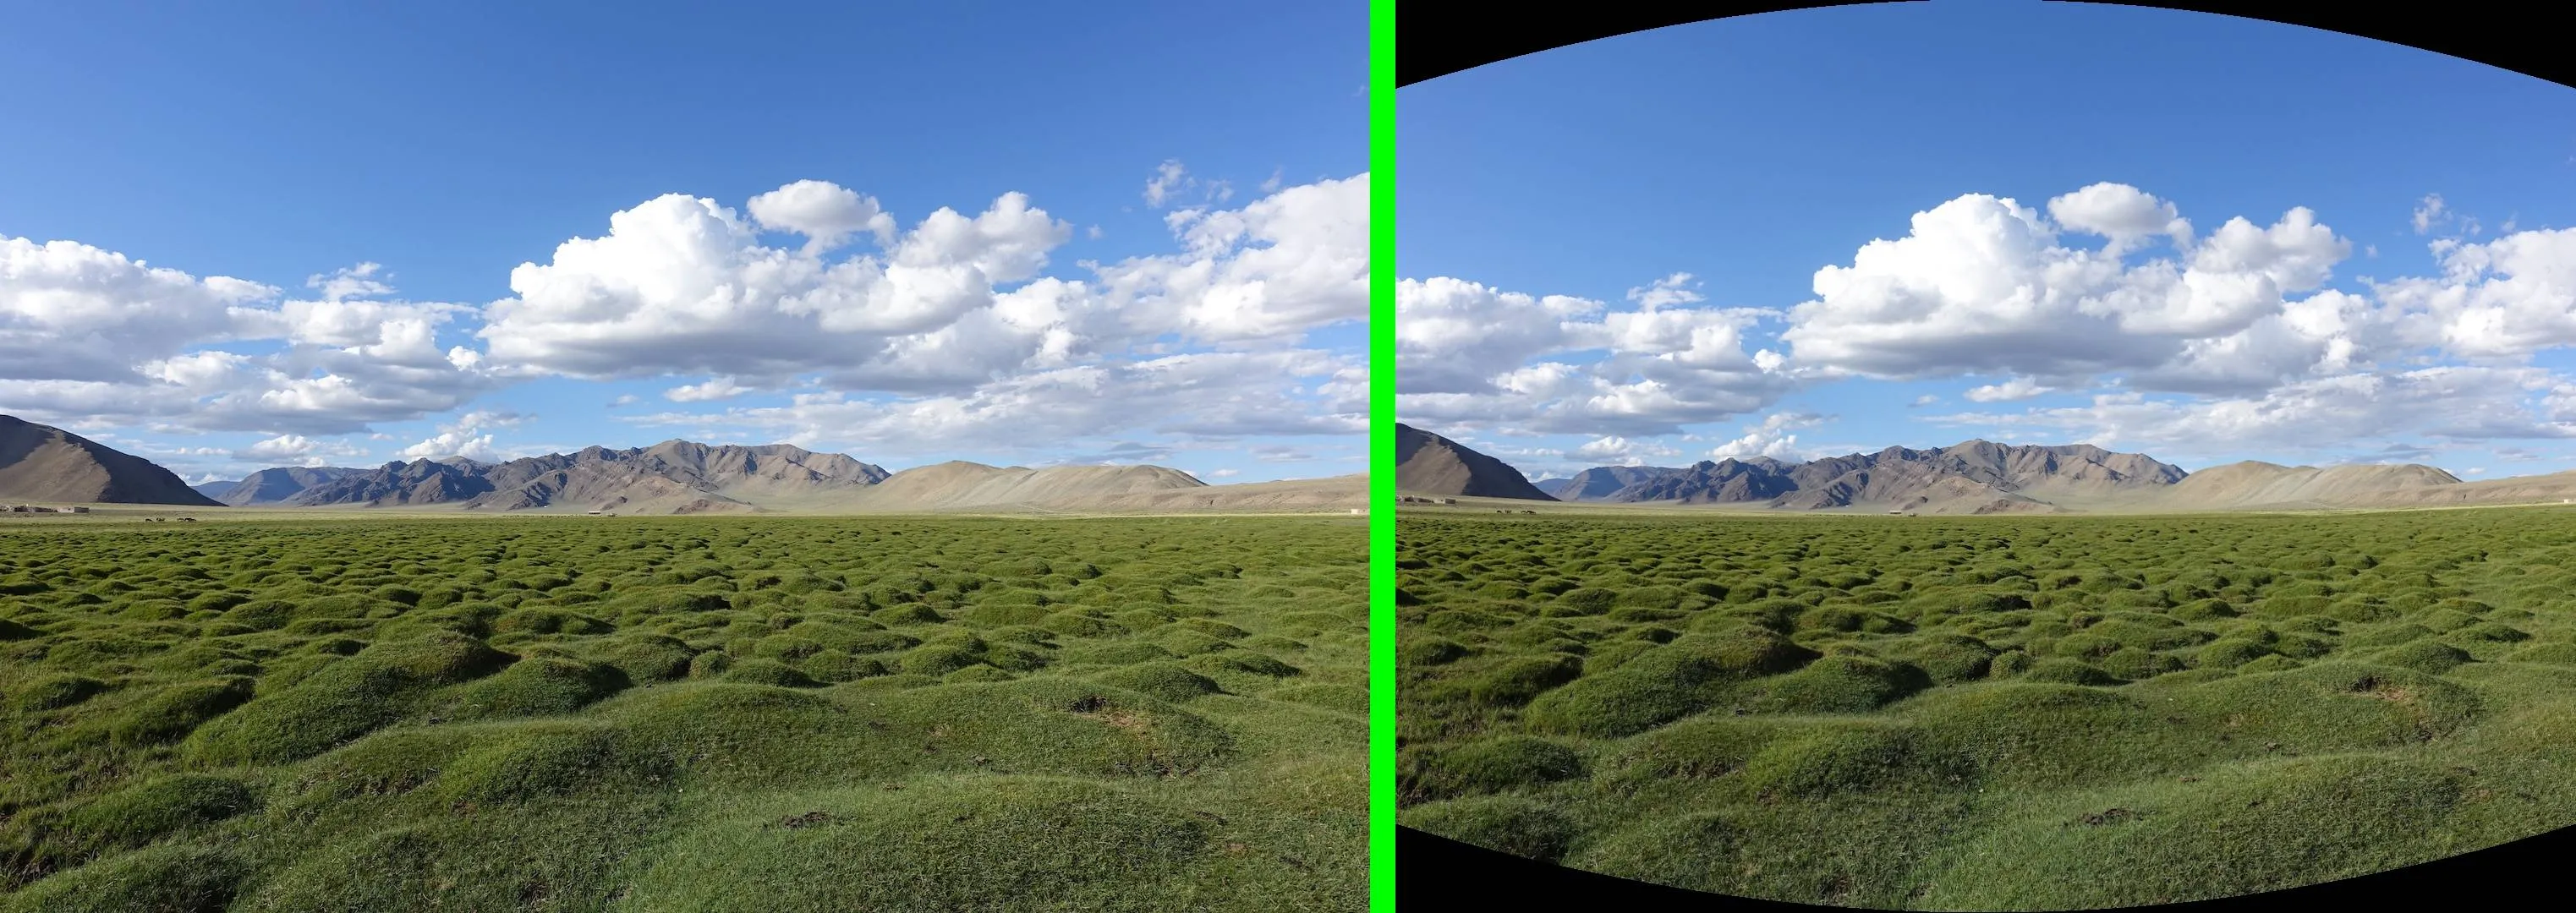
我在将24张拼接的图像拼接到第25张图像之前,得到了以下输出结果。在此之前,拼接效果良好。
拼接代码遵循标准拼接步骤,如查找关键点、描述符,然后匹配点,计算单应性,然后扭曲图像。但我不明白为什么会出现这种输出。
拼接的核心部分如下:
编辑:
 第25幅图像拼接后的结果与上述情况不同。
奇怪的观察结果是:如果我用相同的代码分别拼接23、24、25幅图像,它们可以拼接成功。如果我拼接从第23幅图像之后到第97幅图像,它们也可以拼接成功。但是,如果我从第1幅图像开始拼接,当拼接第25幅图像时就会中断。我不明白为什么会这样。
我尝试了不同的关键点检测、提取方法、匹配方法、不同的单应性计算、不同的变形代码,但这些组合都没有起作用。在步骤组合代码中有一些缺失或错误。我无法找出问题所在。
对于这个冗长的问题,我很抱歉。由于我完全是新手,所以无法正确地解释和理解事情。感谢您的帮助和指导。
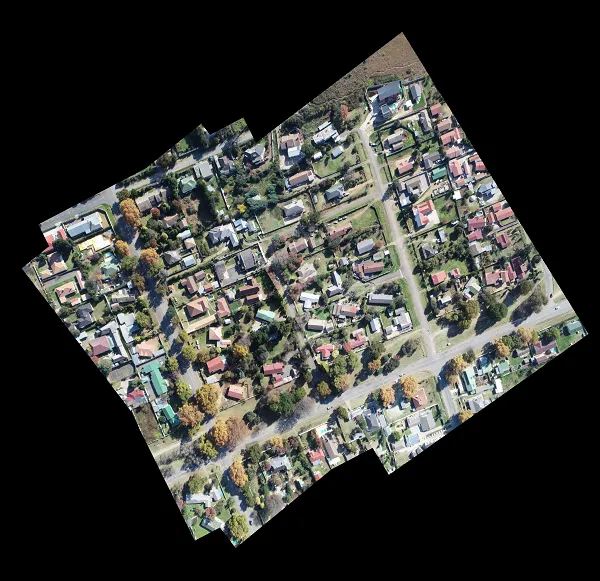
23、24、25张图像使用相同的代码分别拼接的结果如下:
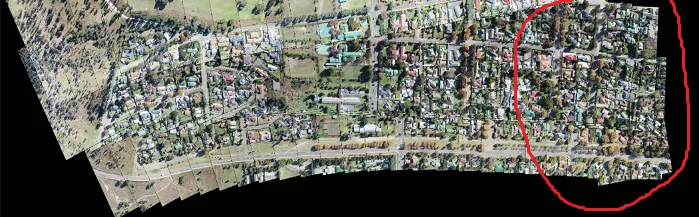
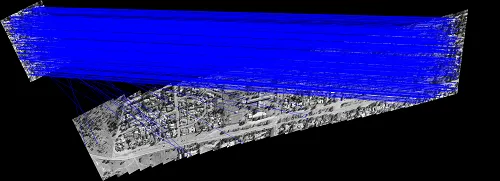
使用不同的代码(在拼接之间产生黑色线条),如果我拼接了97张图像,则第25张图像会上移并拼接如下(右上角):

拼接代码遵循标准拼接步骤,如查找关键点、描述符,然后匹配点,计算单应性,然后扭曲图像。但我不明白为什么会出现这种输出。
拼接的核心部分如下:
detector = cv2.SIFT_create(400)
# find the keypoints and descriptors with SIFT
gray1 = cv2.cvtColor(image1,cv2.COLOR_BGR2GRAY)
ret1, mask1 = cv2.threshold(gray1,1,255,cv2.THRESH_BINARY)
kp1, descriptors1 = detector.detectAndCompute(gray1,mask1)

gray2 = cv2.cvtColor(image2,cv2.COLOR_BGR2GRAY)
ret2, mask2 = cv2.threshold(gray2,1,255,cv2.THRESH_BINARY)
kp2, descriptors2 = detector.detectAndCompute(gray2,mask2)

keypoints1Im = cv2.drawKeypoints(image1, kp1, outImage = cv2.DRAW_MATCHES_FLAGS_DEFAULT, color=(0,0,255))
keypoints2Im = cv2.drawKeypoints(image2, kp2, outImage = cv2.DRAW_MATCHES_FLAGS_DEFAULT, color=(0,0,255))

# BFMatcher with default params
matcher = cv2.BFMatcher()
matches = matcher.knnMatch(descriptors2,descriptors1, k=2)

# Apply ratio test
good = []
for m, n in matches:
    if m.distance < 0.75 * n.distance:
        good.append(m)

print (str(len(good)) + " Matches were Found")

if len(good) <= 10:
    return image1

matches = copy.copy(good)

matchDrawing = util.drawMatches(gray2,kp2,gray1,kp1,matches)

#Aligning the images
src_pts = np.float32([ kp2[m.queryIdx].pt for m in matches ]).reshape(-1,1,2)
dst_pts = np.float32([ kp1[m.trainIdx].pt for m in matches ]).reshape(-1,1,2)


H = cv2.findHomography(src_pts, dst_pts, cv2.RANSAC,5.0)[0]

h1,w1 = image1.shape[:2]
h2,w2 = image2.shape[:2]
pts1 = np.float32([[0,0],[0,h1],[w1,h1],[w1,0]]).reshape(-1,1,2)
pts2 = np.float32([[0,0],[0,h2],[w2,h2],[w2,0]]).reshape(-1,1,2)
pts2_ = cv2.perspectiveTransform(pts2, H)
pts = np.concatenate((pts1, pts2_), axis=0)
# print("pts:", pts)
[xmin, ymin] = np.int32(pts.min(axis=0).ravel() - 0.5)
[xmax, ymax] = np.int32(pts.max(axis=0).ravel() + 0.5)
t = [-xmin,-ymin]
Ht = np.array([[1,0,t[0]],[0,1,t[1]],[0,0,1]]) # translate

result = cv2.warpPerspective(image2, Ht.dot(H), (xmax-xmin, ymax-ymin))

resizedB = np.zeros((result.shape[0], result.shape[1], 3), np.uint8)

resizedB[t[1]:t[1]+h1,t[0]:w1+t[0]] = image1
# Now create a mask of logo and create its inverse mask also
img2gray = cv2.cvtColor(result,cv2.COLOR_BGR2GRAY)
ret, mask = cv2.threshold(img2gray, 0, 255, cv2.THRESH_BINARY)

kernel = np.ones((5,5),np.uint8)
k1 = (kernel == 1).astype('uint8')
mask = cv2.erode(mask, k1, borderType=cv2.BORDER_CONSTANT)

mask_inv = cv2.bitwise_not(mask)

difference = cv2.bitwise_or(resizedB, resizedB, mask=mask_inv)

result2 = cv2.bitwise_and(result, result, mask=mask)

result = cv2.add(result2, difference)
编辑:
Edit:
这张图片显示了在将25个图像拼接到结果中之前,拼接了24个图像的匹配绘图:
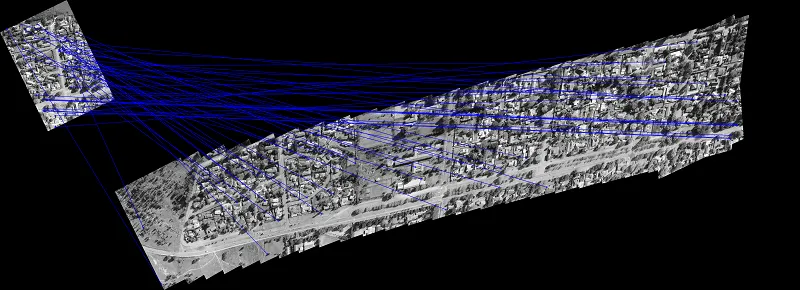
在那个匹配绘图之前:
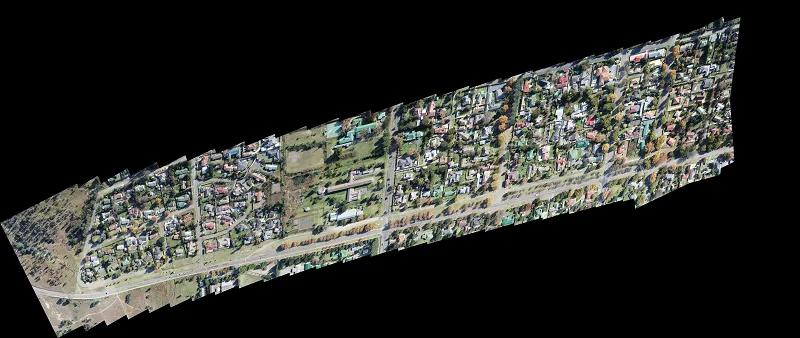
我总共有97张图片要拼接。如果我分别拼接第24和25张图像,则它们可以正确拼接。如果我从第23张图像开始拼接,那么拼接也很好,但是当我从第1张图像开始拼接时,就会出现问题。我无法理解这个问题。
拼接第23张图像后的结果:

第25幅图像拼接后的结果与上述情况不同。奇怪的观察结果是:如果我用相同的代码分别拼接23、24、25幅图像,它们可以拼接成功。如果我拼接从第23幅图像之后到第97幅图像,它们也可以拼接成功。但是,如果我从第1幅图像开始拼接,当拼接第25幅图像时就会中断。我不明白为什么会这样。
我尝试了不同的关键点检测、提取方法、匹配方法、不同的单应性计算、不同的变形代码,但这些组合都没有起作用。在步骤组合代码中有一些缺失或错误。我无法找出问题所在。
对于这个冗长的问题,我很抱歉。由于我完全是新手,所以无法正确地解释和理解事情。感谢您的帮助和指导。
23、24、25张图像使用相同的代码分别拼接的结果如下:
使用不同的代码(在拼接之间产生黑色线条),如果我拼接了97张图像,则第25张图像会上移并拼接如下(右上角):