使用.Net对图像进行去斜处理

9
我一直在寻找一种可靠的方法来对.NET中的图像进行去斜,但没有什么好的结果。
目前我正在使用AForge。这很麻烦,因为我正在使用WPF,所以我正在处理的图像是BitmapImage对象,而不是Bitmap对象,这意味着我需要从一个BitmapImage对象开始,将其保存到内存流中,然后从内存流中创建一个新的Bitmap对象,经过去斜过程,将去斜后的图像保存到新的内存流中,然后再从该内存流创建一个新的BitmapImage对象。不仅如此,还有去斜效果并不理想。
我正在尝试读取扫描到扫描仪中的一张纸上的OMR数据,因此我需要依赖于每次特定OMR框在相同的坐标位置,因此去斜需要是可靠的。
目前我正在使用AForge,我找不到其他免费/开源的.NET图像去斜库,我找到的所有内容要么非常昂贵,要么在C/C++中实现。
我的问题是是否存在其他免费/开源库可用于.NET中的图像去斜?如果是,它们叫什么,如果不是,我该如何解决这个问题?
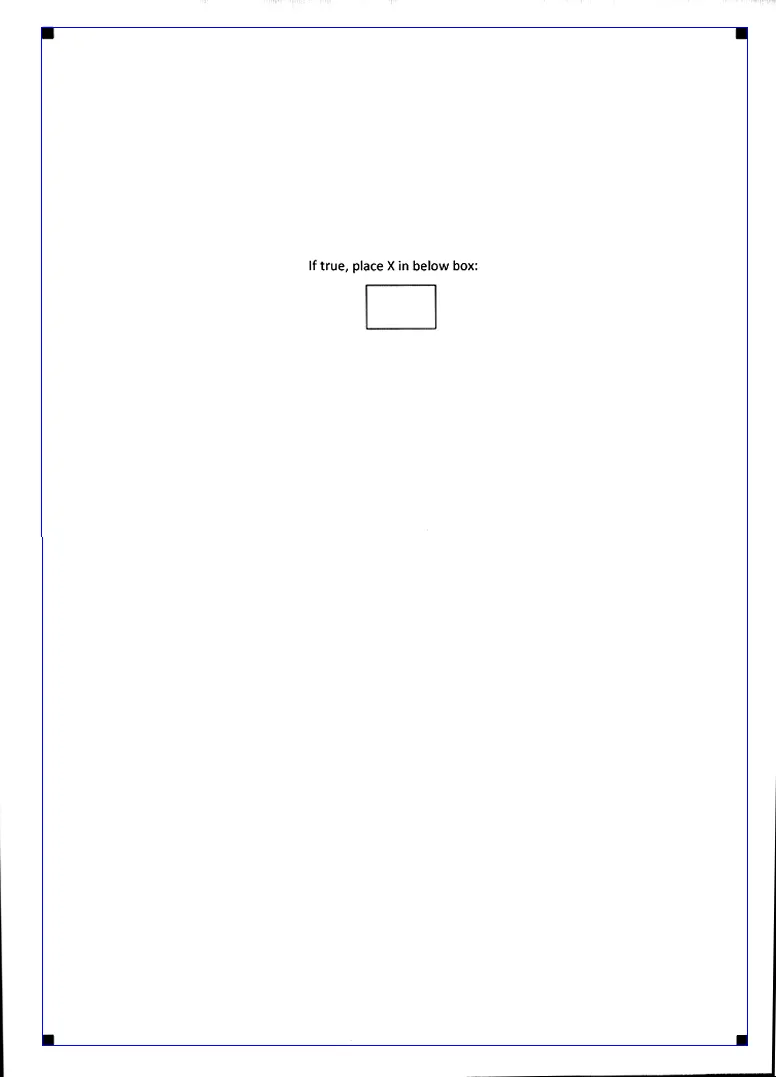
编辑:例如,假设我有以下页面:
当我打印出来后,再将其扫描回扫描仪,它看起来像这样:
我需要对这个图像进行去斜,以使我的框每次都处于相同的位置。在现实世界中,有很多框,它们比较小,而且靠得很近,因此准确性很重要。
我目前的方法非常低效,很麻烦:
using AForge.Imaging;
using AForge.Imaging.Filters;
using System.Drawing;
using System.Drawing.Imaging;
using System.IO;
using System.Windows.Media.Imaging;

public static BitmapImage DeskewBitmap(BitmapImage skewedBitmap)
{
    //Using a memory stream to minimise disk IO
    var memoryStream = BitmapImageToMemoryStream(skewedBitmap);

    var bitmap = MemoryStreamToBitmap(memoryStream);
    var skewAngle = CalculateSkewAngle(bitmap);

    //Aforge needs a Bppp indexed image for the deskewing process
    var bitmapConvertedToBbppIndexed = ConvertBitmapToBbppIndexed(bitmap);

    var rotatedImage = DeskewBitmap(skewAngle, bitmapConvertedToBbppIndexed);

    //I need to convert the image back to a non indexed format to put it back into a BitmapImage object
    var imageConvertedToNonIndexed = ConvertImageToNonIndexed(rotatedImage);

    var imageAsMemoryStream = BitmapToMemoryStream(imageConvertedToNonIndexed);
    var memoryStreamAsBitmapImage = MemoryStreamToBitmapImage(imageAsMemoryStream);

    return memoryStreamAsBitmapImage;
}

private static Bitmap ConvertImageToNonIndexed(Bitmap rotatedImage)
{
    var imageConvertedToNonIndexed = rotatedImage.Clone(
        new Rectangle(0, 0, rotatedImage.Width, rotatedImage.Height), PixelFormat.Format32bppArgb);
    return imageConvertedToNonIndexed;
}

private static Bitmap DeskewBitmap(double skewAngle, Bitmap bitmapConvertedToBbppIndexed)
{
    var rotationFilter = new RotateBilinear(-skewAngle) { FillColor = Color.White };

    var rotatedImage = rotationFilter.Apply(bitmapConvertedToBbppIndexed);
    return rotatedImage;
}

private static double CalculateSkewAngle(Bitmap bitmapConvertedToBbppIndexed)
{
    var documentSkewChecker = new DocumentSkewChecker();

    double skewAngle = documentSkewChecker.GetSkewAngle(bitmapConvertedToBbppIndexed);

    return skewAngle;
}

private static Bitmap ConvertBitmapToBbppIndexed(Bitmap bitmap)
{
    var bitmapConvertedToBbppIndexed = bitmap.Clone(
        new Rectangle(0, 0, bitmap.Width, bitmap.Height), PixelFormat.Format8bppIndexed);
    return bitmapConvertedToBbppIndexed;
}

private static BitmapImage ResizeBitmap(BitmapImage originalBitmap, int desiredWidth, int desiredHeight)
{
    var ms = BitmapImageToMemoryStream(originalBitmap);
    ms.Position = 0;

    var result = new BitmapImage();
    result.BeginInit();
    result.DecodePixelHeight = desiredHeight;
    result.DecodePixelWidth = desiredWidth;

    result.StreamSource = ms;
    result.CacheOption = BitmapCacheOption.OnLoad;

    result.EndInit();
    result.Freeze();

    return result;
}

private static MemoryStream BitmapImageToMemoryStream(BitmapImage image)
{
    var ms = new MemoryStream();

    var encoder = new JpegBitmapEncoder();
    encoder.Frames.Add(BitmapFrame.Create(image));

    encoder.Save(ms);

    return ms;
}

private static BitmapImage MemoryStreamToBitmapImage(MemoryStream ms)
{
    ms.Position = 0;
    var bitmap = new BitmapImage();

    bitmap.BeginInit();

    bitmap.StreamSource = ms;
    bitmap.CacheOption = BitmapCacheOption.OnLoad;

    bitmap.EndInit();
    bitmap.Freeze();

    return bitmap;
}

private static Bitmap MemoryStreamToBitmap(MemoryStream ms)
{
    return new Bitmap(ms);
}

private static MemoryStream BitmapToMemoryStream(Bitmap image)
{
    var memoryStream = new MemoryStream();
    image.Save(memoryStream, ImageFormat.Bmp);

    return memoryStream;
}

回顾过去,还有几个问题:

  1. 我是否正确地使用AForge?
  2. AForge是用于执行此任务的最佳库吗?
  3. 如何改进我的当前方法以获得更准确的结果?

1
这是使用图像处理工具作为黑盒子的问题。有许多去斜的方法,重要的是要知道正在使用的方法,特别是当它“不太好”的时候。否则,你怎么知道另一个去斜的黑盒子是否有机会产生比当前黑盒子更好的结果呢?Letponica也有一个黑盒子去斜方法,但在http://tpgit.github.com/Leptonica/skew_8c.html上,你可以了解它的工作原理。还有许多其他方法也可以实现这一点。 - mmgp
2
John,你能否提供一下你需要去斜的图片的链接或者将它们包含在问题中吗?这样会更容易让人回答。 - DermFrench
2
对于许多倾斜检测情况,使用一维投影方法效果良好 http://www.eecs.berkeley.edu/~fateman/kathey/skew.html - kenny
2
在AForge的情况下,您想要的功能位于http://www.aforgenet.com/framework/docs/html/7039a71d-a87d-47ef-7907-ad873118e374.htm。只需找到四个角落框,并应用该函数即可。 - mmgp
@mmgp 非常有帮助,直到现在我一直在假定需要去倾斜,我很快就会尝试一下。 - JMK
显示剩余3条评论
4个回答

7
给定样例输入,很明显你不需要对图像进行去斜操作。这种操作无法纠正你所遇到的扭曲,相反,你需要执行透视变换。如下图所示,可以清楚地看到这一点。四个白色矩形代表你四个黑色框的边缘,黄色线是连接黑色框的结果。黄色四边形不是你想要实现的倾斜的红色四边形。
所以,如果你能得到上面的图像,问题就变得简单多了。如果你没有四个角落的盒子,你需要其他四个参考点,因此它们对你非常有帮助。在得到上面的图像之后,你知道了四个黄色的角落,然后将它们映射到四个红色的角落。这就是你需要进行的透视变换,根据你的库,可能会有一个准备好的函数来完成(至少有一个,请查看你的问题评论)。
有多种方法可以得到上面的图像,所以我将简单地描述一种相对简单的方法。首先,将灰度图像二值化。为此,我选择了一个简单的全局阈值100(你的图像在范围[0,255]内),保留了盒子和图像中的其他细节(如图像周围的强线)。强度大于或等于100的像素被设置为255,小于100的像素被设置为0。但是,由于这是一张打印出来的图像,盒子看起来有多暗很可能会有所不同。因此,你可能需要一个更好的方法,在这里,一些简单的形态梯度可能会更好地工作。第二步是消除无关细节。为此,使用一个7x7的正方形(约为输入图像宽度和高度的最小值的1%)进行形态学闭运算。要获取框的边界,请使用一个基本的3x3正方形进行形态学腐蚀,如current_image-erosion(current_image)。现在你有了一个带有上述四个白色轮廓的图像(这假设除了盒子之外的所有内容都被消除了,我认为这是其他输入的简化)。要获取这些白色轮廓的像素,可以进行连通组件标记。使用这4个组件,确定右上角,左上角,右下角和左下角。现在你可以轻松地找到所需的点,以获取黄色矩形的角落。所有这些操作都可以在AForge中轻松完成,所以只需要将以下代码翻译成C#:
import sys
import numpy
from PIL import Image, ImageOps, ImageDraw
from scipy.ndimage import morphology, label

# Read input image and convert to grayscale (if it is not yet).
orig = Image.open(sys.argv[1])
img = ImageOps.grayscale(orig)

# Convert PIL image to numpy array (minor implementation detail).
im = numpy.array(img)

# Binarize.
im[im < 100] = 0
im[im >= 100] = 255

# Eliminate undesidered details.
im = morphology.grey_closing(im, (7, 7))

# Border of boxes.
im = im - morphology.grey_erosion(im, (3, 3))

# Find the boxes by labeling them as connected components.
lbl, amount = label(im)
box = []
for i in range(1, amount + 1):
    py, px = numpy.nonzero(lbl == i) # Points in this connected component.
    # Corners of the boxes.
    box.append((px.min(), px.max(), py.min(), py.max()))
box = sorted(box)
# Now the first two elements in the box list contains the
# two left-most boxes, and the other two are the right-most
# boxes. It remains to stablish which ones are at top,
# and which at bottom.
top = []
bottom = []
for index in [0, 2]:
    if box[index][2] > box[index+1][2]:
        top.append(box[index + 1])
        bottom.append(box[index])
    else:
        top.append(box[index])
        bottom.append(box[index + 1])

# Pick the top left corner, top right corner,
# bottom right corner, and bottom left corner.
reference_corners = [
        (top[0][0], top[0][2]), (top[1][1], top[1][2]),
        (bottom[1][1], bottom[1][3]), (bottom[0][0], bottom[0][3])]

# Convert the image back to PIL (minor implementation detail).
img = Image.fromarray(im)
# Draw lines connecting the reference_corners for visualization purposes.
visual = img.convert('RGB')
draw = ImageDraw.Draw(visual)
draw.line(reference_corners + [reference_corners[0]], fill='yellow')
visual.save(sys.argv[2])

# Map the current quadrilateral to an axis-aligned rectangle.
min_x = min(x for x, y in reference_corners)
max_x = max(x for x, y in reference_corners)
min_y = min(y for x, y in reference_corners)
max_y = max(y for x, y in reference_corners)

# The red rectangle.
perfect_rect = [(min_x, min_y), (max_x, min_y), (max_x, max_y), (min_x, max_y)]

# Use these points to do the perspective transform.
print reference_corners
print perfect_rect

上述代码与您输入的图像的最终输出如下所示:
[(55, 30), (734, 26), (747, 1045), (41, 1036)]
[(41, 26), (747, 26), (747, 1045), (41, 1045)]

第一个点列表描述了黄色矩形的四个角落,第二个与红色矩形有关。要进行透视变换,您可以使用带有现成函数的AForge。我为简单起见使用了ImageMagick,如下所示:

convert input.png -distort Perspective "55,30,41,26 734,26,747,26 747,1045,747,1045 41,1036,41,1045" result.png

这将给您想要的对齐方式(用前面找到的蓝线更好地显示结果): enter image description here 您可能会注意到,左侧垂直的蓝线并不完全笔直,实际上最左边的两个框在 x 轴上的对齐有 1 个像素的偏差。这可以通过在透视变换期间使用不同的插值方法进行纠正。

在 http://i.imgur.com/tKLNI.png 上,您可以看到使用上述代码的其他结果,惟一的区别是丢弃连接到边框的组件(仅在绘制最终的蓝线以进行可视化时才会有所不同)。 - mmgp

2

对于那些从谷歌搜索到这里的人,可以使用Magick.NET库轻松进行图像去斜校正。

安装其中一个NuGet包,例如Magick.NET-Q16-AnyCPU

用法:

private byte[] DeskewImage(byte[] imageFileBytes)
{
    var img = new MagickImage(imageFileBytes);
    // ImageMagick docs say 40% should work for most images
    img.Deskew(new Percentage(40d));
    return img.ToByteArray();
}

1

John,Leptonica库被认为是非常快速和稳定的。
这里有一个链接,介绍如何从c#中调用它http://www.leptonica.com/vs2008doc/csharp-and-leptonlib.html。我不确定这是否是答案,所以我只是添加了一个评论。

它有一个LeptonicaCLR.Utils.DeskewBinaryImage()函数,可以实际上对一张黑白图像进行去斜校正。

我不确定它在处理你尝试处理的表格时会有多好。


1
还有一篇关于使用Leptonica确定倾斜角度的讨论: http://www.leptonica.com/skew-measurement.html - DermFrench

1

约翰, 我也在考虑模板匹配可能有助于解决这个问题(如果Leptonica库不够好的话)。

Aforge.net内置了模板匹配: http://www.aforgenet.com/framework/docs/html/17494328-ef0c-dc83-1bc3-907b7b75039f.htm

就我有限的知识而言,您需要一个裁剪/注册标记的源图像,并在扫描图像中使用模板匹配找到它。然后,您可以裁剪您的图像以获得仅包含注册标记内部部分的子图像。对于您上面提供的图像,我认为您可以假设初始倾斜相当小,并且仅在图像的裁剪区域上执行模板匹配以减少总时间。

这里有一些讨论: 如何在图像中定位对齐标记


网页内容由stack overflow 提供, 点击上面的
可以查看英文原文,
原文链接