这在pyqt5中不太可能,但我并不是说不可能。你只需要按照以下步骤操作:
注意:这仅适用于在没有边框的全屏窗口中使用应用程序。
让我们看看如何操作。我将使用KIVY,请下载它。
如果您已经安装了kivy,请跳过此步骤,否则请按照kivy安装指南进行安装。
请记住,Kivy仅支持Python 2.7、3.4和3.7,因此请卸载您当前的Python版本,如果任何版本不匹配,请在cmd中输入“python version”查找您当前的Python版本。
1. 在cmd中键入“pip install kivy”
2. 安装过程中可能会出现问题,所以请如我所说卸载不受支持的Python版本。
3. 如果您没有以下包,请下载它们。
PIL # 安装 pip install PIL
pyautogui # 安装 pip install pyautogui
解释:让我们看看这将如何工作,在Python中使用DWM(桌面窗口管理器)api有点困难,因为在C++中有内置函数EnableBlurBehind()来使用DWM api模糊后面的窗口。
在我们的示例中,首先,我们将使用pyautogui包拍摄屏幕截图。第二,模糊图像(截图或背景),第三,在画布中设置图像。窗口后面就模糊了。所以让我们开始实现这个概念。
如果您已经下载了所需的库,请将以下内容复制并粘贴到IDE中。
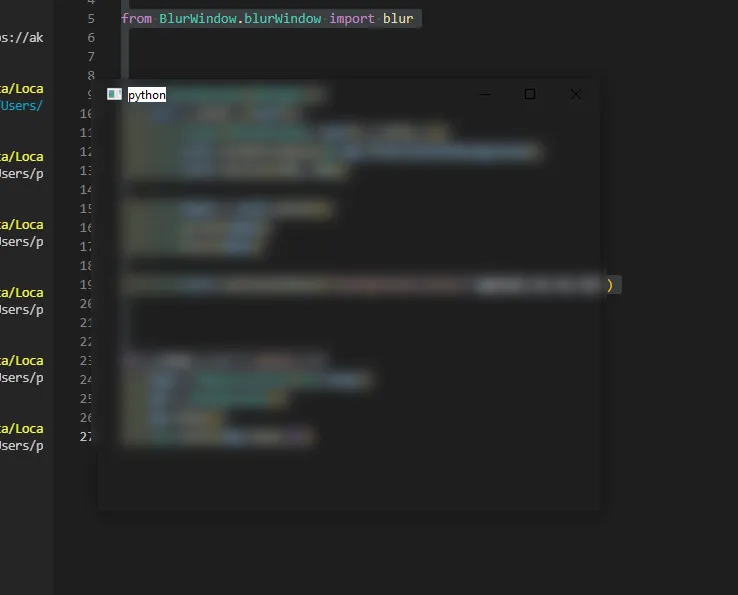
主Python文件,保存为name.py
import pyautogui
screenshot = pyautogui.screenshot()
screenshot.save('screenshot.png')
from PIL import Image, ImageFilter
from kivy.app import App
from kivy.core.window import Window
from kivy.uix.widget import Widget
from PIL import Image, ImageFilter
from win32api import GetSystemMetrics
from kivy.animation import Animation
Window.borderless = True
Window.size = GetSystemMetrics(0), GetSystemMetrics(1)
Window.left = 0
Window.top = 0
class Blur(Widget):
get_image = Image.open('screenshot.png')
blur_image = get_image.filter(ImageFilter.GaussianBlur(radius=15))
blur_image.save('blured.png')
def anim(self):
animator = Animation(x=1800, y=500)
animator.start(self.ids.animate)
class Build(App):
def build(self):
return Blur()
Build().run()
将KV语言文件保存为build.kv,否则它将无法正常工作
<Blur>:
    canvas.before:
        Rectangle:
            pos: self.pos
            size: self.size
            source: 'blured.png'
    Button:
        id: animate
        text: 'Here, you can add anything you want now. Click me!'
        bold: True
        italic: True
        pos: 700, 500
        font_size: 25
        size: 400, 300
        background_color: 0,0,0,0
        on_press: root.anim()
如果您不知道如何在IDE中打开file.kv,请搜索谷歌。如果您有任何非常规问题,请进行修复。

mw.setGraphicsEffect(QtWidgets.QGraphicsBlurEffect()),但我不确定它是否适用于顶层窗口小部件。 - G.M.