嗨,朋友们。我已经找到了上述问题的解决方法。这里发布我的完整源代码,以便其他人可以使用此解决方法。
1.创建一个活动,即CameraPictureActivity。
public class CameraPictureActivity extends Activity {
Button addImage;
ArrayList<Contact> imageArry = new ArrayList<Contact>();
ContactImageAdapter imageAdapter;
private static final int CAMERA_REQUEST = 1;
ListView dataList;
byte[] imageName;
int imageId;
Bitmap theImage;
DataBaseHandler db;
@Override
public void onCreate(Bundle savedInstanceState) {
super.onCreate(savedInstanceState);
setContentView(R.layout.main);
dataList = (ListView) findViewById(R.id.list);
db = new DataBaseHandler(this);
List<Contact> contacts = db.getAllContacts();
for (Contact cn : contacts) {
String log = "ID:" + cn.getID() + " Name: " + cn.getName()
+ " ,Image: " + cn.getImage();
Log.d("Result: ", log);
imageArry.add(cn);
}
imageAdapter = new ContactImageAdapter(this, R.layout.screen_list,
imageArry);
dataList.setAdapter(imageAdapter);
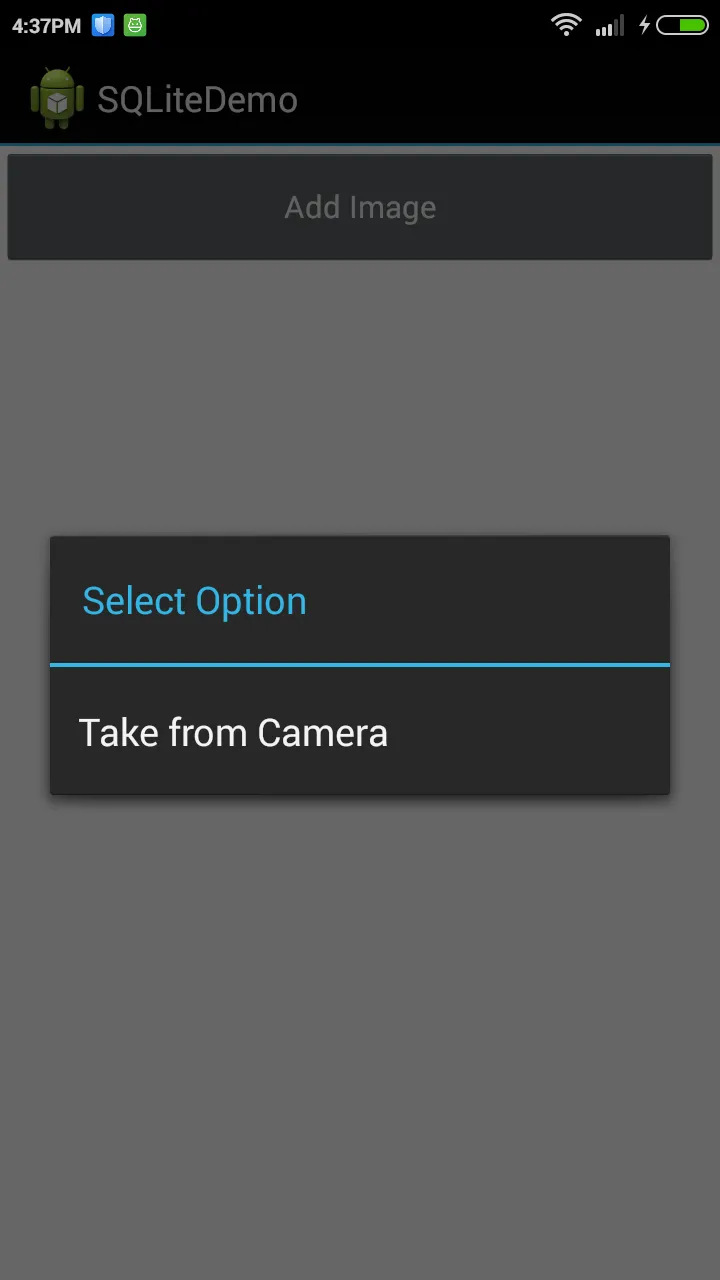
final String[] option = new String[] {"Take from Camera"};
ArrayAdapter<String> adapter = new ArrayAdapter<String>(this,
android.R.layout.select_dialog_item, option);
AlertDialog.Builder builder = new AlertDialog.Builder(this);
builder.setTitle("Select Option");
builder.setAdapter(adapter, new DialogInterface.OnClickListener() {
public void onClick(DialogInterface dialog, int which) {
Log.e("Selected Item", String.valueOf(which));
if (which == 0) {
callCamera();
}
}
});
final AlertDialog dialog = builder.create();
addImage = (Button) findViewById(R.id.btnAdd);
addImage.setOnClickListener(new View.OnClickListener() {
public void onClick(View v) {
dialog.show();
}
});
}
@Override
protected void onActivityResult(int requestCode, int resultCode, Intent data) {
if (resultCode != RESULT_OK)
return;
switch (requestCode) {
case CAMERA_REQUEST:
Bundle extras = data.getExtras();
if (extras != null) {
Bitmap yourImage = extras.getParcelable("data");
ByteArrayOutputStream stream = new ByteArrayOutputStream();
yourImage.compress(Bitmap.CompressFormat.PNG, 100, stream);
byte imageInByte[] = stream.toByteArray();
Log.d("Insert: ", "Inserting ..");
db.addContact(new Contact("Android", imageInByte));
Intent i = new Intent(CameraPictureActivity.this,
CameraPictureActivity.class);
startActivity(i);
finish();
}
break;
}
}
public void callCamera()
{
Intent intent = new Intent(MediaStore.ACTION_IMAGE_CAPTURE);
startActivityForResult(intent, CAMERA_REQUEST);
intent.setType("image/*");
intent.putExtra("crop", "true");
intent.putExtra("aspectX", 0);
intent.putExtra("aspectY", 0);
intent.putExtra("outputX", 250);
intent.putExtra("outputY", 200);
}
}
2.创建DataBaseHandler类。
public class DataBaseHandler extends SQLiteOpenHelper
{
private static final int DATABASE_VERSION = 1;
private static final String DATABASE_NAME = " Camera_imagedb";
private static final String TABLE_CONTACTS = " Camera_contacts";
private static final String KEY_ID = "id";
private static final String KEY_NAME = "name";
private static final String KEY_IMAGE = "image";
public DataBaseHandler(Context context) {
super(context, DATABASE_NAME, null, DATABASE_VERSION);
}
@Override
public void onCreate(SQLiteDatabase db) {
String CREATE_CONTACTS_TABLE = "CREATE TABLE " + TABLE_CONTACTS + "("
+ KEY_ID + " INTEGER PRIMARY KEY," + KEY_NAME + " TEXT,"
+ KEY_IMAGE + " BLOB" + ")";
db.execSQL(CREATE_CONTACTS_TABLE);
}
@Override
public void onUpgrade(SQLiteDatabase db, int oldVersion, int newVersion) {
db.execSQL("DROP TABLE IF EXISTS " + TABLE_CONTACTS);
onCreate(db);
}
public
void addContact(Contact contact) {
SQLiteDatabase db = this.getWritableDatabase();
ContentValues values = new ContentValues();
values.put(KEY_NAME, contact._name);
values.put(KEY_IMAGE, contact._image);
db.insert(TABLE_CONTACTS, null, values);
db.close();
}
Contact getContact(int id) {
SQLiteDatabase db = this.getReadableDatabase();
Cursor cursor = db.query(TABLE_CONTACTS, new String[] { KEY_ID,
KEY_NAME, KEY_IMAGE }, KEY_ID + "=?",
new String[] { String.valueOf(id) }, null, null, null, null);
if (cursor != null)
cursor.moveToFirst();
Contact contact = new Contact(Integer.parseInt(cursor.getString(0)),
cursor.getString(1), cursor.getBlob(1));
return contact;
}
public List<Contact> getAllContacts() {
List<Contact> contactList = new ArrayList<Contact>();
String selectQuery = "SELECT * FROM contacts ORDER BY name";
SQLiteDatabase db = this.getWritableDatabase();
Cursor cursor = db.rawQuery(selectQuery, null);
if (cursor.moveToFirst()) {
do {
Contact contact = new Contact();
contact.setID(Integer.parseInt(cursor.getString(0)));
contact.setName(cursor.getString(1));
contact.setImage(cursor.getBlob(2));
contactList.add(contact);
} while (cursor.moveToNext());
}
db.close();
return contactList;
}
}
3.创建另一个名为Contact的类
public class Contact
{
int _id;
String _name;
byte[] _image;
public Contact() {
}
public Contact(int keyId, String name, byte[] image) {
this._id = keyId;
this._name = name;
this._image = image;
}
public Contact(String name, byte[] image) {
this._name = name;
this._image = image;
}
public Contact(int keyId) {
this._id = keyId;
}
public int getID() {
return this._id;
}
public void setID(int keyId) {
this._id = keyId;
}
public String getName() {
return this._name;
}
public void setName(String name) {
this._name = name;
}
public byte[] getImage() {
return this._image;
}
public void setImage(byte[] image) {
this._image = image;
}
}
4.创建一个适配器,即ContactImageAdapter
public class ContactImageAdapter extends ArrayAdapter<Contact>{
Context context;
int layoutResourceId;
ArrayList<Contact> data=new ArrayList<Contact>();
public ContactImageAdapter(Context context, int layoutResourceId, ArrayList<Contact> data) {
super(context, layoutResourceId, data);
this.layoutResourceId = layoutResourceId;
this.context = context;
this.data = data;
}
@Override
public View getView(int position, View convertView, ViewGroup parent) {
View row = convertView;
ImageHolder holder = null;
if(row == null)
{
LayoutInflater inflater = ((Activity)context).getLayoutInflater();
row = inflater.inflate(layoutResourceId, parent, false);
holder = new ImageHolder();
holder.txtTitle = (TextView)row.findViewById(R.id.txtTitle);
holder.imgIcon = (ImageView)row.findViewById(R.id.imgIcon);
row.setTag(holder);
}
else
{
holder = (ImageHolder)row.getTag();
}
Contact picture = data.get(position);
holder.txtTitle.setText(picture._name);
byte[] outImage=picture._image;
ByteArrayInputStream imageStream = new ByteArrayInputStream(outImage);
Bitmap theImage = BitmapFactory.decodeStream(imageStream);
holder.imgIcon.setImageBitmap(theImage);
return row;
}
static class ImageHolder
{
ImageView imgIcon;
TextView txtTitle;
}
}
5.最后创建xml文件main和screen_list。
5.1 main.xml
    <?xml version="1.0" encoding="utf-8"?>
    <LinearLayout xmlns:android="http://schemas.android.com/apk/res/android"
        android:layout_width="fill_parent"
        android:layout_height="fill_parent"
        android:background="#ffffff"
        android:orientation="vertical" >

        <Button
            android:id="@+id/btnAdd"
            android:layout_width="fill_parent"
            android:layout_height="60dp"
            android:text="Add Image" />

        <ListView
            android:id="@+id/list"
            android:layout_width="fill_parent"
            android:layout_height="0dp"
            android:layout_weight="0.55"
            android:cacheColorHint="#00000000" >
        </ListView>

    </LinearLayout>
5.2 屏幕清单.xml
    <?xml version="1.0" encoding="utf-8"?>
    <LinearLayout xmlns:android="http://schemas.android.com/apk/res/android"
    android:layout_width="fill_parent"
    android:layout_height="fill_parent"
    android:orientation="horizontal"
    android:padding="10dp" >

    <ImageView
        android:id="@+id/imgIcon"
        android:layout_width="200dp"
        android:layout_height="200dp"
       android:scaleType="fitXY"
        android:gravity="center_vertical" />

    <TextView
        android:id="@+id/txtTitle"
        android:layout_width="80dp"
        android:layout_height="wrap_content"
        android:gravity="center_vertical"
        android:textSize="14dp"
        android:text="@string/hello"
        android:textColor="#000000"
        android:layout_marginLeft="7dp" />

</LinearLayout>
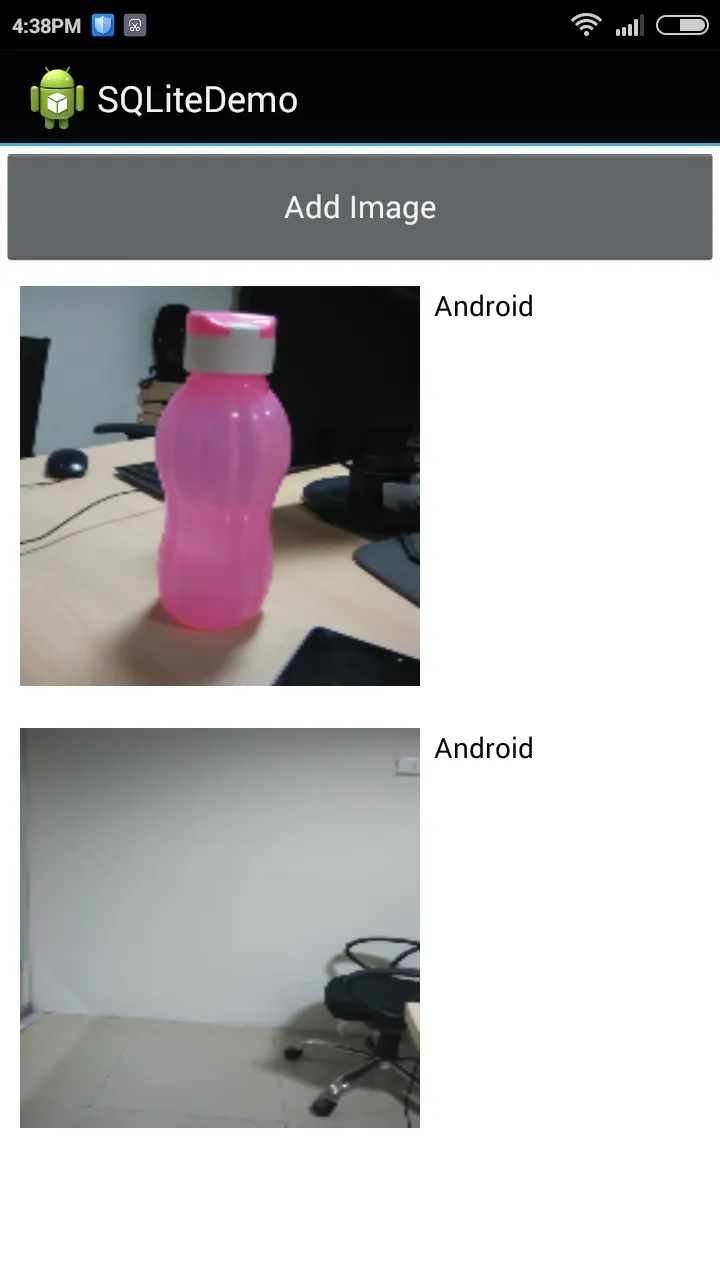
6. 输出如下所示。