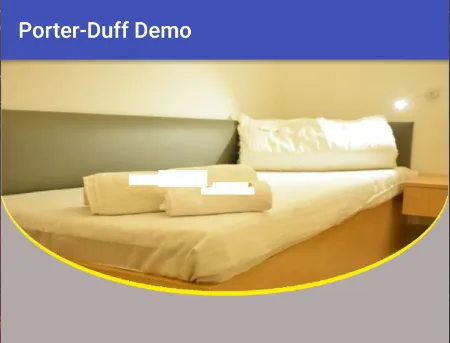
我正在尝试设计一个底部是圆形的视图,请参见以下图片: 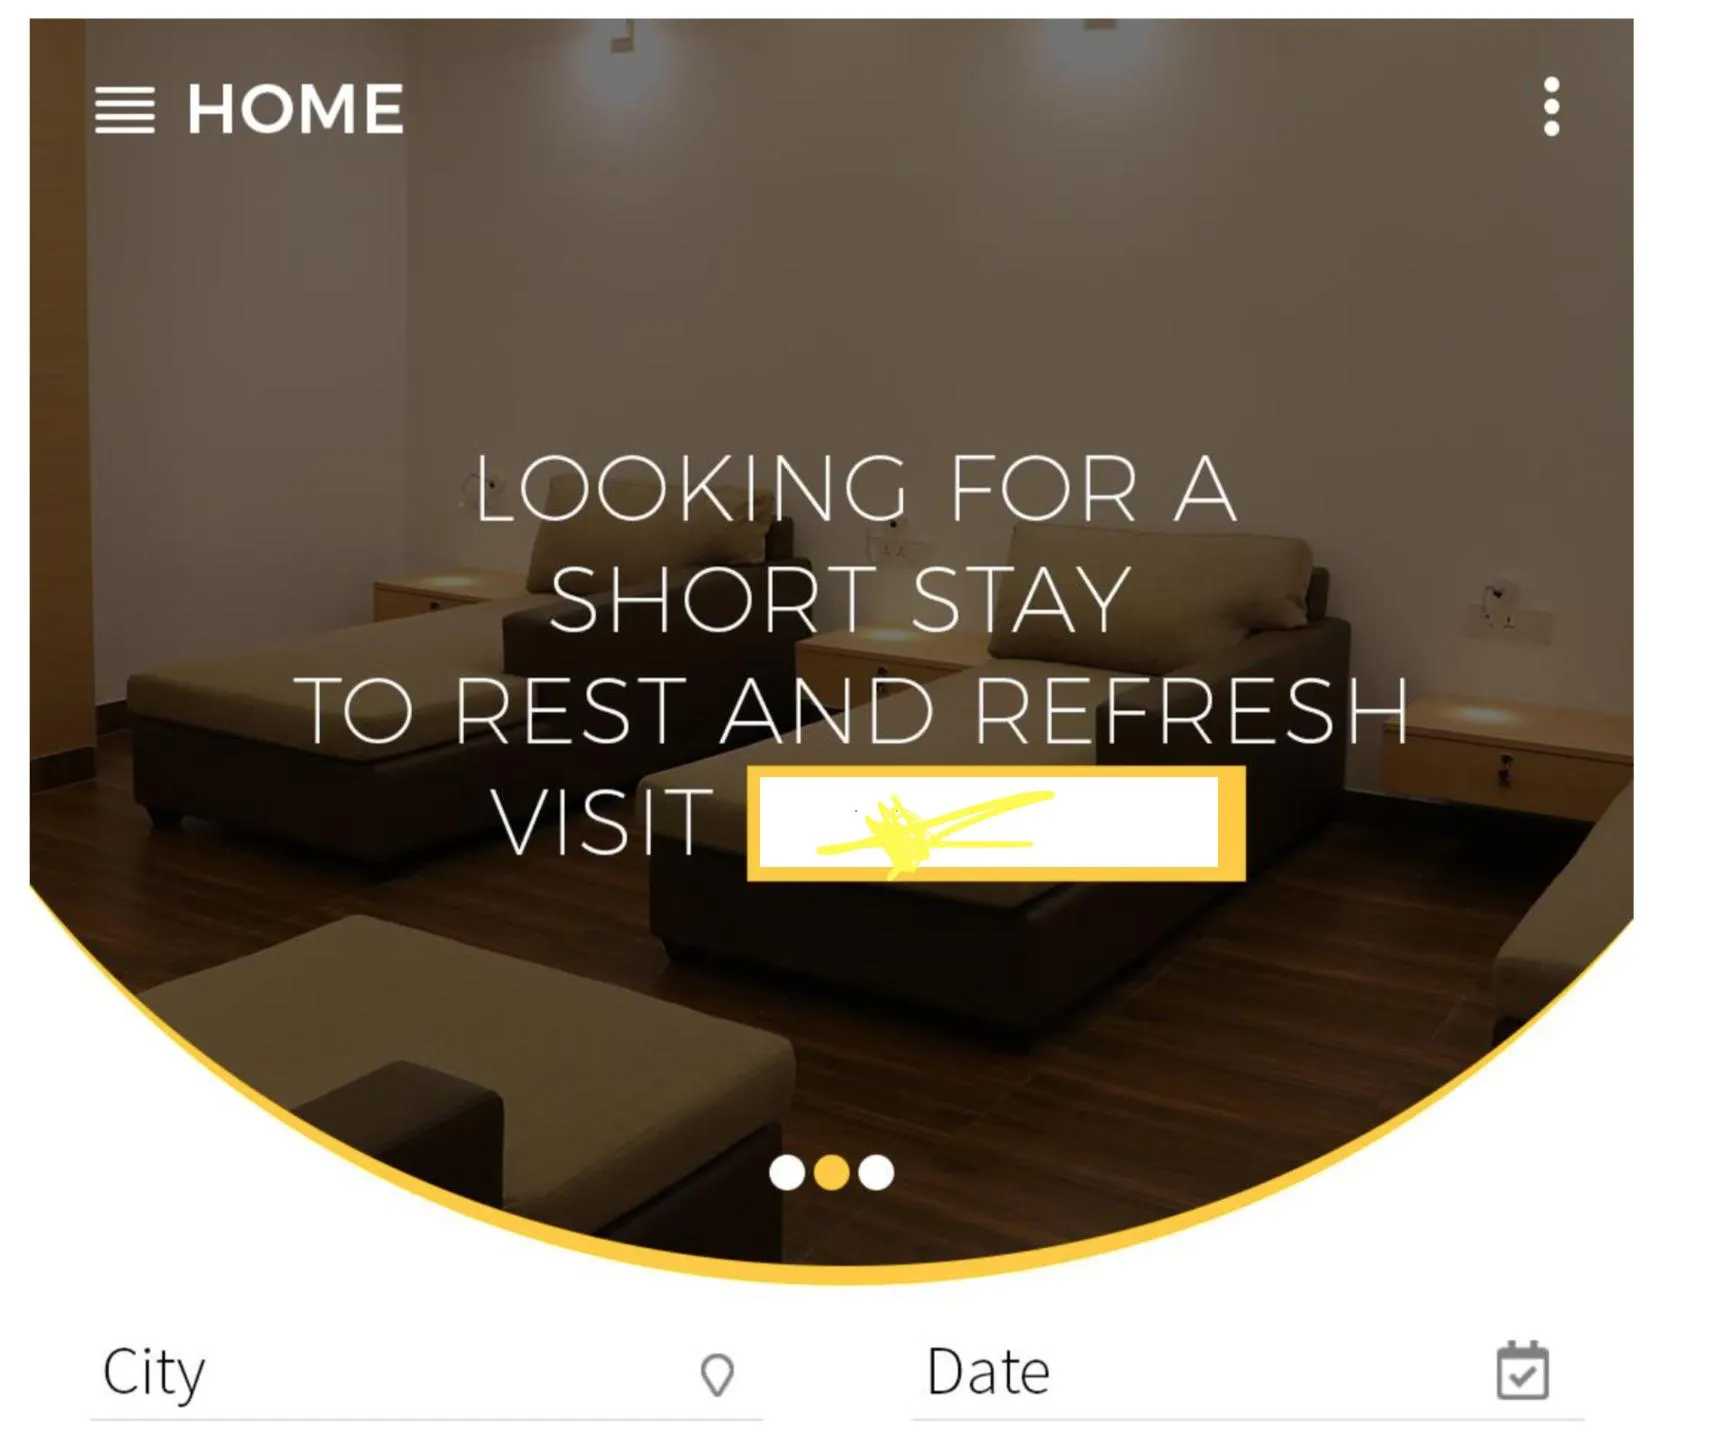 我已经尝试了不同的设计方法,如XML和编程方式,但都没有成功。使用XML代码可以从底部做出圆形,但是使用任何图像或横幅滑块(如图所示)时,整个视图会被占用。
目前我正在使用以下XML代码:
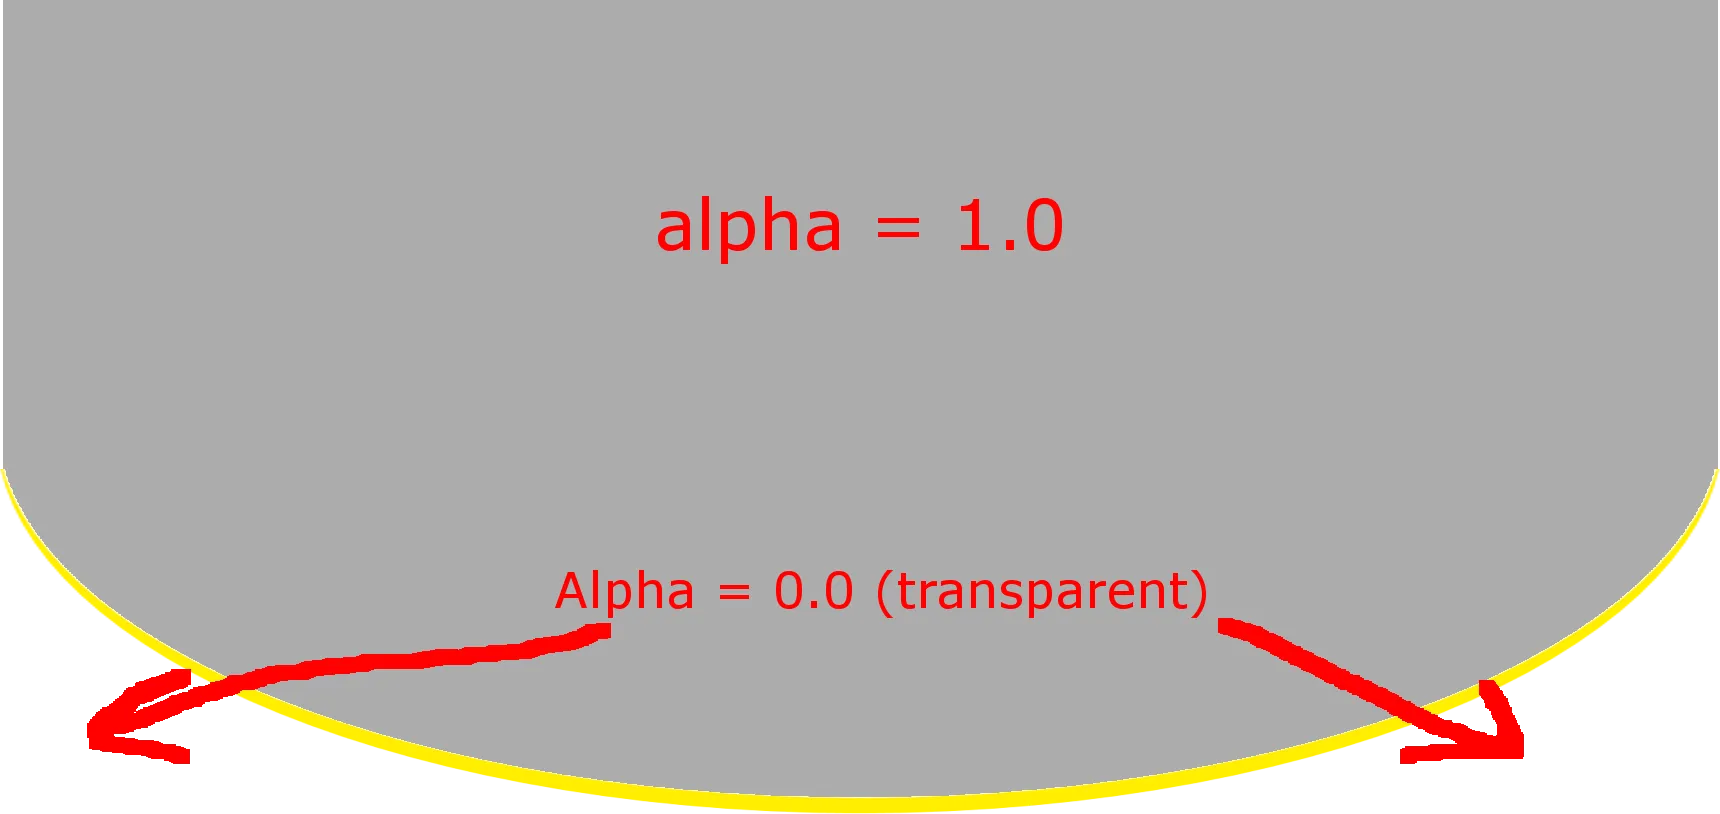
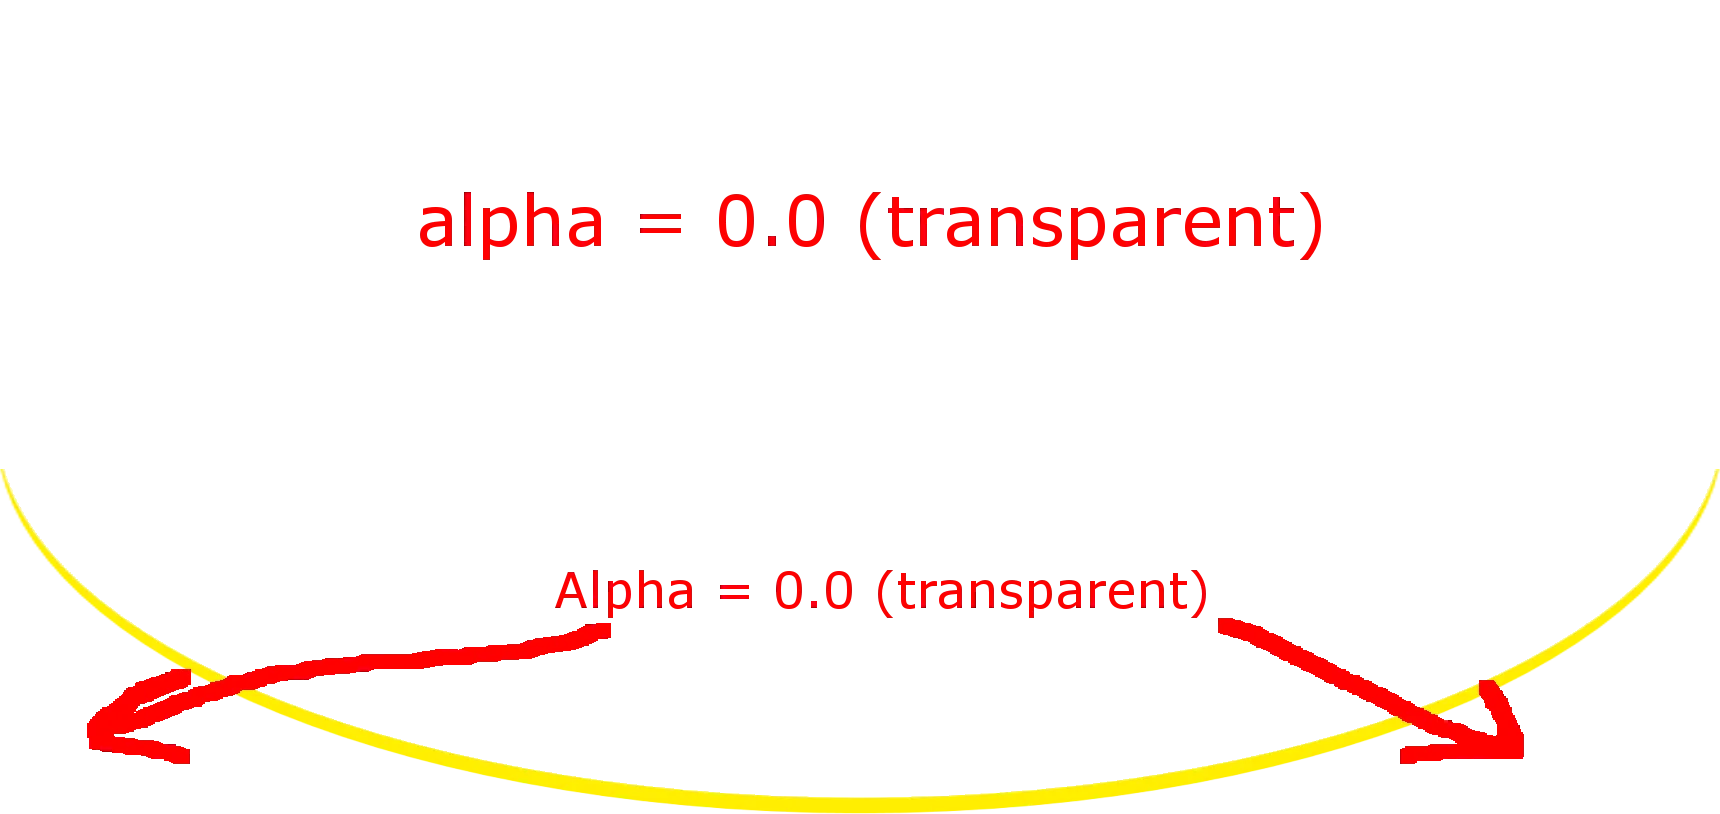
输出结果以XML格式呈现,如下图: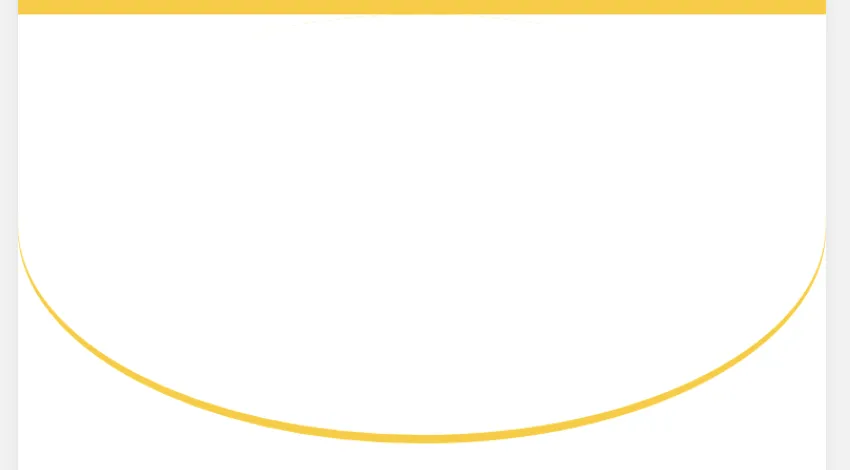 引用块中说到,XML输出结果看起来很好,符合预期。但是当在手机或模拟器上运行程序并查看输出结果时,效果如下图:
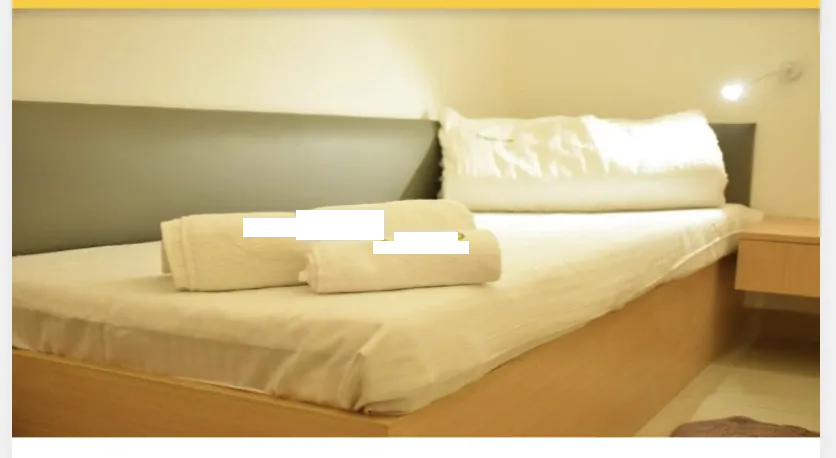
 请提供解决方案,以便我可以设计我想要的界面。非常感谢您的帮助。
我已经尝试了不同的设计方法,如XML和编程方式,但都没有成功。使用XML代码可以从底部做出圆形,但是使用任何图像或横幅滑块(如图所示)时,整个视图会被占用。目前我正在使用以下XML代码:
<LinearLayout
    android:layout_width="match_parent"
    android:layout_height="0dp"
    android:layout_weight="1"
    android:background="@drawable/bottom_radius"
    android:orientation="vertical">

    <ss.com.bannerslider.views.BannerSlider
        android:id="@+id/bannerSlider"
        android:layout_width="match_parent"
        android:layout_height="match_parent" />

</LinearLayout>
还有 bottom_radius.xml
<?xml version="1.0" encoding="utf-8"?>
<layer-list xmlns:android="http://schemas.android.com/apk/res/android">
<item>
    <shape android:shape="oval">
        <solid android:color="@color/colorPrimaryDark" />
    </shape>
</item>
<item
    android:bottom="4dp"
    android:left="0dp"
    android:right="0dp"
    android:top="0dp">
    <shape android:shape="oval">
        <solid android:color="@android:color/white" />
    </shape>
</item>
输出结果以XML格式呈现,如下图:
引用块中说到,XML输出结果看起来很好,符合预期。但是当在手机或模拟器上运行程序并查看输出结果时,效果如下图:
请提供解决方案,以便我可以设计我想要的界面。非常感谢您的帮助。