使用Swift在屏幕上拖动图像

8

我已经尝试过这种方法

@IBAction func handlePan(recognizer:UIPanGestureRecognizer) {

 let translation = recognizer.translationInView(self.view)
 if let view = recognizer.view {
  view.center = CGPoint(x:view.center.x + translation.x,
                        y:view.center.y + translation.y)
}
 recognizer.setTranslation(CGPointZero, inView: self.view)
}

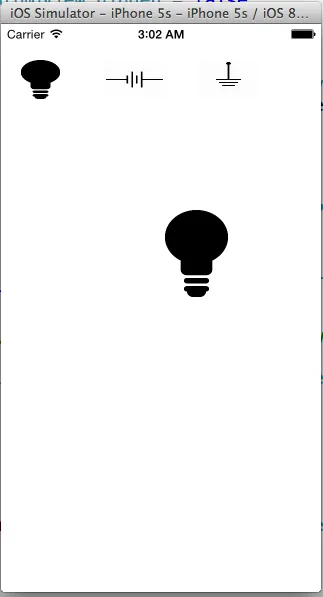
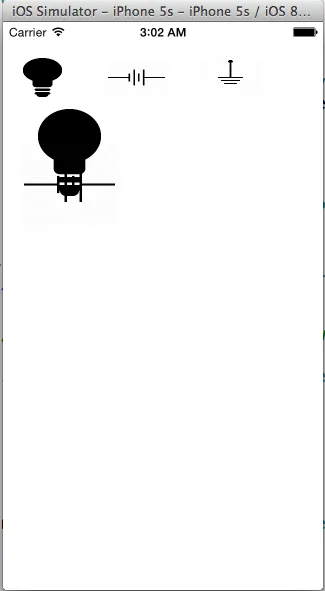
它是有效的,但问题在于当我在多个图像上使用此方法时,会出现一些问题,例如, 当拖动一个图像并更改其位置时,但当我单击并拖动第二个图像时。我的第一张图片回到原始位置。 这里是我从滚动视图中获取的图像: 当我点击第二张图片时,第一张图片也回到了原始位置

enter image description here

我正在拖动一张图片,这里没问题

enter image description here

3个回答

9
class DraggableImageView: UIImageView {


var dragStartPositionRelativeToCenter : CGPoint?

override init(image: UIImage!) {
    super.init(image: image)

    self.userInteractionEnabled = true   //< w00000t!!!1

    addGestureRecognizer(UIPanGestureRecognizer(target: self, action: "handlePan:"))

    layer.shadowColor = UIColor.blackColor().CGColor
    layer.shadowOffset = CGSize(width: 0, height: 3)
    layer.shadowOpacity = 0.5
    layer.shadowRadius = 2
}

required init?(coder aDecoder: NSCoder) {
    fatalError("init(coder:) has not been implemented")
}

func handlePan(nizer: UIPanGestureRecognizer!) {
    if nizer.state == UIGestureRecognizerState.Began {
        let locationInView = nizer.locationInView(superview)
        dragStartPositionRelativeToCenter = CGPoint(x: locationInView.x - center.x, y: locationInView.y - center.y)

        layer.shadowOffset = CGSize(width: 0, height: 20)
        layer.shadowOpacity = 0.3
        layer.shadowRadius = 6

        return
    }

    if nizer.state == UIGestureRecognizerState.Ended {
        dragStartPositionRelativeToCenter = nil

        layer.shadowOffset = CGSize(width: 0, height: 3)
        layer.shadowOpacity = 0.5
        layer.shadowRadius = 2

        return
    }

    let locationInView = nizer.locationInView(superview)

    UIView.animateWithDuration(0.1) {
        self.center = CGPoint(x: locationInView.x - self.dragStartPositionRelativeToCenter!.x,
            y: locationInView.y - self.dragStartPositionRelativeToCenter!.y)
    }
}

/*
// Only override drawRect: if you perform custom drawing.
// An empty implementation adversely affects performance during animation.
override func drawRect(rect: CGRect) {
// Drawing code
}
*/   
}

1
我该如何使用这个类? - n4zg

8

自动布局正在运行,将您的图像放回到约束规定的位置。

最简单的方法是在代码中创建图像,而不是在Storyboard中创建它们。

类似于:

let lightBulb = UIImageView(frame: CGRectMake(100, 100, 50, 50))
lightBulb.image = UIImage(named: "lightBulb")
lightBulb.contentMode = .ScaleToFill
lightBulb.userInteractionEnabled = true

lightBulb.addGestureRecognizer(UIPanGestureRecognizer(target: self, action: "handlePan:"))

self.view.addSubview(lightBulb)

我尝试了这个,但屏幕上没有显示任何内容。我已经在按钮操作的后面编写了这段代码。 - Umair Afzal
我刚试了一下,它可以工作。也许你应该创建一个@IBOutlet到滚动视图的内容视图上,以便更容易地添加项目。@IBOutlet weak var contentView: UIView! 并将其连接到滚动视图的内容视图。然后像这样添加lightBulb:contentView.addSubview(lightBulb) - vacawama
我遇到了这个问题:“UIScrollView没有名为contentView的成员”,我想从滚动视图中选择图片,然后将其显示在主视图中。 - Umair Afzal
我做了这个:self.view.addsubview(lightbulb)。现在图像显示在视图上,但当我拖动它时,它移动得太快并从屏幕上消失。 - Umair Afzal
1
请检查你的 panHandler 程序。看起来你可能漏掉了 recognizer.setTranslation(CGPointZero, inView: self.view) 这部分内容。 - vacawama
显示剩余2条评论

0

Swift 4及以上版本

在viewDidLoad()中设置手势,然后添加以下方法:

override func viewDidLoad() {
    let panGesture = UIPanGestureRecognizer(target: self, action: #selector(self.panGesture))
    yourView.addGestureRecognizer(panGesture)
}

@objc func panGesture(sender: UIPanGestureRecognizer) {
    var relativePosition: CGPoint?
    if sender.state == UIGestureRecognizer.State.began {
        let locationInView = sender.location(in: super.view)
        relativePosition = CGPoint(x: locationInView.x - (sender.view?.center.x ?? 0.0), y: locationInView.y - (sender.view?.center.y ?? 0.0))
        return
    }
    if sender.state == UIGestureRecognizer.State.ended {
        relativePosition = nil
        return
    }
    let locationInView = sender.location(in: super.view)
    guard let pos = relativePosition else {
        return
    }
    sender.view?.center = CGPoint(x: locationInView.x - pos.x,
                                  y: locationInView.y - pos.y)
}

网页内容由stack overflow 提供, 点击上面的
可以查看英文原文,
原文链接