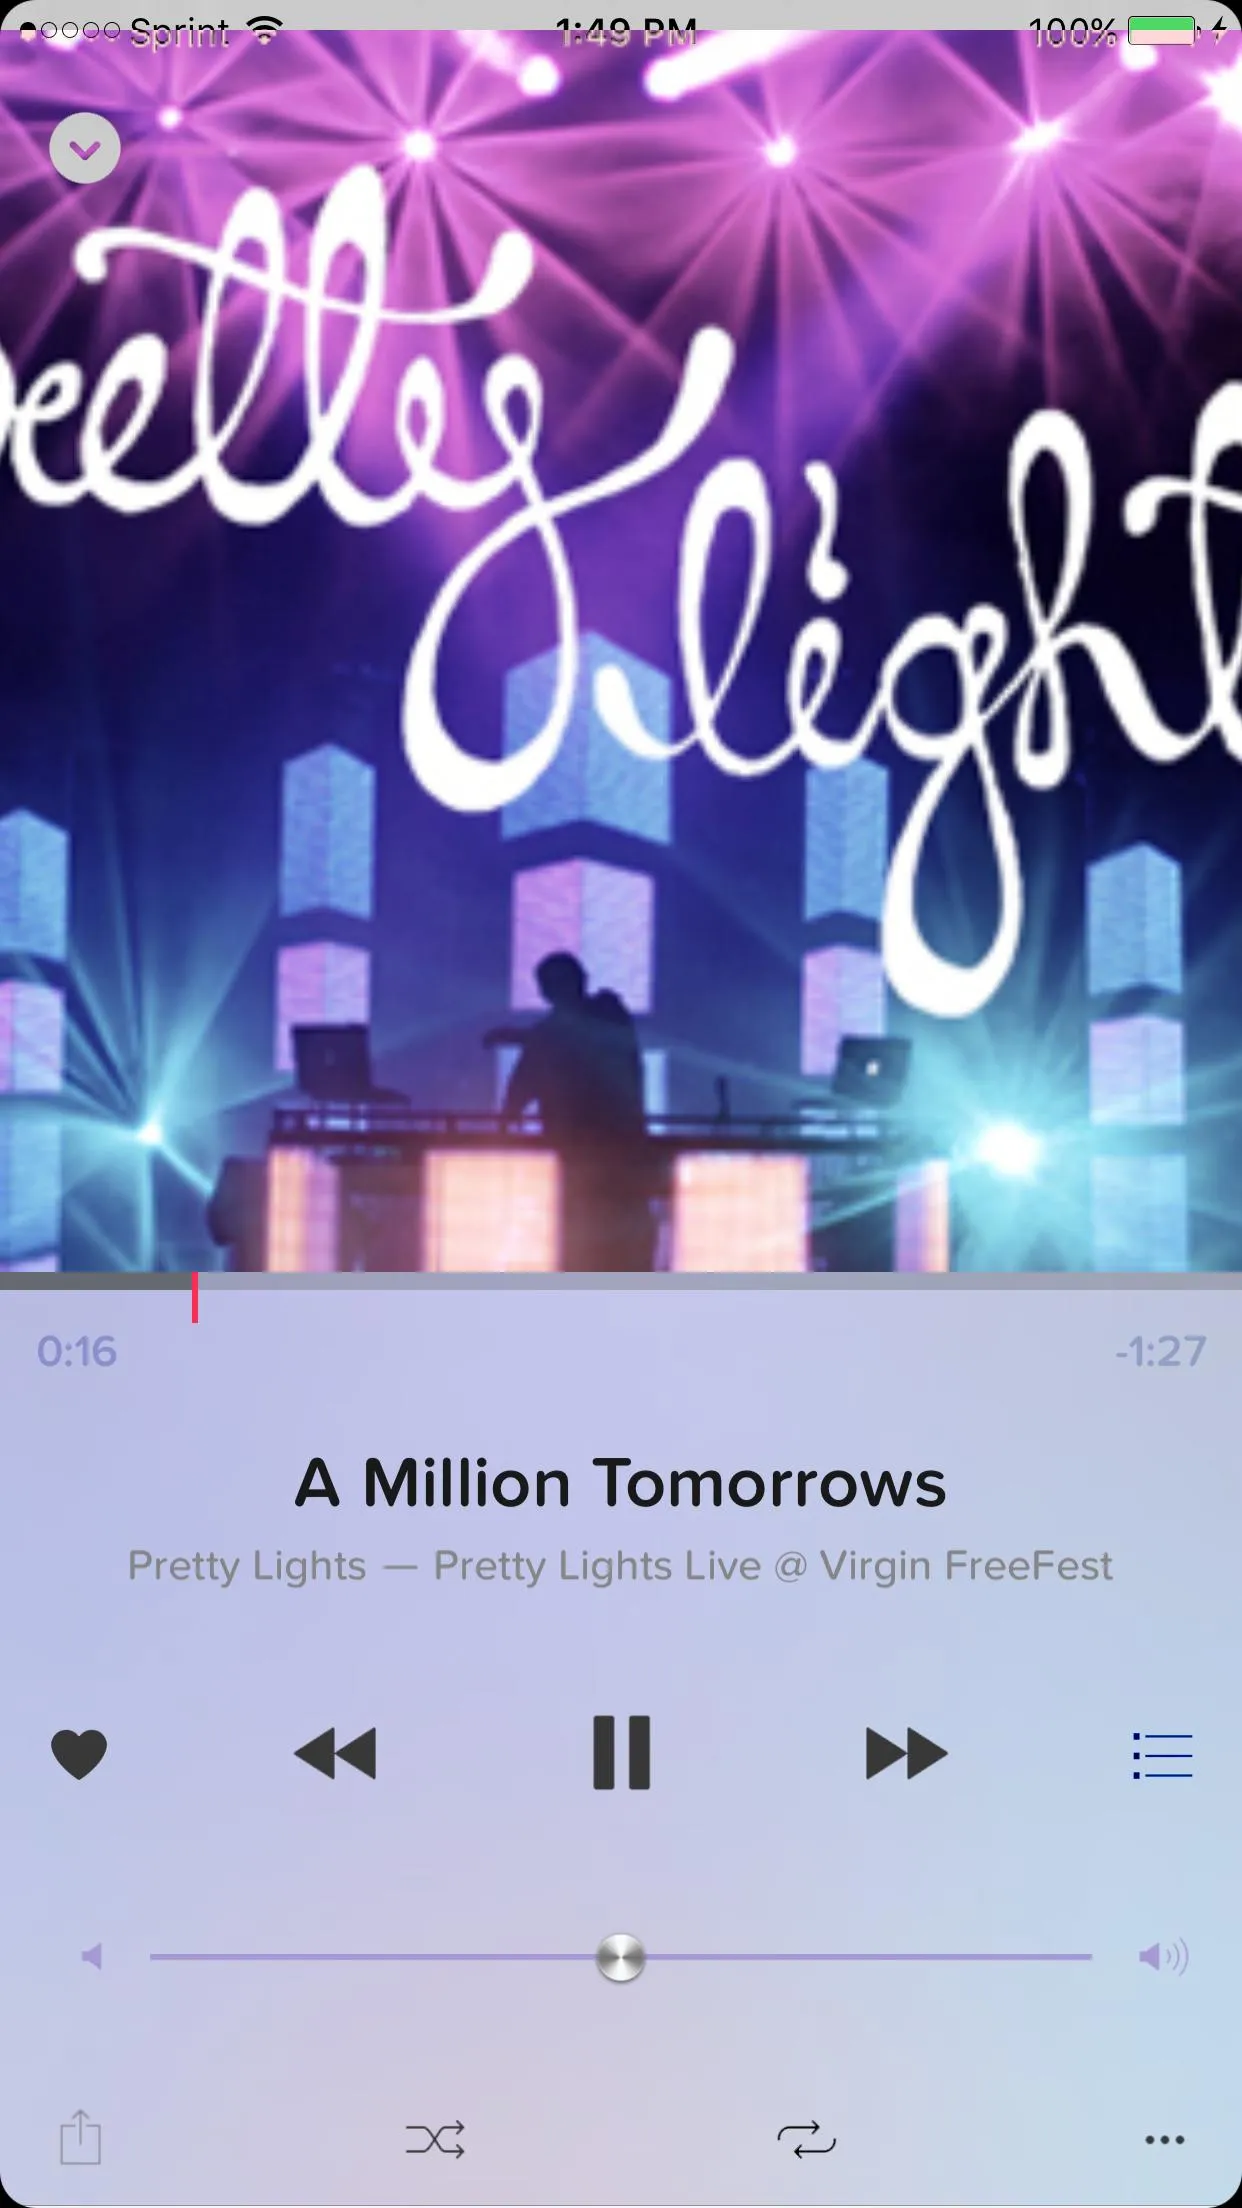
是否可以动态着色在新的Apple Music应用程序中的状态栏?

编辑:
iOS 8.4中的新版Apple Music应用程序具有此功能。
- 打开应用程序。
- 选择并播放歌曲(状态栏为白色)
- 向下滑动播放器控制器以查看“我的音乐”控制器(它具有黑色状态栏,也许您需要返回导航层次结构)。
- 现在只需上下滑动即可查看动态状态栏更改。
编辑2:
目前似乎无法使用Apple文档(iOS 8.4)。可能会在未来的iOS 9中提供。
编辑3:
目前在iOS 9中似乎还不可用。
是否可以动态着色在新的Apple Music应用程序中的状态栏?
编辑:
iOS 8.4中的新版Apple Music应用程序具有此功能。
编辑2:
目前似乎无法使用Apple文档(iOS 8.4)。可能会在未来的iOS 9中提供。
编辑3:
目前在iOS 9中似乎还不可用。
希望它有所帮助!
在Jiri的回答基础上,这将让你接近成功。将MTStatusBarOverlay替换为CWStatusBarNotification。为了处理视图控制器之间的模态转换,我使用MusicPlayerTransition。我们假设在self.view中有一个imageView: "art",其frame为CGRect(0, 0, self.view.bounds.size.width, self.view.bounds.size.width)。需要稍作调整,但你明白要点。注意:虽然我们不是“实时”的,但最多只会有一秒钟的偏差,并且电池颜色不会被保留。此外,你需要将CWStatusBarNotification.m中的动画时间设置为零(notificationAnimationDuration属性)。
#import "CWStatusBarNotification.h"

#define kStatusTextOffset       5.4  // (rough guess of) space between window's origin.y and status bar label's origin.y

@interface M_Player () <UIGestureRecognizerDelegate>

@property (retain) UIView *fakeStatusBarView;
@property (retain) CWStatusBarNotification *fakeStatusBar;
@property (retain) UIImageView *statusImgView;
@property (retain) UIImageView *statusImgViewCopy;
@property (retain) UIWindow *window;
@property (strong, nonatomic) NSTimer *statusTimer;

@end

@implementation M_Player
@synthesisze fakeStatusBarView, fakeStatusBar, statusImgView, statusImgViewCopy, window, statusTimer;

-(void)viewDidLoad{

    self.window = [[UIApplication sharedApplication] delegate].window;

    UIPanGestureRecognizer *pan = [[UIPanGestureRecognizer alloc] initWithTarget:self action:@selector(handleStatusBarDrag:)];
    pan.delegate = self;
    [self.view addGestureRecognizer:pan];
}

-(void)viewWillAppear:(BOOL)animated{
    [super viewWillAppear:animated];

    if (!fakeStatusBar){
        [self buildFakeStatusBar];
    }

    if (!statusTimer) {
        [self setupStatusBarImageUpdateTimer];
    }

     // optional
    [[UIApplication sharedApplication] setStatusBarStyle:UIStatusBarStyleLightContent];
    [self setNeedsStatusBarAppearanceUpdate];


-(void)viewDidDisappear:(BOOL)animated{
   [super viewDidDisappear:animated];

   [self destroyStatusBarImageUpdateTimer];
}
-(void)destroyFakeStatusBar{
    [statusImgView removeFromSuperview];
    statusImgView = nil;
    [fakeStatusBarView removeFromSuperview];
    fakeStatusBarView = nil;
    fakeStatusBar = nil;
}

-(void)buildFakeStatusBar{
    UIWindow *statusBarWindow =  [[UIApplication sharedApplication] valueForKey:@"_statusBarWindow"];  // This window is actually still fullscreen. So we need to capture just the top 20 points.

    UIGraphicsBeginImageContext(self.view.bounds.size);
    [statusBarWindow.layer renderInContext:UIGraphicsGetCurrentContext()];
    UIImage *viewImage = UIGraphicsGetImageFromCurrentImageContext();
    UIGraphicsEndImageContext();
    CGRect rect = CGRectMake(0, 0, self.view.bounds.size.width, 20);
    CGImageRef imageRef = CGImageCreateWithImageInRect([viewImage CGImage], rect);
    UIImage *statusImg = [UIImage imageWithCGImage:imageRef];
    CGImageRelease(imageRef);

    statusImg = [statusImg imageWithRenderingMode:UIImageRenderingModeAlwaysTemplate];  // This allows us to set the status bar content's color via the imageView's .tintColor property

    statusImgView = [[UIImageView alloc] initWithFrame:CGRectMake(0, 0, self.view.bounds.size.width, 20)];
    statusImgView.image = statusImg;
    statusImgView.tintColor = [UIColor colorWithWhite:0.859 alpha:1.000];  // any color you want

    statusImgViewCopy = [[UIImageView alloc] initWithFrame:CGRectMake(0, 0, self.view.bounds.size.width, 20)];
    statusImgViewCopy.image = statusImg;
    statusImgViewCopy.tintColor = statusImgView.tintColor;


    fakeStatusBarView = nil;
    fakeStatusBar = nil;
    fakeStatusBarView = [[UIView alloc] initWithFrame:CGRectMake(0, 0, self.view.bounds.size.width, 20)];
    [fakeStatusBarView addSubview:statusImgView];

    fakeStatusBar = [CWStatusBarNotification new];
    fakeStatusBar.notificationStyle = CWNotificationStyleStatusBarNotification;
    [fakeStatusBar displayNotificationWithView:fakeStatusBarView forDuration:CGFLOAT_MAX];
}

-(void)handleStatusBarDrag:(UIPanGestureRecognizer*)gestureRecognizer{
    if (gestureRecognizer.state == UIGestureRecognizerStateBegan) {

    }

    if (gestureRecognizer.state == UIGestureRecognizerStateChanged){
        CGPoint convertedPoint = [self.window convertPoint:art.frame.origin fromView:self.view];
        CGFloat originY = convertedPoint.y - kStatusTextOffset;

        if (originY > 0 && originY <= 10) {  // the range of change we're interested in
            //NSLog(@"originY:%f statusImgView.frame:%@", originY, NSStringFromCGRect(statusImgView.frame));

            // render in context from new originY using our untouched copy as reference view
            UIGraphicsBeginImageContext(self.view.bounds.size);
            [statusImgViewCopy.layer renderInContext:UIGraphicsGetCurrentContext()];
            UIImage *viewImage = UIGraphicsGetImageFromCurrentImageContext();
            UIGraphicsEndImageContext();
            CGRect rect = CGRectMake(0, kStatusTextOffset + originY, self.view.bounds.size.width, 20);
            CGImageRef imageRef = CGImageCreateWithImageInRect([viewImage CGImage], rect);
            UIImage *statusImg = [UIImage imageWithCGImage:imageRef];
            CGImageRelease(imageRef);

            statusImgView.image = statusImg;
            statusImgView.transform = CGAffineTransformMakeTranslation(0, kStatusTextOffset + originY);

        }

       // destroy
        if (originY > 90) {
            [self destroyFakeStatusBar];
        }
    }

    if (gestureRecognizer.state == UIGestureRecognizerStateEnded){

    }
}

- (BOOL)gestureRecognizer:(UIGestureRecognizer *)gestureRecognizer shouldRecognizeSimultaneouslyWithGestureRecognizer:(UIGestureRecognizer *)otherGestureRecognizer{
    return YES;
}
为了让您的状态栏截图与实际状态栏保持同步,请设置计时器。在viewWillAppear中启动它,在viewDidDisappear中停止它。
-(void)setupStatusBarImageUpdateTimer{
    dispatch_async(dispatch_get_global_queue(DISPATCH_QUEUE_PRIORITY_DEFAULT, 0), ^{
        dispatch_async(dispatch_get_main_queue(), ^(){
            // main thread
            if (!statusTimer) {
                statusTimer = [NSTimer scheduledTimerWithTimeInterval:1 target:self selector:@selector(handleStatusTimer:) userInfo:nil repeats:YES];
                [[NSRunLoop currentRunLoop] addTimer:statusTimer forMode:NSRunLoopCommonModes];
            }
        });
    });
}

-(void)destroyStatusBarImageUpdateTimer{
    dispatch_async(dispatch_get_global_queue(DISPATCH_QUEUE_PRIORITY_DEFAULT, 0), ^{
        dispatch_async(dispatch_get_main_queue(), ^(){
            // main thread
            [statusTimer invalidate];
            statusTimer = nil;
        });
    });
}

-(void)handleStatusTimer:(NSTimer*)timer{
    UIWindow *statusBarWindow =  [[UIApplication sharedApplication] valueForKey:@"_statusBarWindow"];

    UIGraphicsBeginImageContext(CGSizeMake(self.view.bounds.size.width, 20));
    [statusBarWindow.layer renderInContext:UIGraphicsGetCurrentContext()];
    UIImage *viewImage = UIGraphicsGetImageFromCurrentImageContext();
    UIGraphicsEndImageContext();
    CGRect rect = CGRectMake(0, 0, self.view.bounds.size.width, 20);
    CGImageRef imageRef = CGImageCreateWithImageInRect([viewImage CGImage], rect);
    UIImage *statusImg = [UIImage imageWithCGImage:imageRef];
    CGImageRelease(imageRef);

    statusImg = [statusImg imageWithRenderingMode:UIImageRenderingModeAlwaysTemplate];
    statusImgViewCopy.image = statusImg;
}
乍一看,它看起来像是从状态栏的快照中进行操作,但状态栏在两端都是活动的,所以不是这种情况。
第二眼看起来像是在iOS 8.4中引入的一些新API,但在审查API后,我找不到任何相关的内容。
苹果在自己的应用程序中使用私有API对我来说似乎非常奇怪。这将为开发人员带来一些非常糟糕的例子,但另一方面,没有公共的东西可以让您在实时状态栏上拥有两种样式。
这使我们只能使用私有API或黑魔法。
思考如何在没有私有API的情况下实现这个功能。
我认为可以通过第二个UIWindow覆盖您的状态栏来解决问题。
也许可以不断地对状态栏进行截屏(从主窗口中获取),将其应用于某些过滤器并在第二个窗口上显示这个“虚假状态栏图像”(在“真实”状态栏之上)。
然后,您可以对第二个“虚假”状态栏进行任何操作。