我正在为我的笔记应用程序开发小部件。
我想要实现的功能类似于ColorNote小部件:
选择笔记应用程序小部件
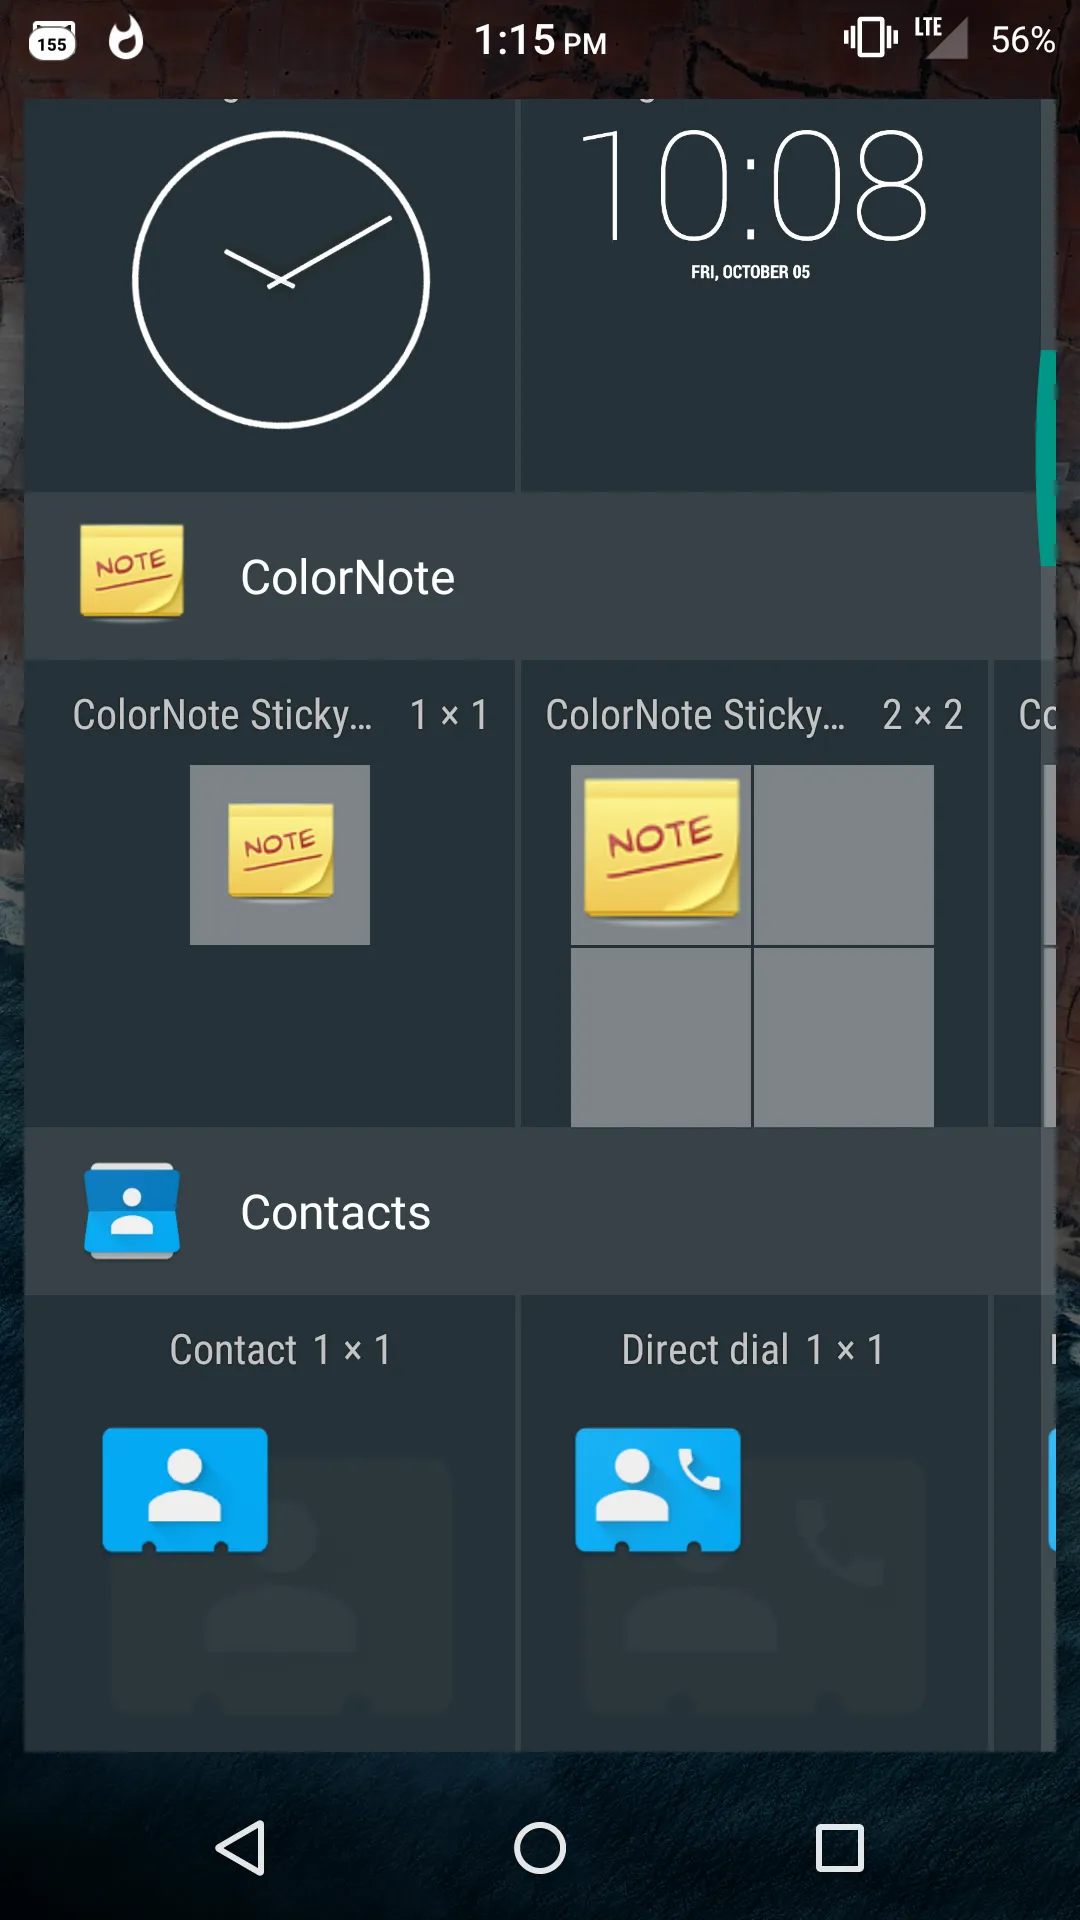
允许用户选择存储在
Sqlite中的可用笔记列表。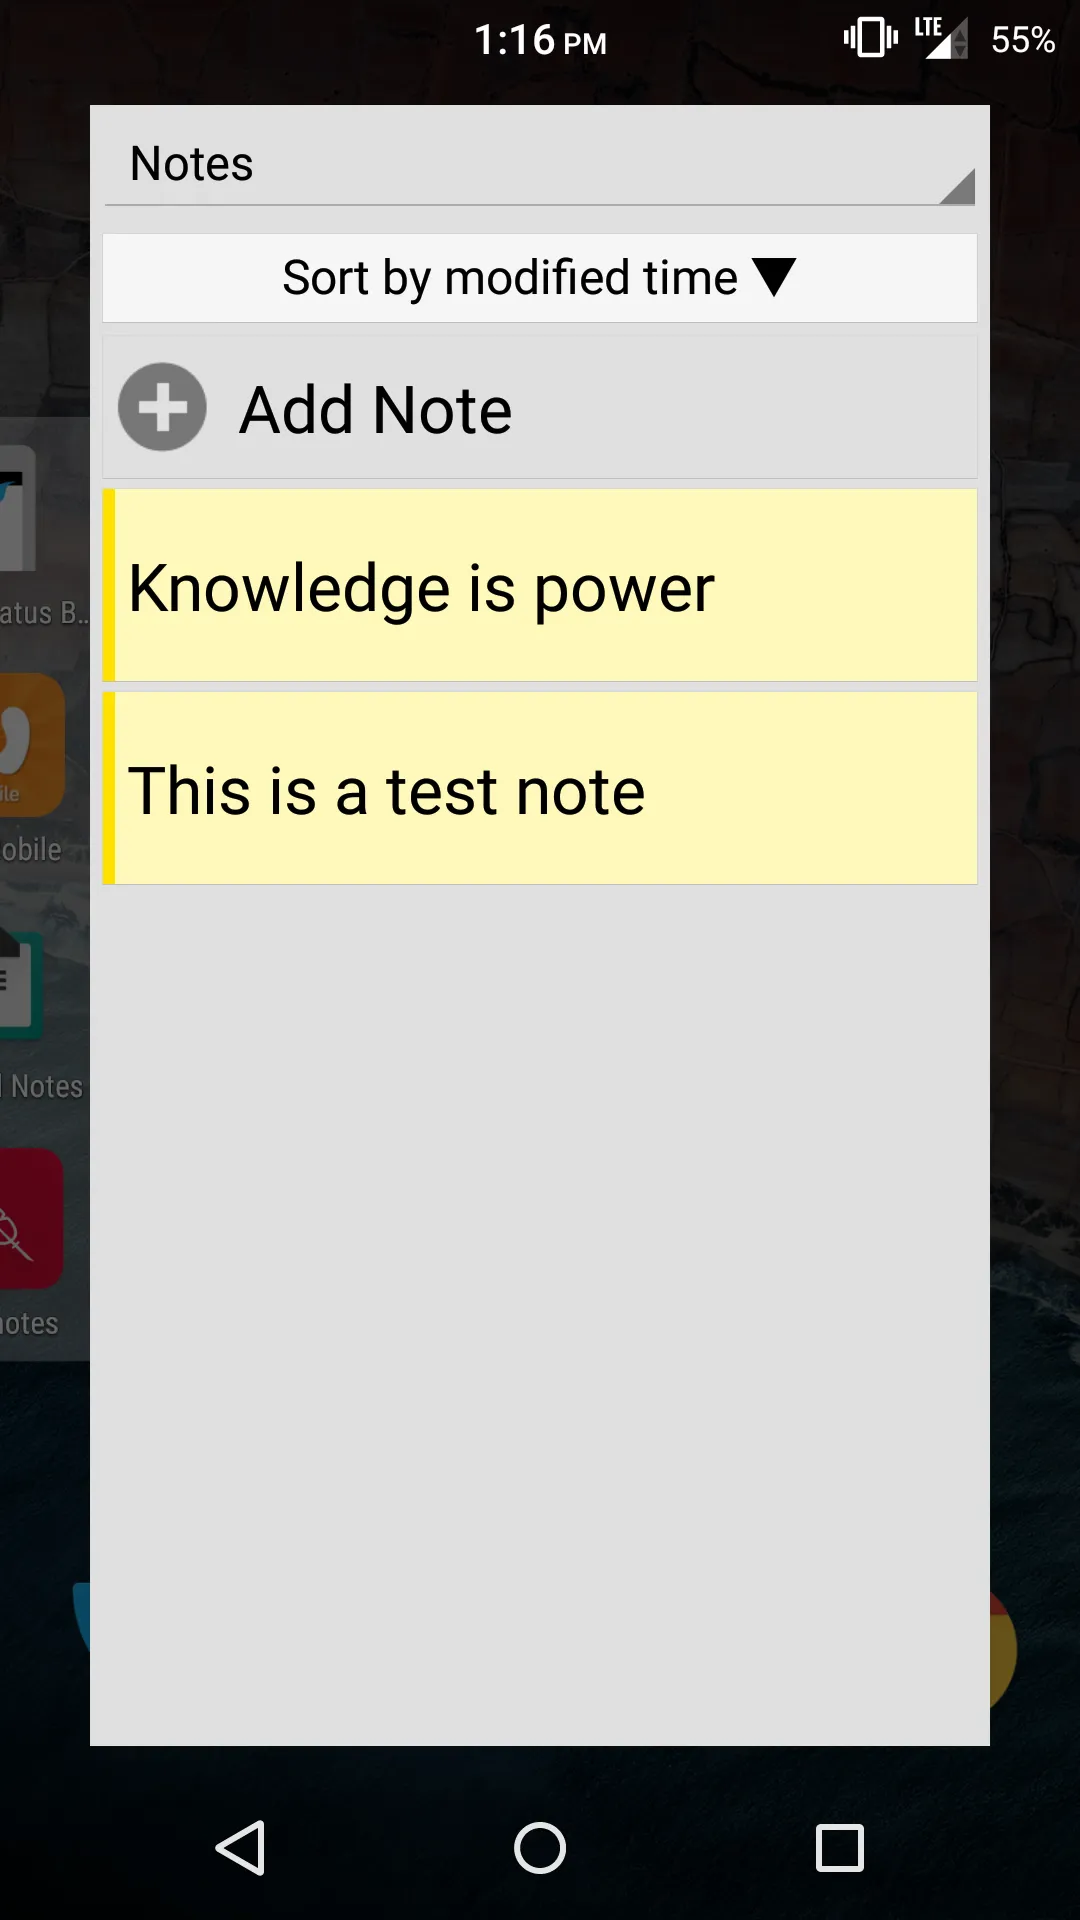
显示选定笔记内容的小部件。

我可以显示简单的小部件以显示所需的简单消息,但是我想做的是允许用户从笔记列表中选择特定的笔记作为小部件的内容。 我很难找到相关资源,如果您知道某些搜索关键字,请告诉我,我将自己进行研究。
<activity
 ...
 android:theme="@android:style/Theme.Dialog"
 android:excludeFromRecents="true" />
上面的例子摘自这个答案。
如果你想了解更多有关小部件设计的内容,也可以看看这里。
示例
1)创建widget_info并将其放在res/xml文件夹中:
<?xml version="1.0" encoding="utf-8"?>
<appwidget-provider xmlns:android="http://schemas.android.com/apk/res/android"
    android:configure="com.mycompany.app.widgettest.WidgetConfigureActivity"
    android:initialKeyguardLayout="@layout/widget"
    android:initialLayout="@layout/widget"
    android:minHeight="40dp"
    android:minWidth="40dp"
    android:resizeMode="horizontal|vertical"
    android:updatePeriodMillis="86400000"
    android:widgetCategory="home_screen">

</appwidget-provider>
2)创建您的小部件布局(我选择了最简单的):
<RelativeLayout xmlns:android="http://schemas.android.com/apk/res/android"
    android:layout_width="match_parent"
    android:layout_height="match_parent"
    android:background="#09C"
    android:padding="@dimen/widget_margin">

    <TextView
        android:id="@+id/appwidget_text"
        android:layout_width="wrap_content"
        android:layout_height="wrap_content"
        android:layout_centerHorizontal="true"
        android:layout_centerVertical="true"
        android:layout_margin="8dp"
        android:background="#09C"
        android:contentDescription="@string/appwidget_text"
        android:text="@string/appwidget_text"
        android:textColor="#ffffff"
        android:textSize="24sp"
        android:textStyle="bold|italic" />

</RelativeLayout>
<?xml version="1.0" encoding="utf-8"?>
<RelativeLayout xmlns:android="http://schemas.android.com/apk/res/android"
    android:layout_width="match_parent"
    android:layout_height="wrap_content"
    android:orientation="vertical"
    android:padding="16dp">

    <TextView
        android:id="@+id/text_view"
        android:layout_width="match_parent"
        android:layout_height="wrap_content"
        android:layout_marginBottom="8dp"
        android:text="@string/configure" />

    <EditText
        android:id="@+id/appwidget_text"
        android:layout_width="match_parent"
        android:layout_height="wrap_content"
        android:inputType="text"
        android:layout_below="@+id/text_view"/>

    <ListView
        android:id="@+id/list"
        android:layout_height="wrap_content"
        android:layout_width="match_parent"
        android:layout_below="@+id/appwidget_text"
        android:layout_above="@+id/add_button">
    </ListView>

    <Button
        android:id="@+id/add_button"
        android:layout_width="wrap_content"
        android:layout_height="wrap_content"
        android:layout_marginTop="8dp"
        android:text="@string/add_widget"
        android:layout_alignParentBottom="true" />

</RelativeLayout>
在那里,你可以自己定义和编辑活动的布局样式;在上面的例子中,我添加了一个编辑文本框,它将创建一个“新”的便笺(但不会保存到数据库中)和一个包含虚拟内容的列表。当然,你需要从数据库中填充你的列表。
4) 将小部件配置活动和小部件提供程序添加到你的清单文件中的应用程序标签中:
        <receiver android:name=".AppWidget">
            <intent-filter>
                <action android:name="android.appwidget.action.APPWIDGET_UPDATE" />
            </intent-filter>

            <meta-data
                android:name="android.appwidget.provider"
                android:resource="@xml/widget_info" />
        </receiver>

        <activity
            android:name=".WidgetConfigureActivity"
            android:theme="@android:style/Theme.Dialog"
            android:excludeFromRecents="true">
            <intent-filter>
                <action android:name="android.appwidget.action.APPWIDGET_CONFIGURE" />
            </intent-filter>
        </activity>
5) 创建一个名为AppWidget的类,该类将扩展AppWidgetProvider(请注意,应用程序小部件配置在以下类中实现和管理:WidgetConfigureActivity)[我在这个类中没有添加任何特殊内容]:
import android.appwidget.AppWidgetProvider;
import android.appwidget.AppWidgetManager;
import android.content.Context;
import android.widget.RemoteViews;

/**
 * Implementation of App Widget functionality.
 */
public class AppWidget extends AppWidgetProvider {

    @Override
    public void onUpdate(Context context, AppWidgetManager appWidgetManager, int[] appWidgetIds) {
        // There may be multiple widgets active, so update all of them
        for (int appWidgetId : appWidgetIds) {
            updateAppWidget(context, appWidgetManager, appWidgetId);
        }
    }

    @Override
    public void onDeleted(Context context, int[] appWidgetIds) {
        // When the user deletes the widget, delete the preference associated with it.
        for (int appWidgetId : appWidgetIds) {
            WidgetConfigureActivity.deleteTitlePref(context, appWidgetId);
        }
    }

    @Override
    public void onEnabled(Context context) {
        // Enter relevant functionality for when the first widget is created
    }

    @Override
    public void onDisabled(Context context) {
        // Enter relevant functionality for when the last widget is disabled
    }

    static void updateAppWidget(Context context, AppWidgetManager appWidgetManager,
                                int appWidgetId) {

        CharSequence widgetText = WidgetConfigureActivity.loadTitlePref(context, appWidgetId);
        // Construct the RemoteViews object
        RemoteViews views = new RemoteViews(context.getPackageName(), R.layout.widget);
        views.setTextViewText(R.id.appwidget_text, widgetText);

        // Instruct the widget manager to update the widget
        appWidgetManager.updateAppWidget(appWidgetId, views);
    }
}
6) 最后,这是 WidgetConfigureActivity:
import android.app.Activity;
import android.appwidget.AppWidgetManager;
import android.content.Context;
import android.content.Intent;
import android.content.SharedPreferences;
import android.os.Bundle;
import android.view.View;
import android.view.ViewGroup;
import android.widget.AdapterView;
import android.widget.ArrayAdapter;
import android.widget.EditText;
import android.widget.ListView;

/**
 * The configuration screen for the {@link AppWidget} com.bepatient.app.widgettest.AppWidget.
 */
public class WidgetConfigureActivity extends Activity {

    int mAppWidgetId = AppWidgetManager.INVALID_APPWIDGET_ID;
    EditText mAppWidgetText;
    private static final String PREFS_NAME = "AppWidget";
    private static final String PREF_PREFIX_KEY = "appwidget";

    public WidgetConfigureActivity() {
        super();
    }

    @Override
    public void onCreate(Bundle icicle) {
        super.onCreate(icicle);

        // Set the result to CANCELED.  This will cause the widget host to cancel
        // out of the widget placement if the user presses the back button.
        setResult(RESULT_CANCELED);

        setContentView(R.layout.widget_configure);
        // Set layout size of activity
        getWindow().setLayout(ViewGroup.LayoutParams.MATCH_PARENT, ViewGroup.LayoutParams.MATCH_PARENT);
        mAppWidgetText = (EditText) findViewById(R.id.appwidget_text);
        findViewById(R.id.add_button).setOnClickListener(mOnClickListener);
        final ListView listView = (ListView) findViewById(R.id.list);

        // Defined array values to show in ListView
        String[] values = new String[] { "Don't forget the milk!",
                "Do not forget to go get the mother-in-law",
                "Go to the laundry",
                "Marise number 0123456789"
        };

        ArrayAdapter<String> adapter = new ArrayAdapter<>(this,
                android.R.layout.simple_list_item_1, android.R.id.text1, values);

        listView.setAdapter(adapter);

        // ListView Item Click Listener
        listView.setOnItemClickListener(new AdapterView.OnItemClickListener() {
            @Override
            public void onItemClick(AdapterView<?> parent, View view, int position, long id) {
                // Take ListView clicked item value
                String  widgetText    = (String) listView.getItemAtPosition(position);
                createWidget(getApplicationContext(), widgetText);
            }
        });

        // Find the widget id from the intent.
        Intent intent = getIntent();
        Bundle extras = intent.getExtras();
        if (extras != null) {
            mAppWidgetId = extras.getInt(
                    AppWidgetManager.EXTRA_APPWIDGET_ID, AppWidgetManager.INVALID_APPWIDGET_ID);
        }

        // If this activity was started with an intent without an app widget ID, finish with an error.
        if (mAppWidgetId == AppWidgetManager.INVALID_APPWIDGET_ID) {
            finish();
            return;
        }

        mAppWidgetText.setText(loadTitlePref(WidgetConfigureActivity.this, mAppWidgetId));
    }

    View.OnClickListener mOnClickListener = new View.OnClickListener() {
        public void onClick(View v) {
            final Context context = WidgetConfigureActivity.this;

            // When the button is clicked, get text
            String widgetText = mAppWidgetText.getText().toString();
            createWidget(context, widgetText);
        }
    };

    private void createWidget(Context context, String widgetText) {
        // Store the string locally
        saveTitlePref(context, mAppWidgetId, widgetText);

        // It is the responsibility of the configuration activity to update the app widget
        AppWidgetManager appWidgetManager = AppWidgetManager.getInstance(context);
        AppWidget.updateAppWidget(context, appWidgetManager, mAppWidgetId);

        // Make sure we pass back the original appWidgetId
        Intent resultValue = new Intent();
        resultValue.putExtra(AppWidgetManager.EXTRA_APPWIDGET_ID, mAppWidgetId);
        setResult(RESULT_OK, resultValue);
        finish();
    }

    // Write the prefix to the SharedPreferences object for this widget
    static void saveTitlePref(Context context, int appWidgetId, String text) {
        SharedPreferences.Editor prefs = context.getSharedPreferences(PREFS_NAME, 0).edit();
        prefs.putString(PREF_PREFIX_KEY + appWidgetId, text);
        prefs.apply();
    }

    // Read the prefix from the SharedPreferences object for this widget.
    // If there is no preference saved, get the default from a resource
    static String loadTitlePref(Context context, int appWidgetId) {
        SharedPreferences prefs = context.getSharedPreferences(PREFS_NAME, 0);
        String titleValue = prefs.getString(PREF_PREFIX_KEY + appWidgetId, null);
        if (titleValue != null) {
            return titleValue;
        } else {
            return context.getString(R.string.appwidget_text);
        }
    }

    static void deleteTitlePref(Context context, int appWidgetId) {
        SharedPreferences.Editor prefs = context.getSharedPreferences(PREFS_NAME, 0).edit();
        prefs.remove(PREF_PREFIX_KEY + appWidgetId);
        prefs.apply();
    }
}
// Set layout size of activity
getWindow().setLayout(ViewGroup.LayoutParams.MATCH_PARENT, ViewGroup.LayoutParams.MATCH_PARENT);