我正在尝试使用OpenCV 3.2中的blender cv::detail::MultiBandBlender(位于#include "opencv2/stitching/detail/blenders.hpp")混合刚拼接在一起的图像中的接缝。根据我所了解,文档并不多,而且能找到的编码示例更少,但我设法找到了一个很好的博客,在此处解释了步骤。
当我运行我现有的代码时,我遇到以下错误:error:/opencv/modules/core/src/copy.cpp:1176: error: (-215) top >= 0 && bottom >= 0 && left >= 0 && right >= 0 in function copyMakeBorder
以下是混合的代码(假设已正确找到stitching、warpPerspective和homographies)
//Mask of iamge to be combined so you can get resulting mask
Mat mask1(image1.size(), CV_8UC1, Scalar::all(255));
Mat mask2(image2.size(), CV_8UC1, Scalar::all(255));
Mat image1Updated, image2Updated;
//Warp the masks and the images to their new posistions so their are of all the same  size to be overlayed and blended
warpPerspective(image1, image1Updated, (translation*homography), result.size(), INTER_LINEAR, BORDER_CONSTANT,(0));
warpPerspective(image2, image2Updated, translation, result.size(), INTER_LINEAR, BORDER_TRANSPARENT,   (0));
warpPerspective(mask1, mask1, (translation*homography), result.size(), INTER_LINEAR, BORDER_CONSTANT,(0));
warpPerspective(mask2, mask2, translation, result.size(), INTER_LINEAR, BORDER_TRANSPARENT,   (0));

//create blender
detail::MultiBandBlender blender(false, 5);
//feed images and the mask areas to blend
blender.feed(image1Updated, mask1, Point2f (0,0));
blender.feed(image2Updated, mask2, Point2f (0,0));
//prepare resulting size of image
blender.prepare(Rect(0, 0, result.size().width, result.size().height));
Mat result_s, result_mask;
//blend
blender.blend(result_s, result_mask);
当我尝试执行blender.feed时发生错误。
另外一点;在为混合器制作掩模时,掩模应该是整个图像还是仅在拼接过程中重叠的图像区域?
提前感谢任何帮助。
编辑
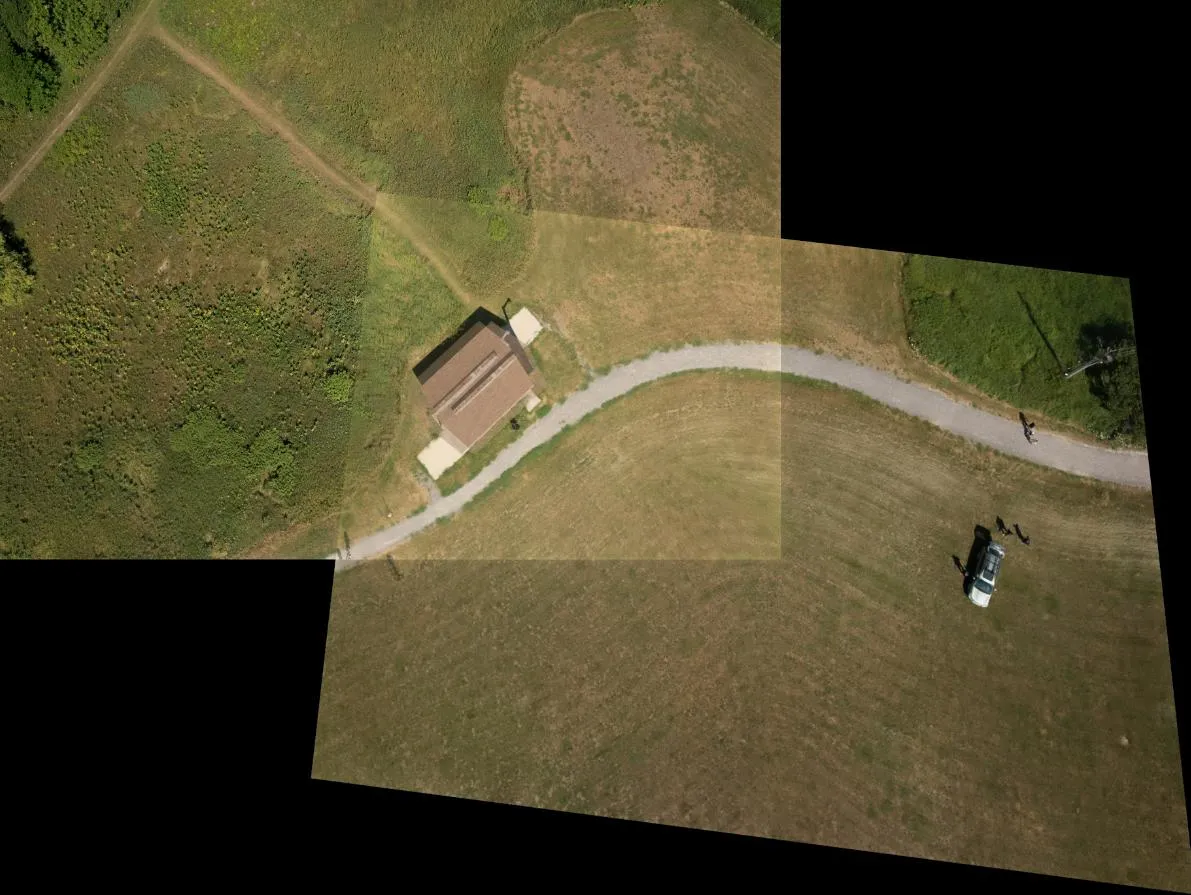
我已经让它正常工作了,但现在得到了这个混合后的图像。
 这是未进行混合的拼接图像供参考。
 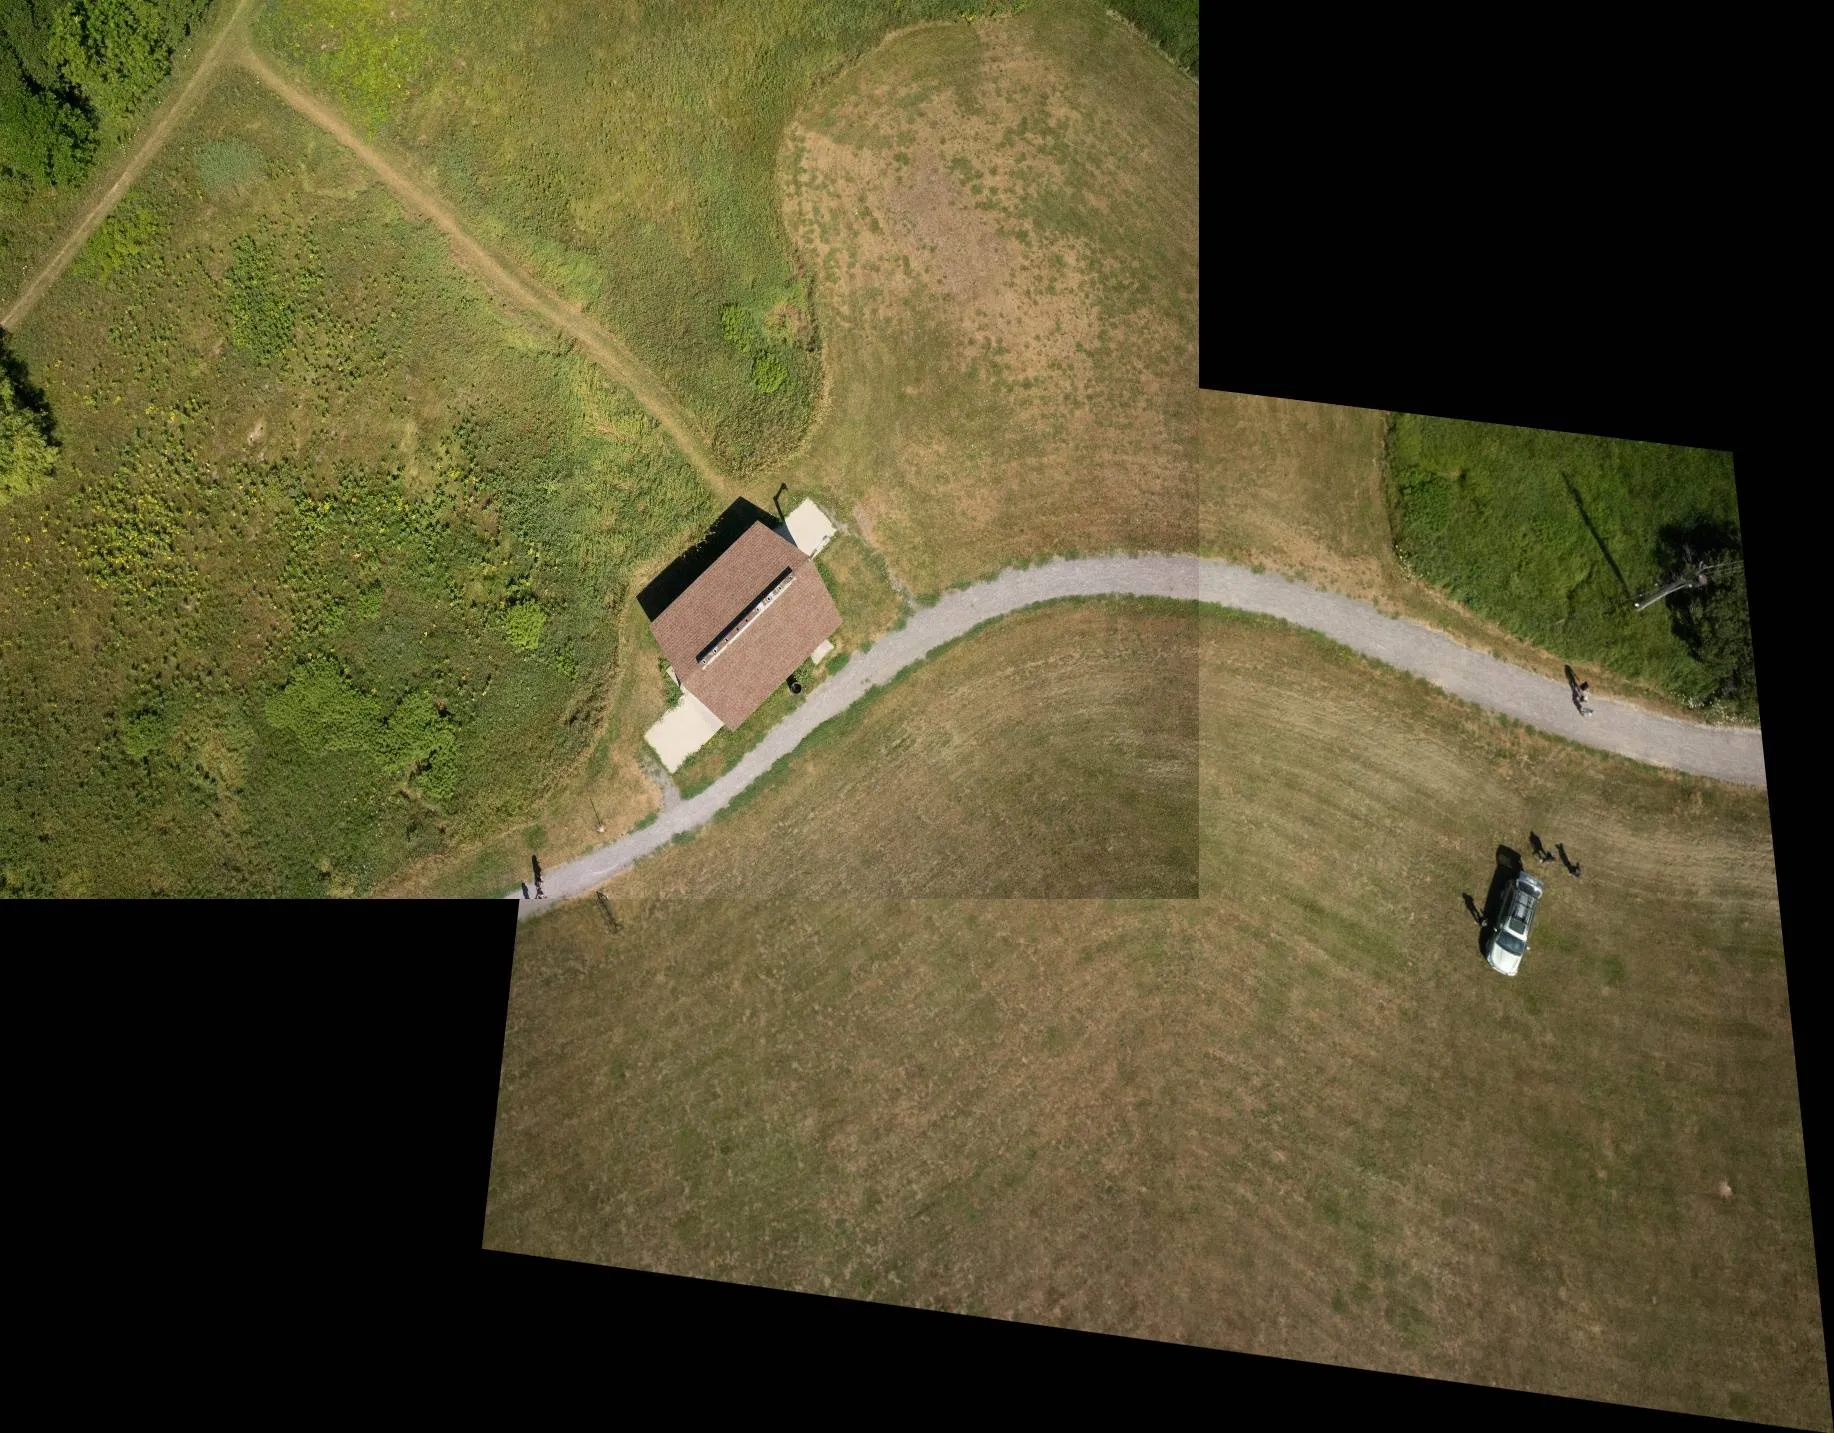 有什么好的建议吗?
blender.feed之前应该先执行blender.prepare。 - api55