在Android通知中从URL加载图像

72
在我的Android应用程序中,我想动态设置通知图标,这些图标将从URL加载。为此,我在接收器中使用了NotificationBuilder的setLargeIcon属性。
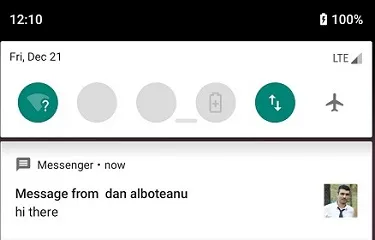
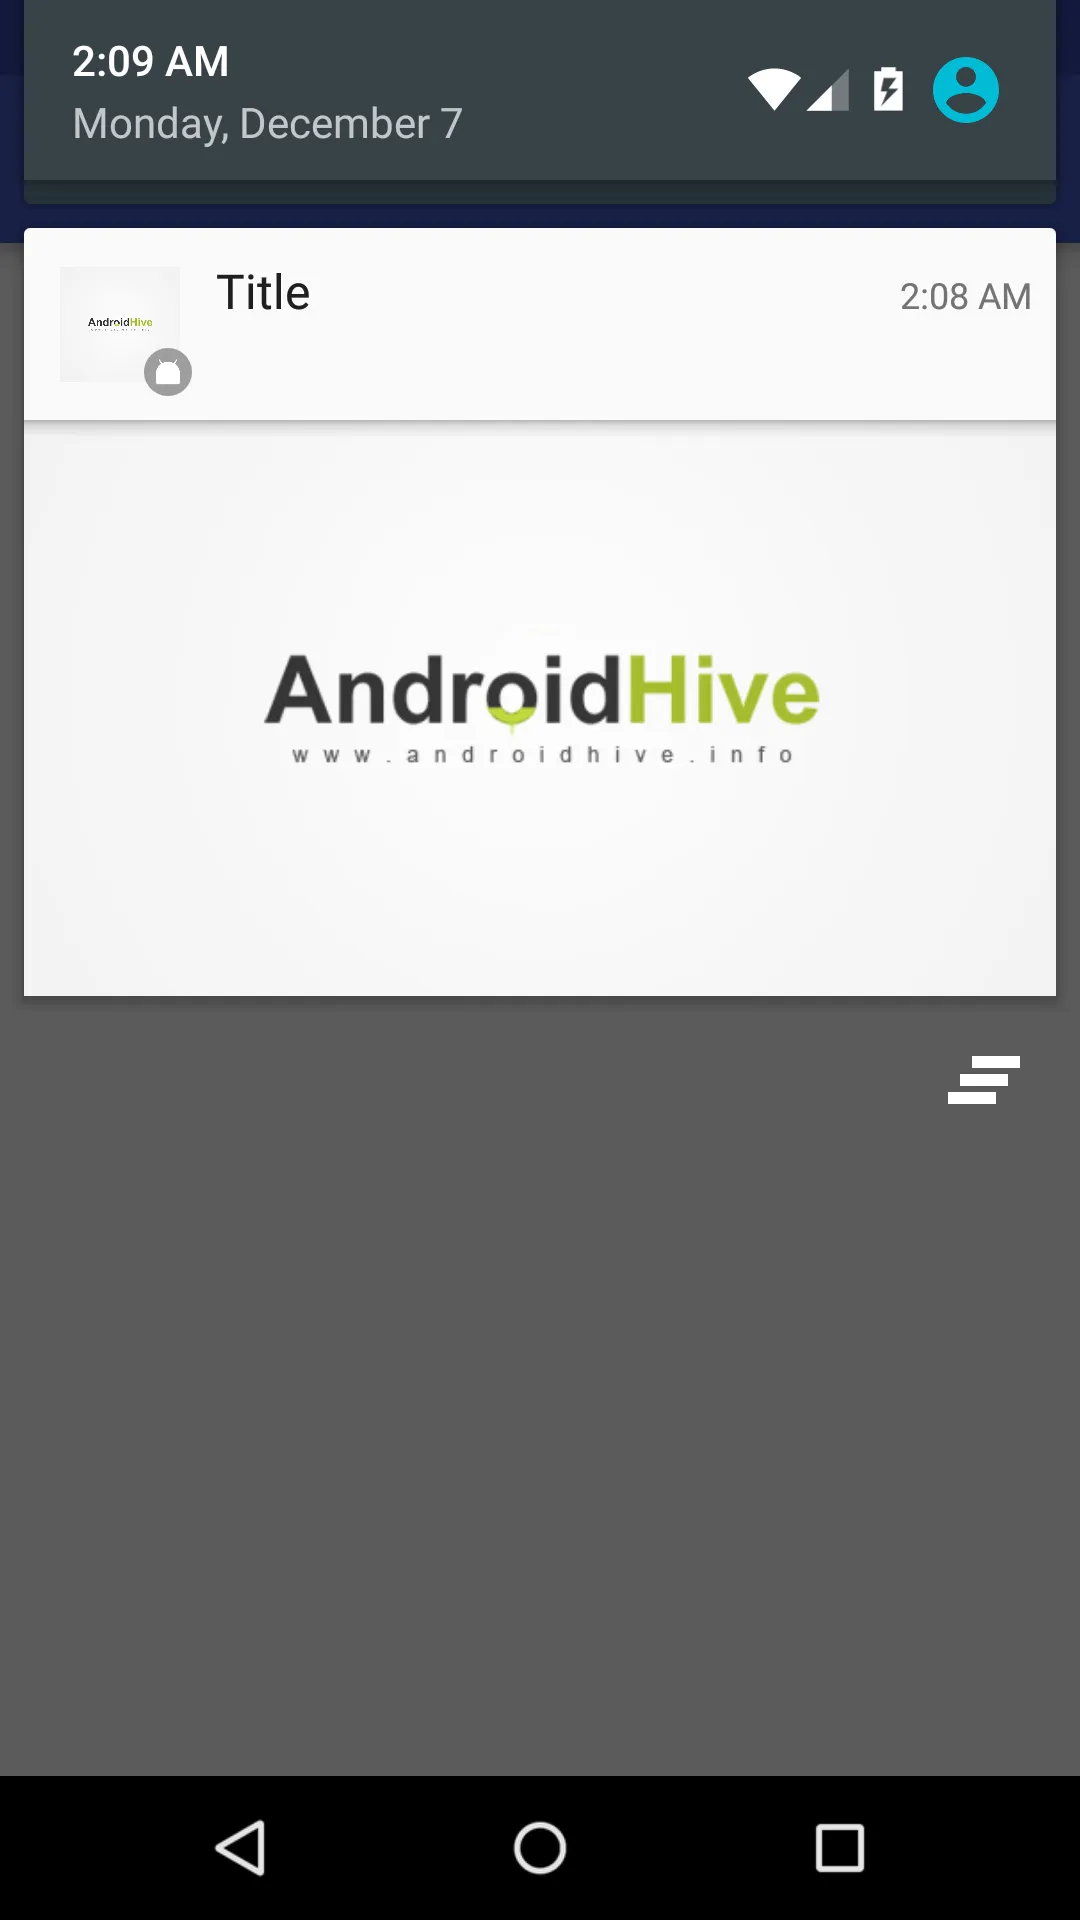
我参考了许多链接并尝试了各种解决方案,但是我无法获得期望的输出。尽管我从URL下载了该图像并将该位图设置在通知中,但它并没有显示出来。相反,它显示了setSmallIcon图像作为大图标。我不知道我做错了什么。这里我发布了我的代码。我该如何解决这个问题?
代码:
@SuppressLint("NewApi")
public class C2DMMessageReceiver extends BroadcastReceiver {

    @Override
    public void onReceive(Context context, Intent intent) {
        String action = intent.getAction();
        if ("com.google.android.c2dm.intent.RECEIVE".equals(action)) {
            Log.e("C2DM", "received message");
            final String fullName = intent.getStringExtra("message");
            final String payload1 = intent.getStringExtra("message1");
            final String payload2 = intent.getStringExtra("message2");
            final String userImage = intent.getStringExtra("userImage");

            Log.e("userImage Url :", userImage); //it shows correct url

            new sendNotification(context)
                    .execute(fullName, payload1, userImage);
        }
    }

private class sendNotification extends AsyncTask<String, Void, Bitmap> {

        Context ctx;
        String message;

        public sendNotification(Context context) {
            super();
            this.ctx = context;
        }

        @Override
        protected Bitmap doInBackground(String... params) {

            InputStream in;
            message = params[0] + params[1];
            try {

                in = new URL(params[2]).openStream();
                Bitmap bmp = BitmapFactory.decodeStream(in);
                return bmp;

            } catch (MalformedURLException e) {
                e.printStackTrace();
            } catch (IOException e) {
                e.printStackTrace();
            }
            return null;
        }

        @Override
        protected void onPostExecute(Bitmap result) {

            super.onPostExecute(result);
            try {
                NotificationManager notificationManager = (NotificationManager) ctx
                        .getSystemService(Context.NOTIFICATION_SERVICE);

                Intent intent = new Intent(ctx, NotificationsActivity.class);
                intent.putExtra("isFromBadge", false);


                Notification notification = new Notification.Builder(ctx)
                        .setContentTitle(
                                ctx.getResources().getString(R.string.app_name))
                        .setContentText(message)
                        .setSmallIcon(R.drawable.ic_launcher)
                        .setLargeIcon(result).build();

                // hide the notification after its selected
                notification.flags |= Notification.FLAG_AUTO_CANCEL;

                notificationManager.notify(1, notification);

            } catch (Exception e) {
                e.printStackTrace();
            }
        }
    }

你能发一张截图吗? - johng
1
我无法附加屏幕截图,但我可以告诉您它的外观。实际上,通知栏应该显示smallIcon值(R.drawable.ic_launcher),当我通过向下滑动放大我的通知栏时,它应该显示设置为大图标的位图(bm),但在通知栏和扩大的通知区域中都显示小图标(R.drawable.ic_launcher)。 - Zankhna
9个回答

47
我将我的代码改成了下面这样,现在它可以正常工作了:
private class sendNotification extends AsyncTask<String, Void, Bitmap> {

        Context ctx;
        String message;

        public sendNotification(Context context) {
            super();
            this.ctx = context;
        }

        @Override
        protected Bitmap doInBackground(String... params) {

            InputStream in;
            message = params[0] + params[1];
            try {

                  URL url = new URL(params[2]);
                  HttpURLConnection connection = (HttpURLConnection)url.openConnection();
                  connection.setDoInput(true);
                  connection.connect();
                  in = connection.getInputStream();
                  Bitmap myBitmap = BitmapFactory.decodeStream(in);
                  return myBitmap;
            } catch (MalformedURLException e) {
                e.printStackTrace();
            } catch (IOException e) {
                e.printStackTrace();
            }
            return null;
        }

        @Override
        protected void onPostExecute(Bitmap result) {

            super.onPostExecute(result);
            try {
                NotificationManager notificationManager = (NotificationManager) ctx
                        .getSystemService(Context.NOTIFICATION_SERVICE);

                Intent intent = new Intent(ctx, NotificationsActivity.class);
                intent.putExtra("isFromBadge", false);


                Notification notification = new Notification.Builder(ctx)
                        .setContentTitle(
                                ctx.getResources().getString(R.string.app_name))
                        .setContentText(message)
                        .setSmallIcon(R.drawable.ic_launcher)
                        .setLargeIcon(result).build();

                // hide the notification after its selected
                notification.flags |= Notification.FLAG_AUTO_CANCEL;

                notificationManager.notify(1, notification);

            } catch (Exception e) {
                e.printStackTrace();
            }
        }
    }

如何处理图像大小? - Erum
请看我在2019年使用协程和Kotlin实现此答案的回复 :) - Juan Mendez
你改了什么,为什么改?这个问题的要点是什么?请通过编辑(更改)你的问题/回答来回复,而不是在评论中回复(但是请不要在回答中添加"编辑:"、"更新:"或类似的内容 - 回答应该看起来像是今天写的)。 - undefined

40
你可以像这样使用Glide来完成这个任务。
val notificationBuilder = NotificationCompat.Builder(this, channelId)
        .setSmallIcon(R.drawable.ic_message)
        .setContentTitle("title")
        .setContentText("text")

val notificationManager = getSystemService(Context.NOTIFICATION_SERVICE) as NotificationManager

val futureTarget = Glide.with(this)
        .asBitmap()
        .load(photoUrl)
        .submit()

val bitmap = futureTarget.get()
notificationBuilder.setLargeIcon(bitmap)

Glide.with(this).clear(futureTarget)

notificationManager.notify(0, notificationBuilder.build())

Preview


问题在于一旦位图下载完成,它不会神奇地出现在通知上,并且不会自动刷新。一个必须实现回调来重新生成通知。我尝试在“onResourceReady”中刷新它,但它没有起作用,所以不会深入探讨这个兔子洞。 - Starwave

38
如何实现一个BigPicture风格的通知:
通过`.setStyle(new Notification.BigPictureStyle().bigPicture(result))`这个方法,一个奇迹就完成了:
我是这样做的:

Enter image description here

通过AsyncTask生成一个通知:
new generatePictureStyleNotification(this,"Title", "Message",
                 "http://api.androidhive.info/images/sample.jpg").execute();

异步任务:

public class generatePictureStyleNotification extends AsyncTask<String, Void, Bitmap> {

        private Context mContext;
        private String title, message, imageUrl;

        public generatePictureStyleNotification(Context context, String title, String message, String imageUrl) {
            super();
            this.mContext = context;
            this.title = title;
            this.message = message;
            this.imageUrl = imageUrl;
        }

        @Override
        protected Bitmap doInBackground(String... params) {

            InputStream in;
            try {
                URL url = new URL(this.imageUrl);
                HttpURLConnection connection = (HttpURLConnection) url.openConnection();
                connection.setDoInput(true);
                connection.connect();
                in = connection.getInputStream();
                Bitmap myBitmap = BitmapFactory.decodeStream(in);
                return myBitmap;
            } catch (MalformedURLException e) {
                e.printStackTrace();
            } catch (IOException e) {
                e.printStackTrace();
            }
            return null;
        }

        @TargetApi(Build.VERSION_CODES.JELLY_BEAN)
        @Override
        protected void onPostExecute(Bitmap result) {
            super.onPostExecute(result);

            Intent intent = new Intent(mContext, MyOpenableActivity.class);
            intent.putExtra("key", "value");
            PendingIntent pendingIntent = PendingIntent.getActivity(mContext, 100, intent, PendingIntent.FLAG_ONE_SHOT);

            NotificationManager notificationManager = (NotificationManager) mContext.getSystemService(Context.NOTIFICATION_SERVICE);
            Notification notif = new Notification.Builder(mContext)
                    .setContentIntent(pendingIntent)
                    .setContentTitle(title)
                    .setContentText(message)
                    .setSmallIcon(R.mipmap.ic_launcher)
                    .setLargeIcon(result)
                    .setStyle(new Notification.BigPictureStyle().bigPicture(result))
                    .build();
            notif.flags |= Notification.FLAG_AUTO_CANCEL;
            notificationManager.notify(1, notif);
        }
    }

5
请提供代码的详细信息!这将有助于某人准确理解API、功能和实现方式! - Paresh Mayani
1
@rpattabi androidbash.com/firebase-push-notification-android 我尝试了这个教程,但是有一些限制。例如,当应用处于后台或被杀死状态时,将不会调用onMessageReceived()方法,因此您的Android设备上的通知栏中只会显示一个简单的包含消息的通知,而不会显示带有图片和从URL获取的大图像的通知(使用BigImage)。 - Prashant Gosai
1
它可以工作,但需要几秒钟才能显示通知,不能立即显示。有没有一种方法可以立即生成通知?是否有一种同时从URL加载图像并立即显示通知的方法? - Narendra Singh
1
你为什么在Async Task中放置了通知代码? - EdgeDev
@Micklo_Nerd,我们正在后台线程中加载图像,因此我们使用了Async Task。您可能可以使用Rx Java来消除代码。 - Hiren Patel
显示剩余5条评论

27
在Kotlin中,使用协程的最佳答案。该方法将位图应用于builder而不是直接赋值,当然前提是位图可用。这样做的好处是,如果URL错误,它将在try/catch中捕获到。
fun applyImageUrl(
    builder: NotificationCompat.Builder,
    imageUrl: String
) = runBlocking {
    val url = URL(imageUrl)

    withContext(Dispatchers.IO) {
        try {
            val input = url.openStream()
            BitmapFactory.decodeStream(input)
        } catch (e: IOException) {
            null
        }
    }?.let { bitmap ->
        builder.setLargeIcon(bitmap)
    }
}

使用Kotlin和RxJava:
fun applyImageUrl(
    builder: NotificationCompat.Builder,
    imageUrl: String
) {
    val url = URL(imageUrl)

    Single.create<Bitmap> { emitter ->
        try {
            val input = url.openStream()
            val bitmap = BitmapFactory.decodeStream(input)
            emitter.onSuccess(bitmap)
        } catch (e: Exception) {
            emitter.onError(e)
        }
    }.subscribeOn(Schedulers.io())
        .observeOn(AndroidSchedulers.mainThread())
        .subscribe(
            {
                builder.setLargeIcon(it)
            }, {
                Timber.e("error generating bitmap for notification")
            }
        )
}

非常扎实的答案!在 Kotlin 中可以直接使用! - faizanjehangir
1
我已经在两个应用程序中应用了这段代码,效果非常好。感谢您分享您的经验。 - Juan Mendez
这更有利可图。 - skygeek
我编辑了答案并附加了RxJava的解决方案。 - Juan Mendez

10
由于图像是从互联网加载的,应该在后台线程中以异步方式完成。可以使用异步任务或Glide API(用于高效加载图像)。
要加载图像通知,需要使用"NotificationCompat.BigPictureStyle()"。这需要一个位图(必须从图像URL中提取)。
大多数Glide的API和方法现在已经过时。 以下内容适用于Glide 4.9及更高版本,适用于Android 10。
 // Load the bitmap from the image URL on a background thread and display an image notification
        private void getBitmapAsyncAndDoWork(String imageUrl) {

            final Bitmap[] bitmap = {null};

            Glide.with(getApplicationContext())
                    .asBitmap()
                    .load(imageUrl)
                    .into(new CustomTarget<Bitmap>() {
                        @Override
                        public void onResourceReady(@NonNull Bitmap resource, @Nullable Transition<? super Bitmap> transition) {

                            bitmap[0] = resource;
                            // TODO Do some work: pass this bitmap
                            displayImageNotification(bitmap[0]);
                        }

                        @Override
                        public void onLoadCleared(@Nullable Drawable placeholder) {
                        }
                    });
        }

显示图像通知一次,位图已准备就绪。
private void displayImageNotification(Bitmap bitmap) {

      NotificationCompat.Builder builder = new NotificationCompat.Builder(getApplicationContext(), getChannelId());
            builder
                    .setContentTitle(title)
                    .setContentText(subtext)
                    .setDefaults(Notification.DEFAULT_LIGHTS | Notification.DEFAULT_VIBRATE)
                    .setSmallIcon(SMALL_ICON)
                    .setPriority(NotificationCompat.PRIORITY_DEFAULT)
                    .setColor(getApplicationContext().getColor(color))
                    .setAutoCancel(true)
                    .setOngoing(false)
                    .setOnlyAlertOnce(true)
                    .setContentIntent(pendingIntent)
                     .setStyle(
                     new NotificationCompat.BigPictureStyle().bigPicture(bitmap))
                    .setPriority(Notification.PRIORITY_HIGH);

        getManager().notify(tag, id, builder.build());
}

使用 setPriority 两次有什么特殊用途吗? - Rumit Patel

6

我知道已经有一个好的答案了,那么让我们看看能否使其更易于理解和实现。
---------------------原理------------------------
问题可以抽象为两步解决方法,即:
1)从URL获取图像
2)解码图像并传递给通知构建器

1)从URL获取图像
InputStream in = new URL("图片URL在这里,例如:http://gg.com/profile.jpg").openStream();

2)解码并传递给通知
Bitmap bmp = null; #创建一个空的bmp容器,用于保存解码后的图像
bmp = BitmapFactory.decodeStream(in); #将图像保存到容器中

完成! 一旦您构建了图像并将其保存在变量bmp中,就可以在通知构建器上调用它 .setLargeIcon(bmp)

--------实施---------------
Android Studio会鼓励您用try catch包装代码,因此最终产品看起来像这样。

Bitmap bmp = null;
try {
    InputStream in = new URL("url goes here").openStream();
    bmp = BitmapFactory.decodeStream(in);
} catch (IOException e) {
    e.printStackTrace();
}

一旦你有了位图文件,你可以在通知构建器中调用它:
NotificationCompat.Builder mBuilder = new NotificationCompat.Builder(this, CHANNEL_ID)
            .setSmallIcon(R.drawable.ic_launcher)
            .setContentText("title")
            .setContentText("text goes here")
            .setLargeIcon(bmp)
            .setAutoCancel(true);

1
在AsyncTask中调用输入流in = new Url .....(),永远不要在主线程中执行网络请求。 - ismail alaoui

0

RxJava 和 Picasso 的方式

private fun bigImageNotification(ctx: Context, title: String, msg: String, imgUrl: String): Disposable? {
    return Observable.fromCallable {
        Picasso.get().load(imgUrl).get()
    }
            .subscribeOn(Schedulers.io())
            .observeOn(AndroidSchedulers.mainThread())
            .subscribe({
                createNotification(ctx, title, msg, it)
            }, {it.printStackTrace()})
}

private fun createNotification(ctx: Context, title: String, msg: String, img: Bitmap?) {
    val b = Notification.Builder(ctx)
    b.setAutoCancel(true)
            .setSmallIcon(R.mipmap.ic_launcher)
            .setContentTitle(title)
            .setContentText(msg)
            .setStyle(Notification.BigPictureStyle().bigPicture(img))
    val notificationManager = ctx.getSystemService(Context.NOTIFICATION_SERVICE) as NotificationManager
    notificationManager.notify(1000, b.build())
}

使用方法

bigImageNotification(context, "title", "msg", "https://www.google.com/images/branding/googlelogo/1x/googlelogo_color_272x92dp.png")

0

使用 Picasso 库。

               Target target = new Target() {
                    @Override
                    public void onBitmapLoaded(Bitmap bitmap, Picasso.LoadedFrom from) {
                        largeIcon=bitmap;
                    }

                    @Override
                    public void onBitmapFailed(Drawable errorDrawable) {
                    }

                    @Override
                    public void onPrepareLoad(Drawable placeHolderDrawable) {
                    }
                };

                Picasso.with(this).load("url").into(target); 


               NotificationCompat.Builder notificationBuilder =
                    new NotificationCompat.Builder(this, channelId)
                            .setSmallIcon(R.drawable.icon)
                            .setContentTitle(msg.getString("title"))
                            .setContentText(msg.getString("msg"))
                            .setAutoCancel(true)
                            .setSound(defaultSoundUri)
                            .setLargeIcon(largeIcon)
                            .setContentIntent(pendingIntent);

0

由于我找不到任何适用于Picasso的解决方案,因此我在下面发布了完整且可行的示例(截至2020年7月)。

它会立即发送通知,然后在加载setLargeIcon()图像时更新通知。通常这非常快速,大多数情况下用户应该只能看到通知的更新版本。

private void sendNotification(String message, String title, final String photoUrl) {
    Intent intent = new Intent(this, MainActivity.class);
    intent.addFlags(Intent.FLAG_ACTIVITY_CLEAR_TOP);
    PendingIntent pendingIntent = PendingIntent.getActivity(this, 0, intent,
            PendingIntent.FLAG_ONE_SHOT);

    final NotificationCompat.Builder notificationBuilder =
            new NotificationCompat.Builder(this, CHANNEL_ID)
                    .setSmallIcon(R.drawable.wbib_transp_512)
                    .setContentTitle(title)
                    .setContentText(message)
                    .setAutoCancel(true)
                    .setPriority(NotificationCompat.PRIORITY_HIGH)
                    .setCategory(NotificationCompat.CATEGORY_MESSAGE)
                    .setContentIntent(pendingIntent);

    final NotificationManager notificationManager =
            (NotificationManager) getSystemService(Context.NOTIFICATION_SERVICE);

    notificationManager.notify(0, notificationBuilder.build());

    final Handler uiHandler = new Handler(Looper.getMainLooper());
    uiHandler.post(new Runnable() {
        @Override
        public void run() {
            Picasso.get()
                    .load(photoUrl)
                    .resize(200, 200)
                    .into(new Target() {
                        @Override
                        public void onBitmapLoaded(final Bitmap bitmap, final Picasso.LoadedFrom from) {
                            notificationBuilder.setLargeIcon(bitmap);
                            notificationManager.notify(0, notificationBuilder.build());
                        }

                        @Override
                        public void onBitmapFailed(Exception e, final Drawable errorDrawable) {
                            // Do nothing?
                        }

                        @Override
                        public void onPrepareLoad(final Drawable placeHolderDrawable) {
                            // Do nothing?
                        }
                    });
        }
    });


}

网页内容由stack overflow 提供, 点击上面的
可以查看英文原文,
原文链接