我知道这个问题已经被问了很多次,我几乎阅读了所有与此主题相关的内容,包括:
https://dev59.com/qIHba4cB1Zd3GeqPYfs3#25022437
使用Node.js、Express和Mongoose上传图片
这些是我迄今为止找到的最好的资源。但我的问题在于它们仍然不太清晰,在线文档中几乎没有关于此的资料,讨论似乎针对的是比我更高级的人。
因此,如果有人能够帮助我详细介绍如何使用Mongoose、Express和AngularJS上传图片,我将非常感激。实际上,我正在使用MEAN全栈。(具体来说是这个生成器 - https://github.com/DaftMonk/generator-angular-fullstack)
AddController:
'use strict';

angular.module('lumicaApp')
  .controller('ProjectAddCtrl', ['$scope', '$location', '$log', 'projectsModel', 'users', 'types', function ($scope, $location, $log, projectsModel, users, types) {
    $scope.dismiss = function () {
      $scope.$dismiss();
    };

        $scope.users = users;
        $scope.types = types;

    $scope.project = {
            name: null,
            type: null,
            images: {
                thumbnail: null // I want to add the uploaded images _id here to reference with mongoose populate.
            },
            users: null
        };

        $scope.save = function () {
            $log.info($scope.project);
            projectsModel.post($scope.project).then(function (project) {
        $scope.$dismiss();
            });
        }

  }]);
我希望将图片ID引用添加到project.images.thumbnail中,但我想使用以下模式将所有信息存储在一个Image对象中:
'use strict';

    var mongoose = require('mongoose'),
        Schema = mongoose.Schema;

    var ImageSchema = new Schema({
      fileName: String,
      url: String,
      contentType: String,
      size: String,
      dimensions: String
    });

    module.exports = mongoose.model('Image', ImageSchema);
我还将https://github.com/nervgh/angular-file-upload添加到我的bower包中。
就像我说的一样,我无法弄清楚如何把它们全部联系起来。而且我甚至不确定我尝试做的是否正确。
--------------------------------------------------------------------------
更新:
这是我现在拥有的,我已经添加了一些注释详细说明我想如何运作,不幸的是,我仍然没有成功,我甚至不能让图像开始上传,更别说上传到S3了。很抱歉我让你感到困扰,但我发现这特别令人困惑,这让我很惊讶。
client/app/people/add/add.controller.js
'use strict';

angular.module('lumicaApp')
    .controller('AddPersonCtrl', ['$scope', '$http', '$location', '$window', '$log', 'Auth', 'FileUploader', 'projects', 'usersModel', function ($scope, $http, $location, $window, $log, Auth, FileUploader, projects, usersModel) {
        $scope.dismiss = function () {
            $scope.$dismiss();
        };

        $scope.newResource = {};

        // Upload Profile Image
        $scope.onUploadSelect = function($files) {
            $scope.newResource.newUploadName = $files[0].name;

            $http
                .post('/api/uploads', {
                    uploadName: newResource.newUploadName,
                    upload: newResource.newUpload
                })
                .success(function(data) {
                    newResource.upload = data; // To be saved later
                });
        };

        $log.info($scope.newResource);

        //Get Projects List
        $scope.projects = projects;

        //Register New User
        $scope.user = {};
        $scope.errors = {};


        $scope.register = function(form) {
            $scope.submitted = true;

            if(form.$valid) {
                Auth.createUser({
                    firstName: $scope.user.firstName,
                    lastName: $scope.user.lastName,
                    username: $scope.user.username,
                    profileImage: $scope.user.profileImage, // I want to add the _id reference for the image here to I can populate it with 'ImageSchema' using mongoose to get the image details(Name, URL, FileSize, ContentType, ETC)
                    assigned: {
                        teams: null,
                        projects: $scope.user.assigned.projects
                    },
                    email: $scope.user.email,
                    password: $scope.user.password
                })
                    .then( function() {
                        // Account created, redirect to home
                        //$location.path('/');
                        $scope.$dismiss();
                    })
                    .catch( function(err) {
                        err = err.data;
                        $scope.errors = {};

                        // Update validity of form fields that match the mongoose errors
                        angular.forEach(err.errors, function(error, field) {
                            form[field].$setValidity('mongoose', false);
                            $scope.errors[field] = error.message;
                        });
                    });
            }
        };

        $scope.loginOauth = function(provider) {
            $window.location.href = '/auth/' + provider;
        };

    }]);
server/api/image/image.model.js 我希望将所有图片信息存储在这里,并使用它来填充人物控制器中的profileImage。
'use strict';

    var mongoose = require('mongoose'),
        Schema = mongoose.Schema;

    var ImageSchema = new Schema({
      fileName: String,
      url: String, // Should store the URL of image on S3.
      contentType: String,
      size: String,
      dimensions: String
    });

    module.exports = mongoose.model('Image', ImageSchema);
client/app/people/add/add.jade
.modal-header
    h3.modal-title Add {{ title }}
.modal-body
    form(id="add-user" name='form', ng-submit='register(form)', novalidate='')
        .form-group(ng-class='{ "has-success": form.firstName.$valid && submitted,\
        "has-error": form.firstName.$invalid && submitted }')
            label First Name
            input.form-control(type='text', name='firstName', ng-model='user.firstName', required='')
            p.help-block(ng-show='form.firstName.$error.required && submitted')
                | First name is required

        .form-group(ng-class='{ "has-success": form.lastName.$valid && submitted,\
        "has-error": form.lastName.$invalid && submitted }')
            label Last Name
            input.form-control(type='text', name='lastName', ng-model='user.lastName', required='')
            p.help-block(ng-show='form.lastName.$error.required && submitted')
                | Last name is required

        .form-group(ng-class='{ "has-success": form.username.$valid && submitted,\
        "has-error": form.username.$invalid && submitted }')
            label Username
            input.form-control(type='text', name='username', ng-model='user.username', required='')
            p.help-block(ng-show='form.username.$error.required && submitted')
                | Last name is required

        // Upload Profile Picture Here
        .form-group
            label Profile Image
            input(type="file" ng-file-select="onUploadSelect($files)" ng-model="newResource.newUpload")

        .form-group(ng-class='{ "has-success": form.email.$valid && submitted,\
        "has-error": form.email.$invalid && submitted }')
            label Email
            input.form-control(type='email', name='email', ng-model='user.email', required='', mongoose-error='')
            p.help-block(ng-show='form.email.$error.email && submitted')
                | Doesn't look like a valid email.
            p.help-block(ng-show='form.email.$error.required && submitted')
                | What's your email address?
            p.help-block(ng-show='form.email.$error.mongoose')
                | {{ errors.email }}

        .form-group(ng-class='{ "has-success": form.password.$valid && submitted,\
        "has-error": form.password.$invalid && submitted }')
            label Password
            input.form-control(type='password', name='password', ng-model='user.password', ng-minlength='3', required='', mongoose-error='')
            p.help-block(ng-show='(form.password.$error.minlength || form.password.$error.required) && submitted')
                | Password must be at least 3 characters.
            p.help-block(ng-show='form.password.$error.mongoose')
                | {{ errors.password }}

        .form-group
            label Assign Project(s)
            br
            select(multiple ng-options="project._id as project.name for project in projects" ng-model="user.assigned.projects")
        button.btn.btn-primary(ng-submit='register(form)') Save

    pre(ng-bind="user | json")
.modal-footer
    button.btn.btn-primary(type="submit" form="add-user") Save
    button.btn.btn-warning(ng-click='dismiss()') Cancel
server/api/upload/index.js
'use strict';

var express = require('express');
var controller = require('./upload.controller');

var router = express.Router();

//router.get('/', controller.index);
//router.get('/:id', controller.show);
router.post('/', controller.create);
//router.put('/:id', controller.update);
//router.patch('/:id', controller.update);
//router.delete('/:id', controller.destroy);

module.exports = router;
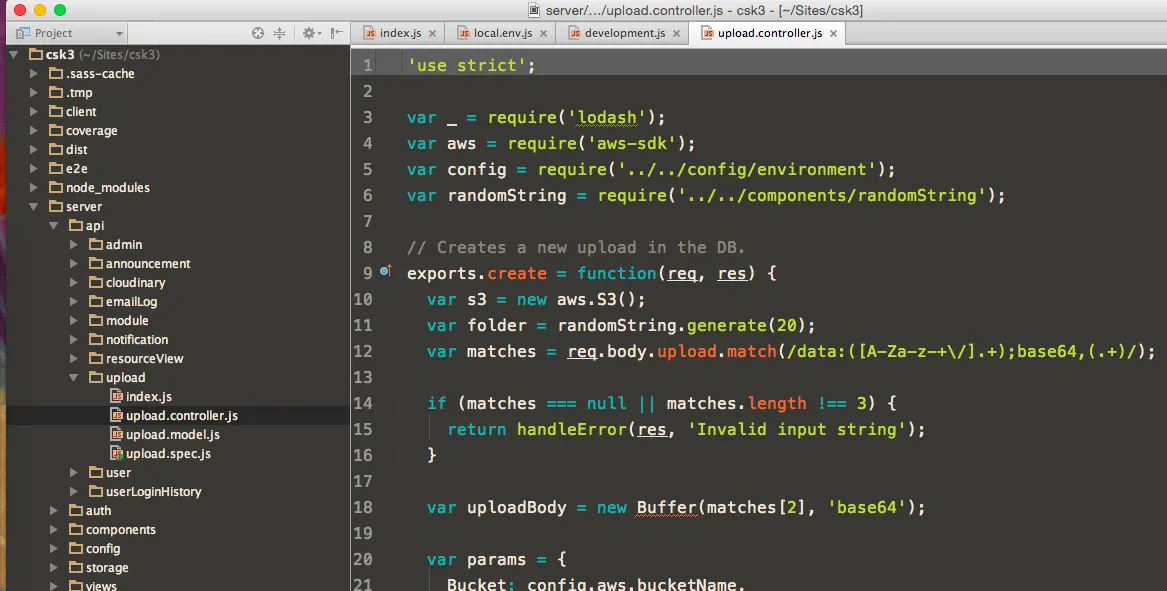
server/api/upload/upload.controller.js
'use strict';

var _ = require('lodash');
//var Upload = require('./upload.model');
var aws = require('aws-sdk');
var config = require('../../config/environment');
var randomString = require('../../components/randomString');

// Creates a new upload in the DB.
exports.create = function(req, res) {
    var s3 = new aws.S3();
    var folder = randomString.generate(20); // I guess I do this because when the user downloads the file it will have the original file name.
    var matches = req.body.upload.match(/data:([A-Za-z-+\/].+);base64,(.+)/);

    if (matches === null || matches.length !== 3) {
        return handleError(res, 'Invalid input string');
    }

    var uploadBody = new Buffer(matches[2], 'base64');

    var params = {
        Bucket: config.aws.bucketName,
        Key: folder + '/' + req.body.uploadName,
        Body: uploadBody,
        ACL:'public-read'
    };

    s3.putObject(params, function(err, data) {
        if (err)
            console.log(err)
        else {
            console.log("Successfully uploaded data to my-uploads/" + folder + '/' + req.body.uploadName);
            return res.json({
                name: req.body.uploadName,
                bucket: config.aws.bucketName,
                key: folder
            });
        }
    });
};

function handleError(res, err) {
    return res.send(500, err);
}
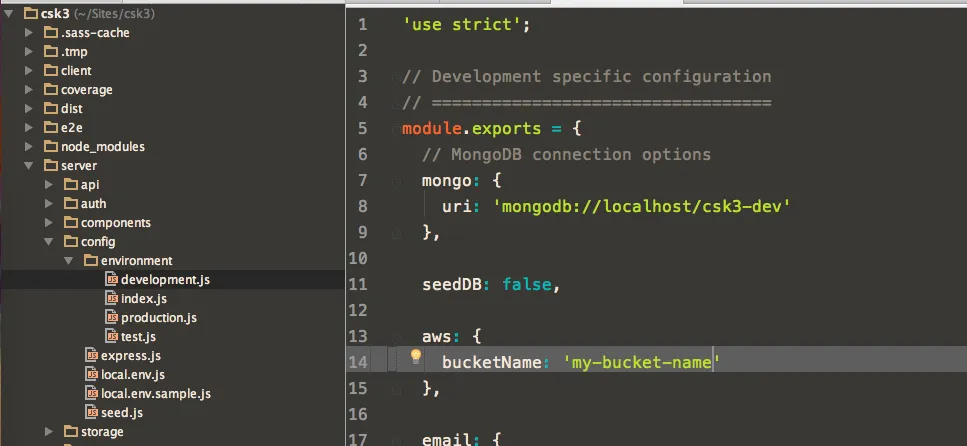
server/config/environment/development.js
aws: {
        key: 'XXXXXXXXXXXX',
        secret: 'XXXXXXXXXXXXXXXXXXXXXXXXXXXXXX',
        region: 'sydney',
        bucketName: 'my-uploads'
    }
req.body.upload.match(/data:([A-Za-z-+\/].+);base64,(.+)/);>发布到cloudinary或s3,并将返回的id保存到我的mongo db中。 - Michael J. Calkins