注意:由于您链接了一个针对OpenCV 2.4.x的教程,我最初认为您也使用OpenCV 2.4.11编写了代码。事实证明,您实际上正在使用OpenCV 3.x。请记住,在2.x和3.x之间的API中存在微妙的变化。
您错误地调用了 HoughLinesP。
根据文档,该Python函数的签名为:
cv2.HoughLinesP(image, rho, theta, threshold[, lines[, minLineLength[, maxLineGap]]]) → lines
如果我们给您的调用参数进行标记,那么我们将得到以下结果:
lines = cv2.HoughLinesP(cannied, rho=1, theta=np.pi / 180
    , threshold=80, lines=30, minLineLength=10)
然而,正确移植到Python的C++代码应该是:
lines = cv2.HoughLinesP(cannied, rho=1, theta=np.pi / 180
    , threshold=80, minLineLength=30, maxLineGap=10)

与 Canny 相似的情况。
cv2.Canny(image, threshold1, threshold2[, edges[, apertureSize[, L2gradient]]]) → edges
再次,让我们标记参数:
cannied = cv2.Canny(img, threshold1=50, threshold2=200, edges=3)
但应该是:
cannied = cv2.Canny(img, threshold1=50, threshold2=200, apertureSize=3)
然而,这对输出结果没有影响,因为apertureSize的默认值是3。
最后,正如我们与Vasanth和namatoj所确认的那样,cv2.HoughLinesP生成的输出格式存在差异:
- 在2.4中,它看起来像
[[[x1, y1, x2, y2], [...], ..., [...]]]
- 在3.x中,它看起来像
[[[x1, y1, x2, y2]], [[...]], ..., [[...]]]
我添加了一个简短的get_lines函数,将两个版本中的线路转换为一致的布局([[x1, y1, x2, y2], [...], ..., [...]])。
适用于OpenCV两个版本的完整脚本:
import cv2
import numpy as np
def get_lines(lines_in):
if cv2.__version__ < '3.0':
return lines_in[0]
return [l[0] for l in lines]
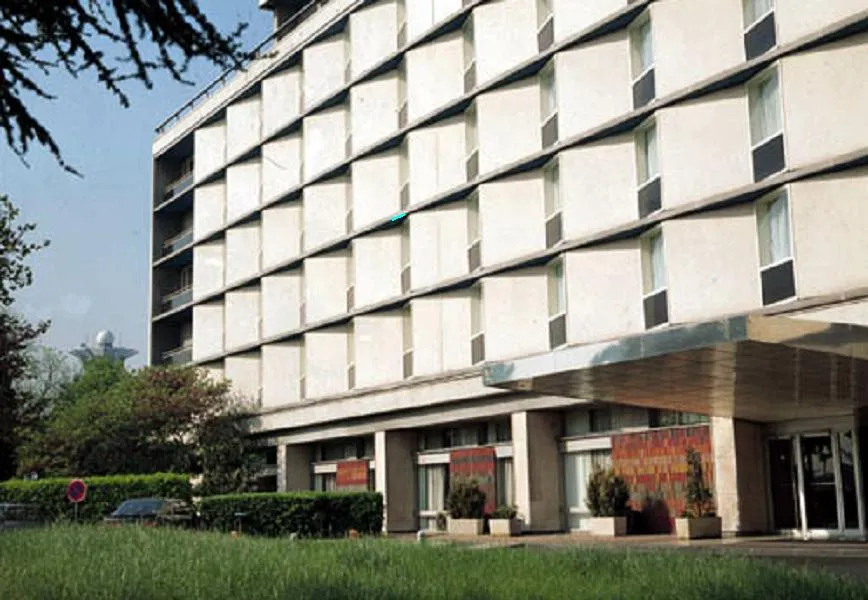
img = cv2.imread('building.jpg')
img_gray = gray = cv2.cvtColor(img, cv2.COLOR_BGR2GRAY)
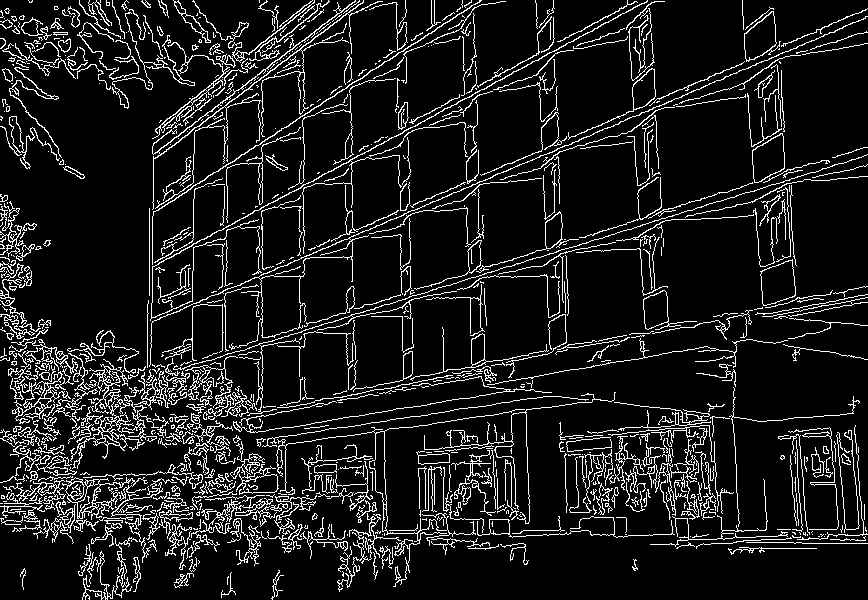
cannied = cv2.Canny(img_gray, threshold1=50, threshold2=200, apertureSize=3)
lines = cv2.HoughLinesP(cannied, rho=1, theta=np.pi / 180, threshold=80, minLineLength=30, maxLineGap=10)
for line in get_lines(lines):
leftx, boty, rightx, topy = line
cv2.line(img, (leftx, boty), (rightx,topy), (255, 255, 0), 2)
cv2.imwrite('lines.png',img)
cv2.imwrite('canniedHouse.png',cannied)
cv2.waitKey(0)
cv2.destroyAllWindows()
 所以,正如您所看到的,我在图片中间只得到了一条小线。
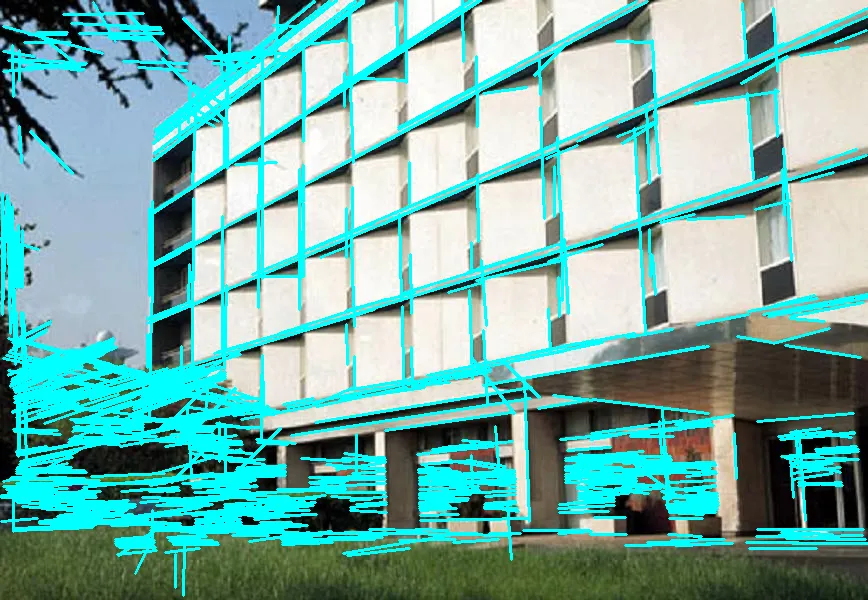
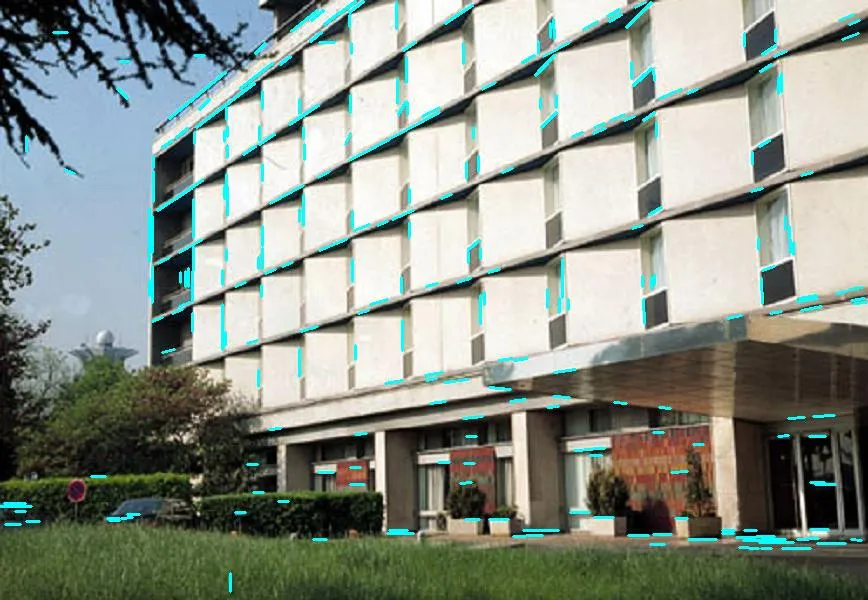
[[[x1,y1,x2,y2],[....]]]。这使得Anton的代码正确。 - Dan Mašek