如何在SwiftUI中为室内视图应用阴影?

37

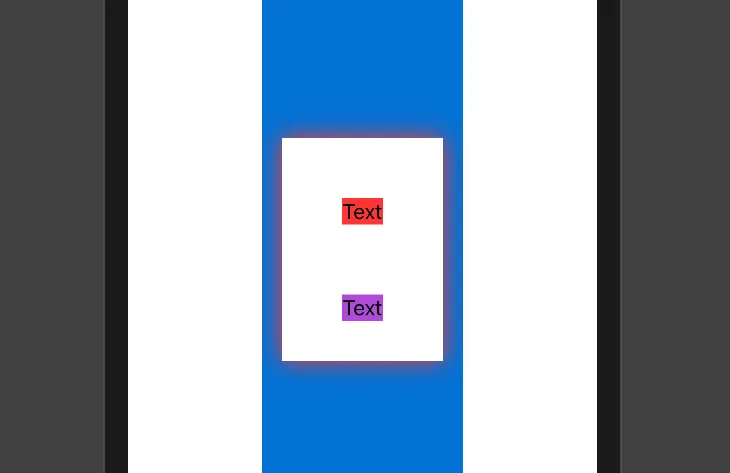
我在装载两个文本框和提交按钮的VStack周围添加了一个阴影。但是,这个阴影也被应用到了VStack内部的两个文本框上。

我是否忽略了什么导致出现这种情况?我尝试在文本框中添加代码shadow(radius: 0),但它没有改变任何东西。如果我从文本框中删除填充和背景,则阴影会消失。

var body: some View {
    VStack() {
        Spacer()

        VStack() {
            TextField($email, placeholder: Text("email"))
                .padding()
                .background(Color(red: 242 / 255, green: 242 / 255, blue: 242 / 255))

            SecureField($password, placeholder: Text("password"))
                .padding()
                .background(Color(red: 242 / 255, green: 242 / 255, blue: 242 / 255))

            Button(action: { self.login() }, label: { Text("Login").foregroundColor(Color.white) })
                .padding()
                .background(Color(red: 0, green: 116 / 255, blue: 217 / 255))
        }
        .padding()
        .background(Color.white)
        .shadow(radius: 10)

        Spacer()
    }
    .padding()
    .background(Color(red: 0, green: 116 / 255, blue: 217 / 255))
    .edgesIgnoringSafeArea(.all)
}

一个视图的子视图继承父视图的阴影对我来说看起来像是一个 bug。 - ielyamani
@ielyamani 不,这不是一个错误,有一个解决方案。 - Prashant Tukadiya
7个回答

70

您可以在此处使用clipped()来解决此问题

VStack() {
    Text("Text")
        .background(Color.red)
        .padding()
        .padding()

    Text("Text")
        .background(Color.purple)
        .padding()
}
.padding()
.background(Color.white)

.clipped()
.shadow(color: Color.red, radius: 10, x: 0, y: 0)

输出:

在此输入图片描述

希望这有帮助 :)


5
即使你没有解释,这个技巧仍然有效。然而,这不是苹果公司对clipped()的定义。阴影修饰符的继承对我来说仍然像一个错误。 - ielyamani
2
@ielyamani 这就是 VStack 和 HStack 的工作原理。如果您为 VStack 提供任何修饰符,它将自动应用于其子项。例如 foregroundColor(Color.red) 将使 VStack 内的所有 Text 变为红色,如果 **Text 没有自己的 foregroundColor()**。 - Prashant Tukadiya
4
对我来说不起作用,孩子周围仍然有阴影。 - user1366265
2
.clipped() 对我也没有帮助,它仍然将 .shadow 应用于每个嵌套视图。 - zh.
1
你最好只是执行.background(Color.white.shadow(color: Color.red, radius: 10, x: 0, y: 0) - Darkisa
显示剩余4条评论

39

对我来说,将阴影应用于背景而不是堆叠也可以起作用,例如:

VStack {
  // ...
}.background(Rectangle().fill(Color.white).shadow(radius: 8))

6
你可以使用简单的 Color.white 来创建一个带颜色的矩形,而不是使用 Rectangle().fill(Color.white) - zh.
这是正确的答案。使用 clipped() 会对带有圆角的子视图产生奇怪的影响。 - theDC
在使用偏移量时,使用clipped()也会给我带来问题。 - Maxwell Omdal

30

有一个专门的修饰符可以实现这个功能 - compositingGroup

来自文档

/// Wraps this view in a compositing group.
///
/// A compositing group makes compositing effects in this view's ancestor
/// views, such as opacity and the blend mode, take effect before this view
/// is rendered.
/// [...] 
/// This limits the scope of [...] change to the outermost view.
VStack {
    Text("Text")
        .background(Color.red)
        .padding()
        .padding()
    Text("Text")
        .background(Color.purple)
        .padding()
}
.padding()
.background(Color.white)
.compositingGroup()
.shadow(color: Color.red, radius: 10, x: 0, y: 0)

3
最佳答案是compositingGroup按预期工作。虽然clipped()对我有用,但它似乎更像是一个副作用。 - D. Greg
这是正确的答案,然而似乎并不总是有效,有时候需要在使用自定义视图时应用它。 - kelalaka

10

对于那些无法让RoundedRectangle正常工作的用户,可使用以下方法:


HStack {
 // Your nested views
}
.overlay(
  RoundedRectangle(cornerRadius: 10)
   .stroke(Color.black.opacity(0.2), lineWidth: 1)
)
.background(
   RoundedRectangle(
     cornerRadius: 10
   )
   .foregroundColor(Color.white)
   .shadow(
     color: Color.black,
     radius: 5,
     x: 0,
     y: 0
   )
)

阴影应用于.backgroundRoundedRectagle元素的shadow

虽然很详细,但易于阅读,并且同样的原则可以应用于任何其他形状。


1
您可以通过使用ZStackRectangleCapsuleCircle或其他形状放在VStack后面来解决问题。然后将修改器应用于形状而不是VStack本身。
ZStack() {
    Capsule()
        .frame(width: 50, height: 50)
        .background(Color.white)
        .shadow(radius: 10)

    VStack() {
        //...
    }
}

对我来说,这似乎是一个非常烦人的功能,在许多情况下,您可能希望在容器上添加阴影而不会应用于其所有元素。

如果有更好的方法,请分享,谢谢!


我从未见过将阴影应用于所有子元素的用例,以便您在阴影上获得阴影。但也许有这种情况。 - P. Ent

0

使用.clipped()(正如其他答案所建议的)可能会在某些情况下导致一些不良副作用。使用.background()绘制额外视图并给其添加阴影是低效(从计算角度来看)且繁琐的。

最好的方法是在您的VStack上调用.compositingGroup()。代码如下:

VStack {
    // Some inner views
}
.compositingGroup()

根据苹果开发者文档此页面
合成组使得在此视图的祖先视图中应用的合成效果,如不透明度和混合模式,在此视图渲染之前生效。
由于视图及其子视图被合成为单个View,因此应用于它的任何阴影都不会传播到子视图。

0

你好,目前我只使用这个,但它能够实现其目的 - 让我拥有内阴影。

通过一些修改,你可以得到你想要的效果。

private struct InnerShadow: ViewModifier {

    func body(content: Content) -> some View {
        HStack(spacing: .zero) {
            verticalLine().offset(x: -1)
            VStack(spacing: .zero) {
                horizontalLine().offset(y: -1)
                content
                horizontalLine().offset(y: 1)
            }
            verticalLine().offset(x: 1)
        }

    }

    private func verticalLine() -> some View {
        Rectangle()
            .foregroundColor(.white)
            .frame(maxWidth: 1, maxHeight: .infinity)
            .shadow(radius: 4)

    }

    private func horizontalLine() -> some View {
        Rectangle()
            .foregroundColor(.white)
            .frame(maxWidth: .infinity, maxHeight: 1)
            .shadow(radius: 4)
    }

}

网页内容由stack overflow 提供, 点击上面的
可以查看英文原文,
原文链接